Step 1 - Open Vast’s Blender Batch Renderer Template
Click on this link Blender Batch Renderer Template to select the vast/blender-batch-renderer template.Step 2 - Check the Secure Cloud box if you want a secure machine from trusted datacenters (Optional)
You can narrow your search results to only data center machines if you want insured security standards from our trusted datacenters.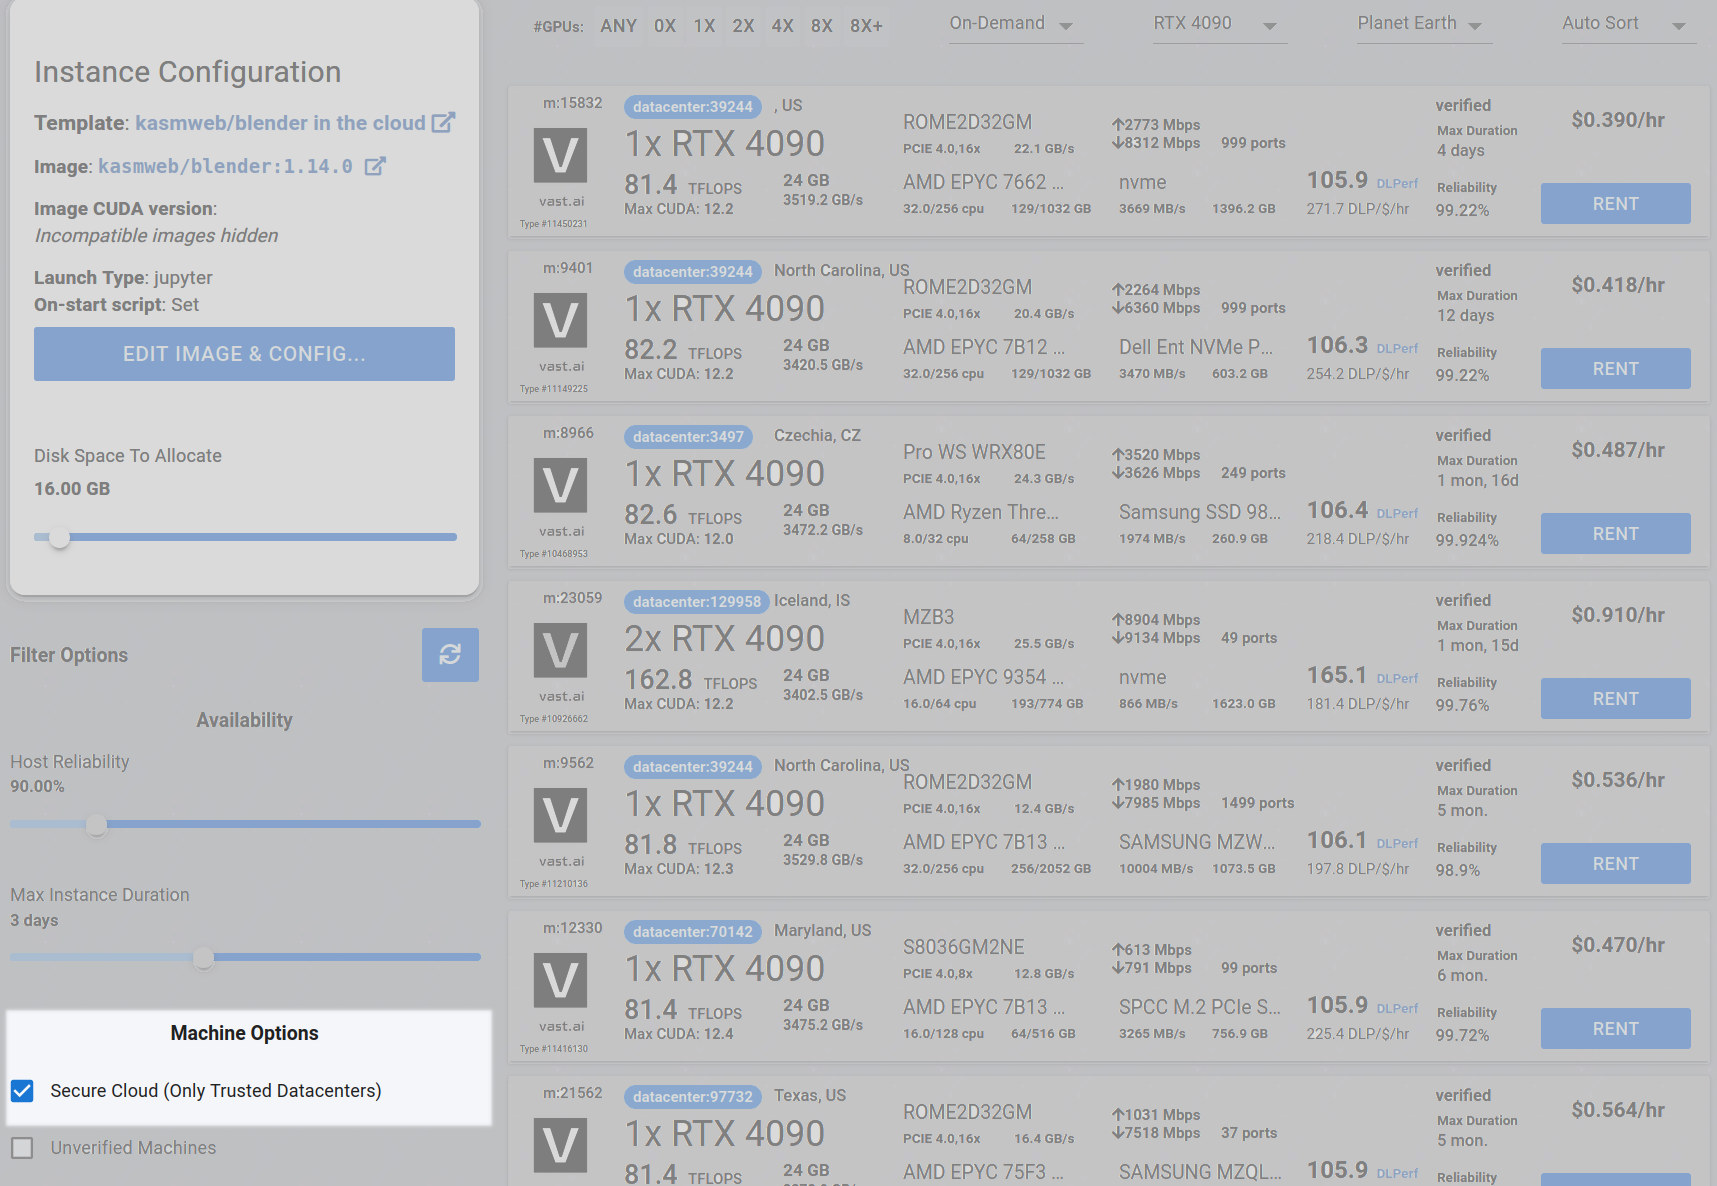
Step 3 - Filter for a GPU that you feel best suits your needs
If you have questions about which GPU to choose, there is some data around NVIDIA Geforce RTX 4090 giving the best render speed with Blender. You can find other GPUs that work well with Blender here Blender GPU Benchmarks. You can also find other options by searching on Google or asking ChatGPT. The version of Blender running within Vast while using the template linked above at the time of this writing is 3.6.2. Go to the GPUs filter and check the box for RTX 4090 or another GPU instance. For example,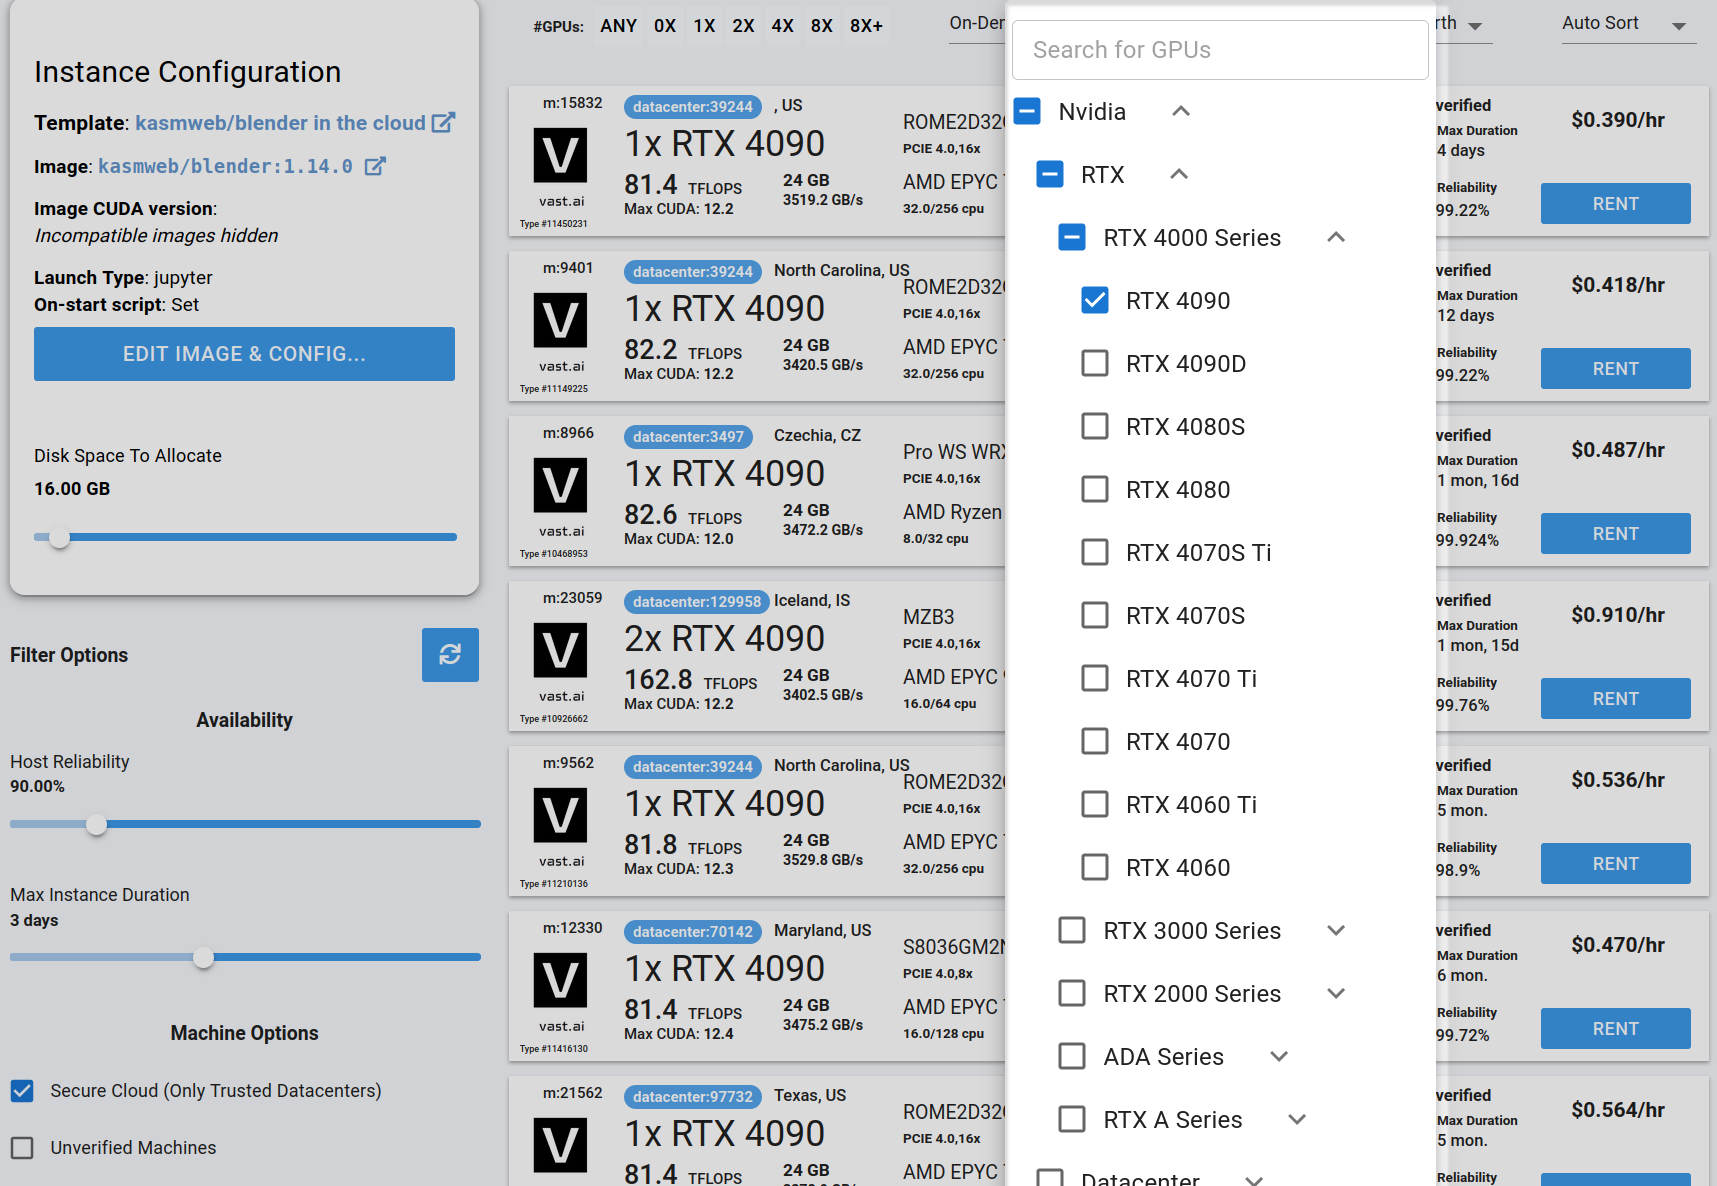
Step 4 - Choose a GPU by Clicking “RENT”
Choose a GPU that meets your budget, desired reliability %, and other constraints by clicking “RENT”. GPUs are sorted by a complex proprietary algorithm that aims to give users the best machines for their value by default. You can filter GPUs further per your requirements if desired.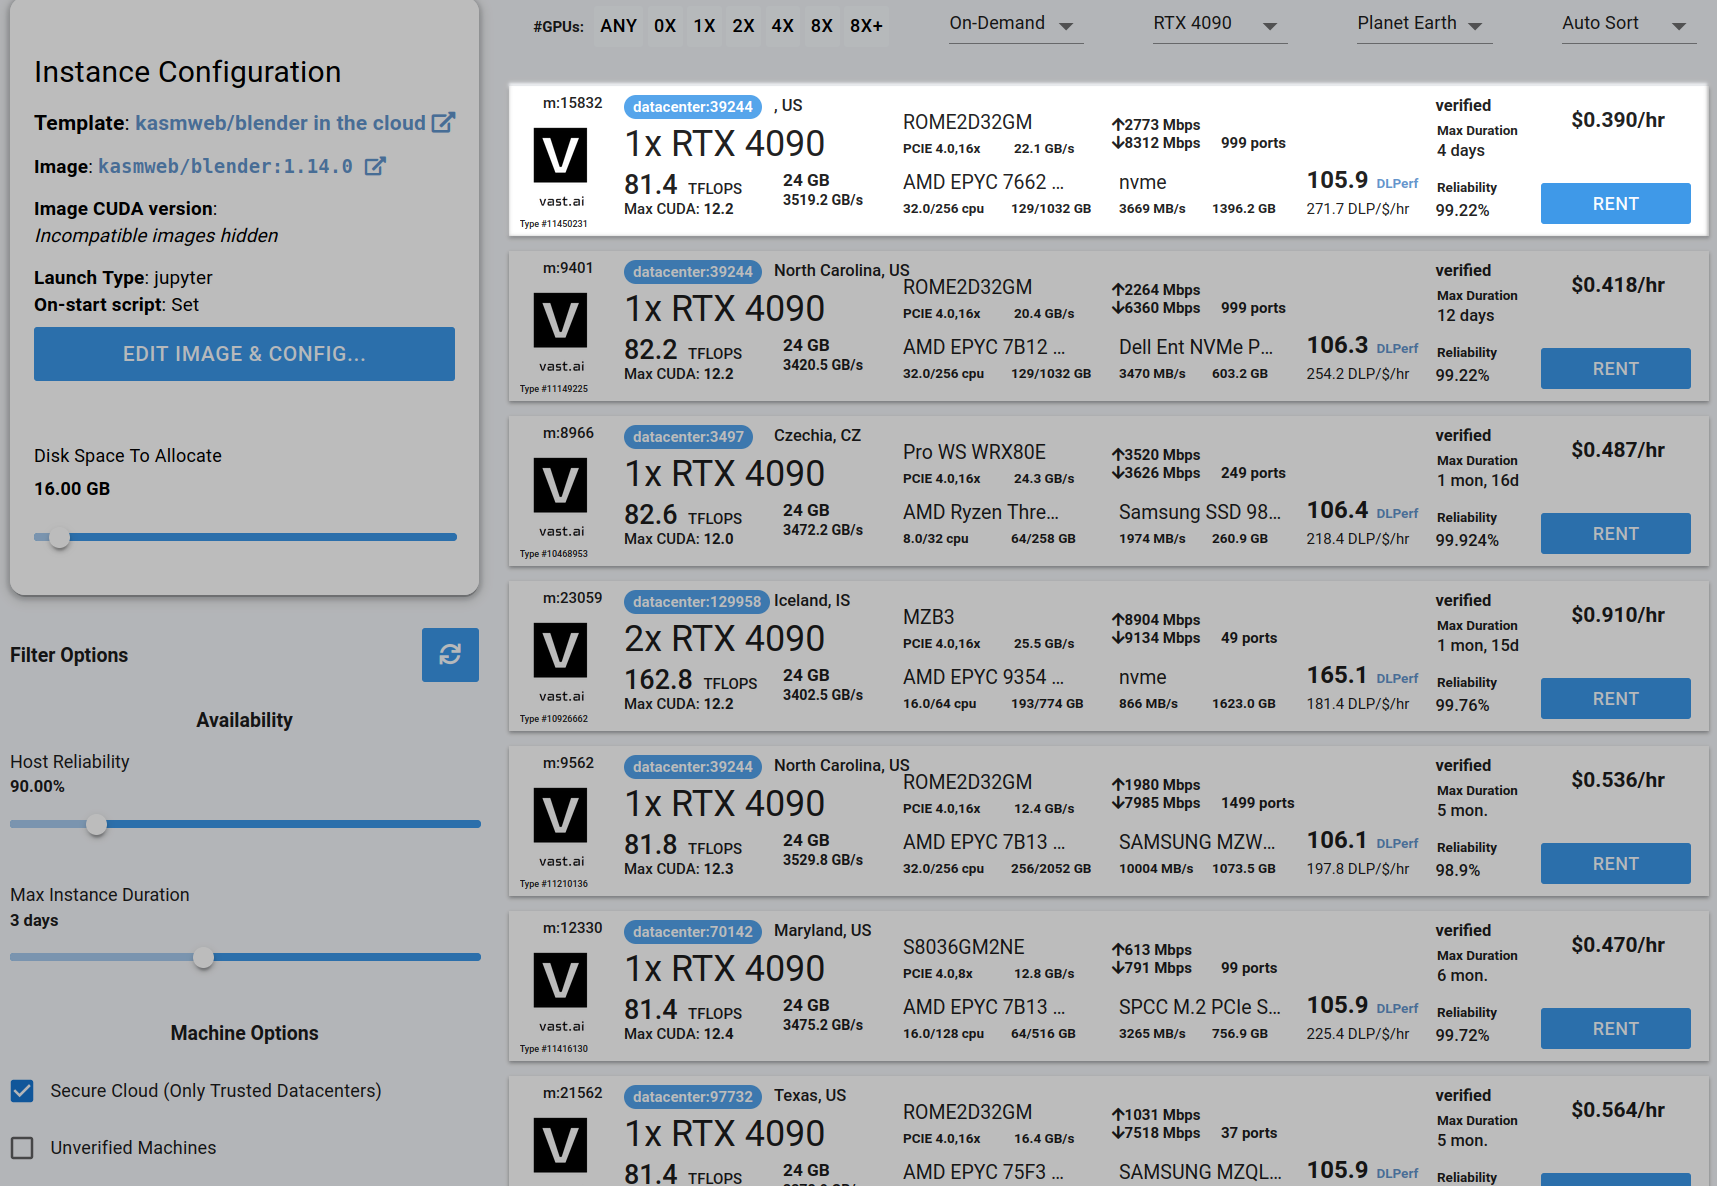
Step 5 - Use Jupyter Direct HTTPS Launch Mode
Follow the instructions related to adding a certificate to your browser if you need to when it asks you to “Setup Jupyter Direct HTTPS” and click “CONTINUE”. Here’s more information on the Jupyter direct HTTPS Launch Mode and Installing the TLS certificate: Jupyter.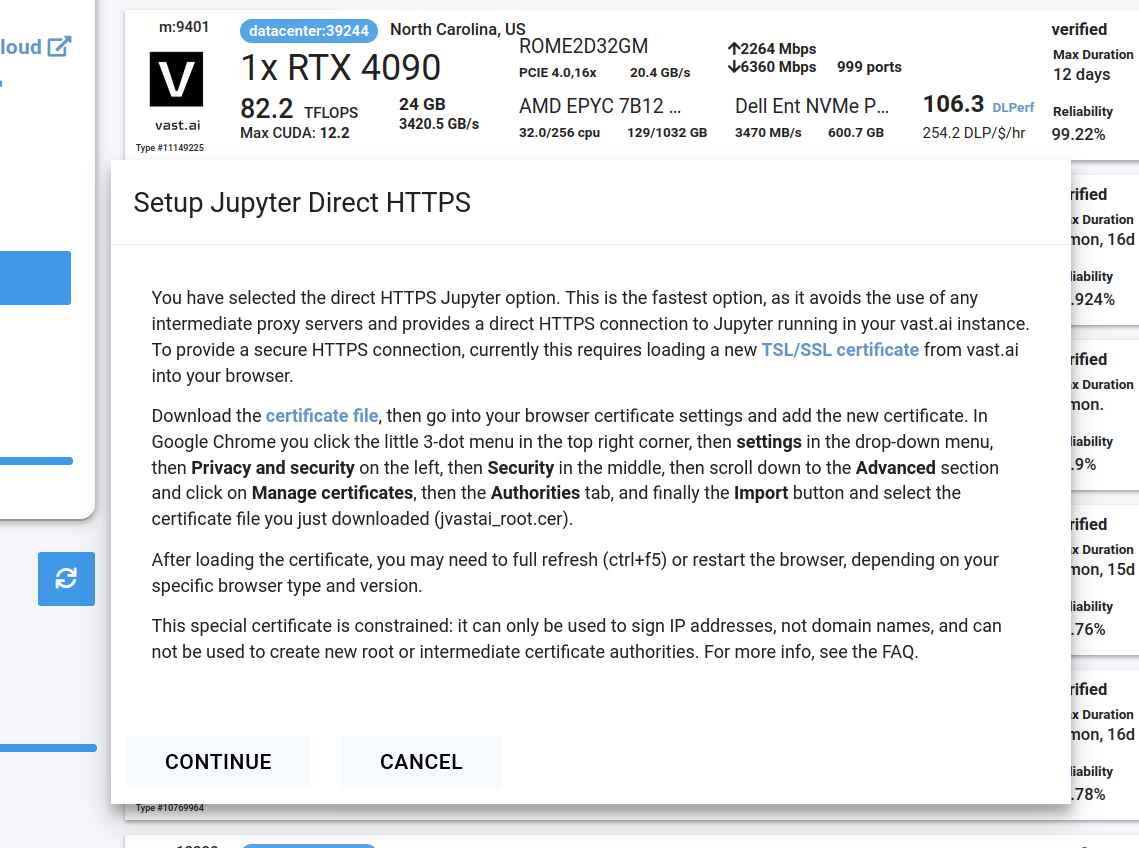
Step 6 - Click the Open Button or Jupyter Notebook button to open Jupyter Notebook

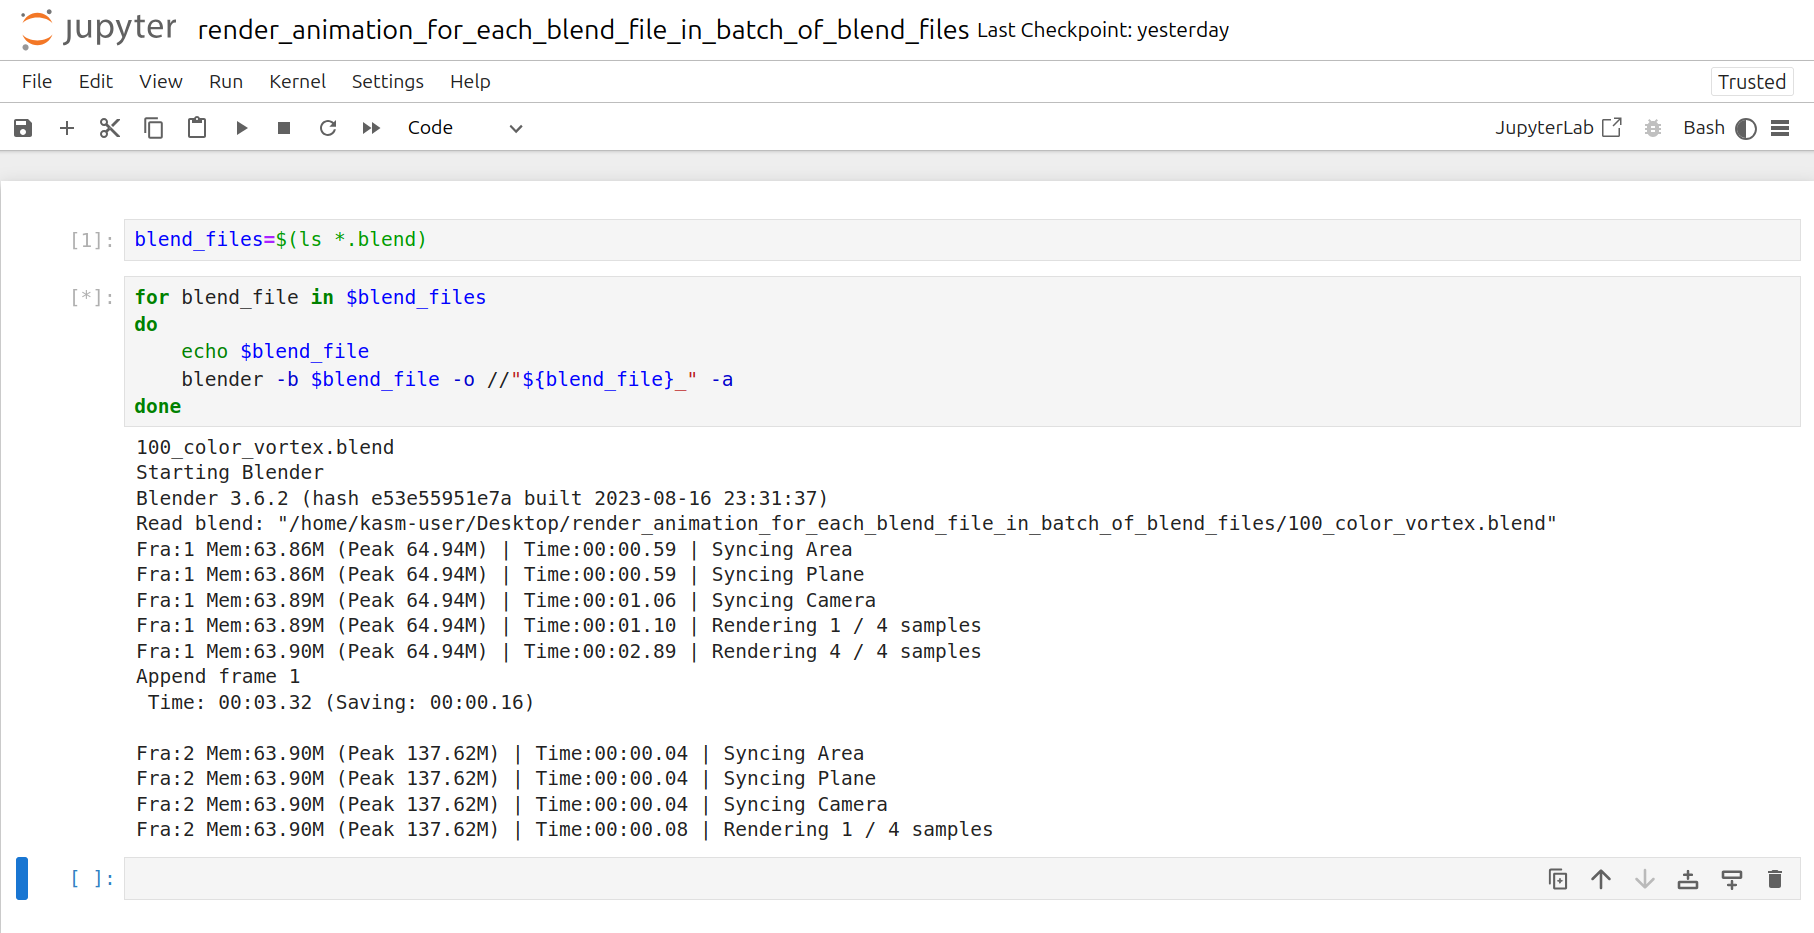
Step 7 - To Render Animation For Each Blend File In Batch Of Blend Files
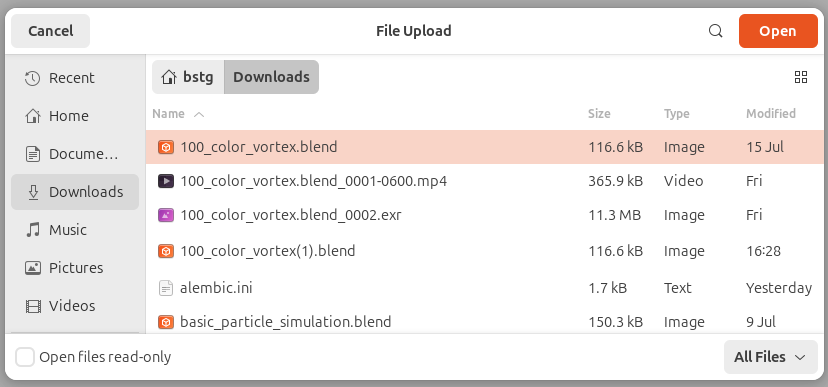
If you want to render a respective animation for each blend file in a batch of blend files, follow the following steps. Go to /Desktop/render_animation_for_each_blend_file_in_batch_of_blend_files/ folder in Jupyter Notebook



Step 8 - To Render Animation For Xth Frame of Each Blend File In Batch Of Blend Files
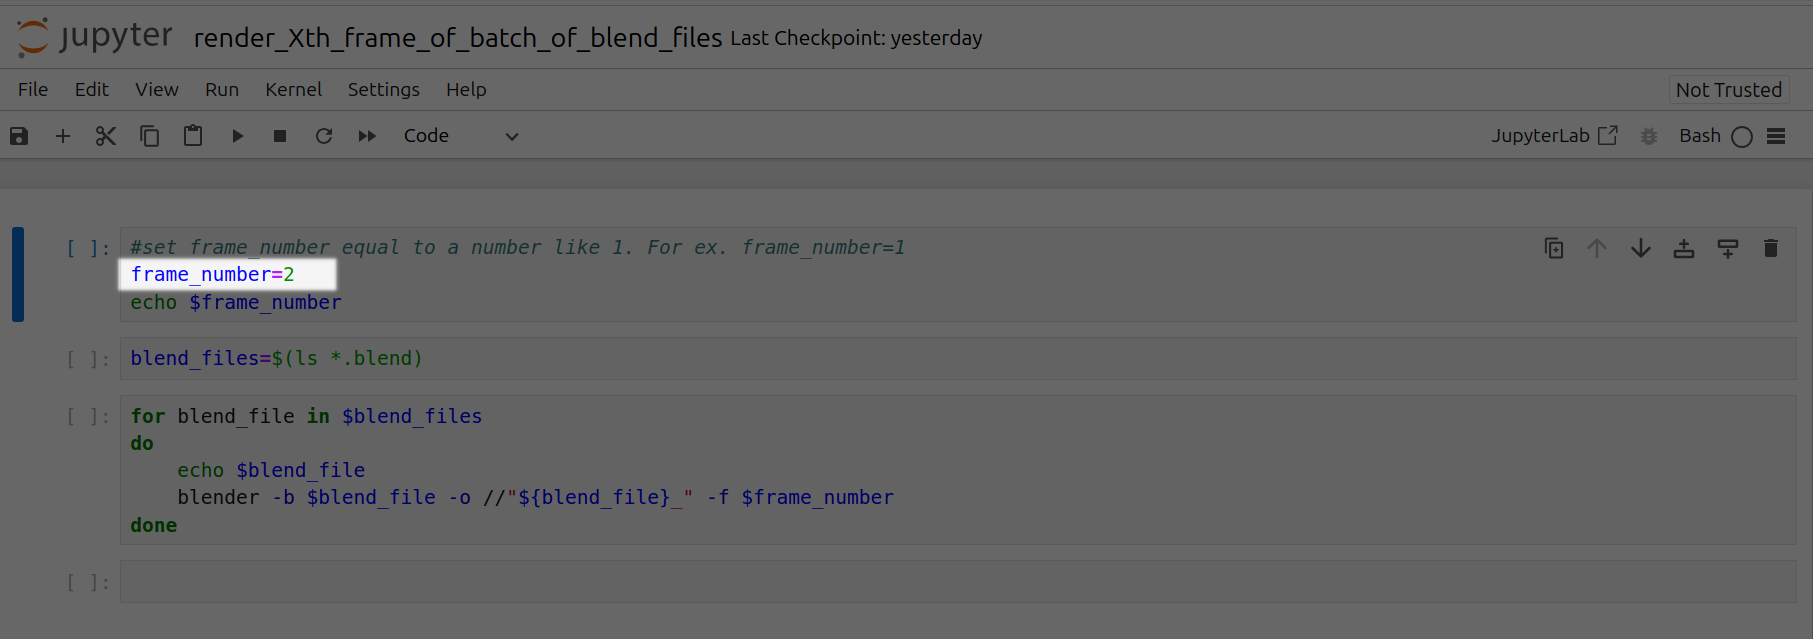
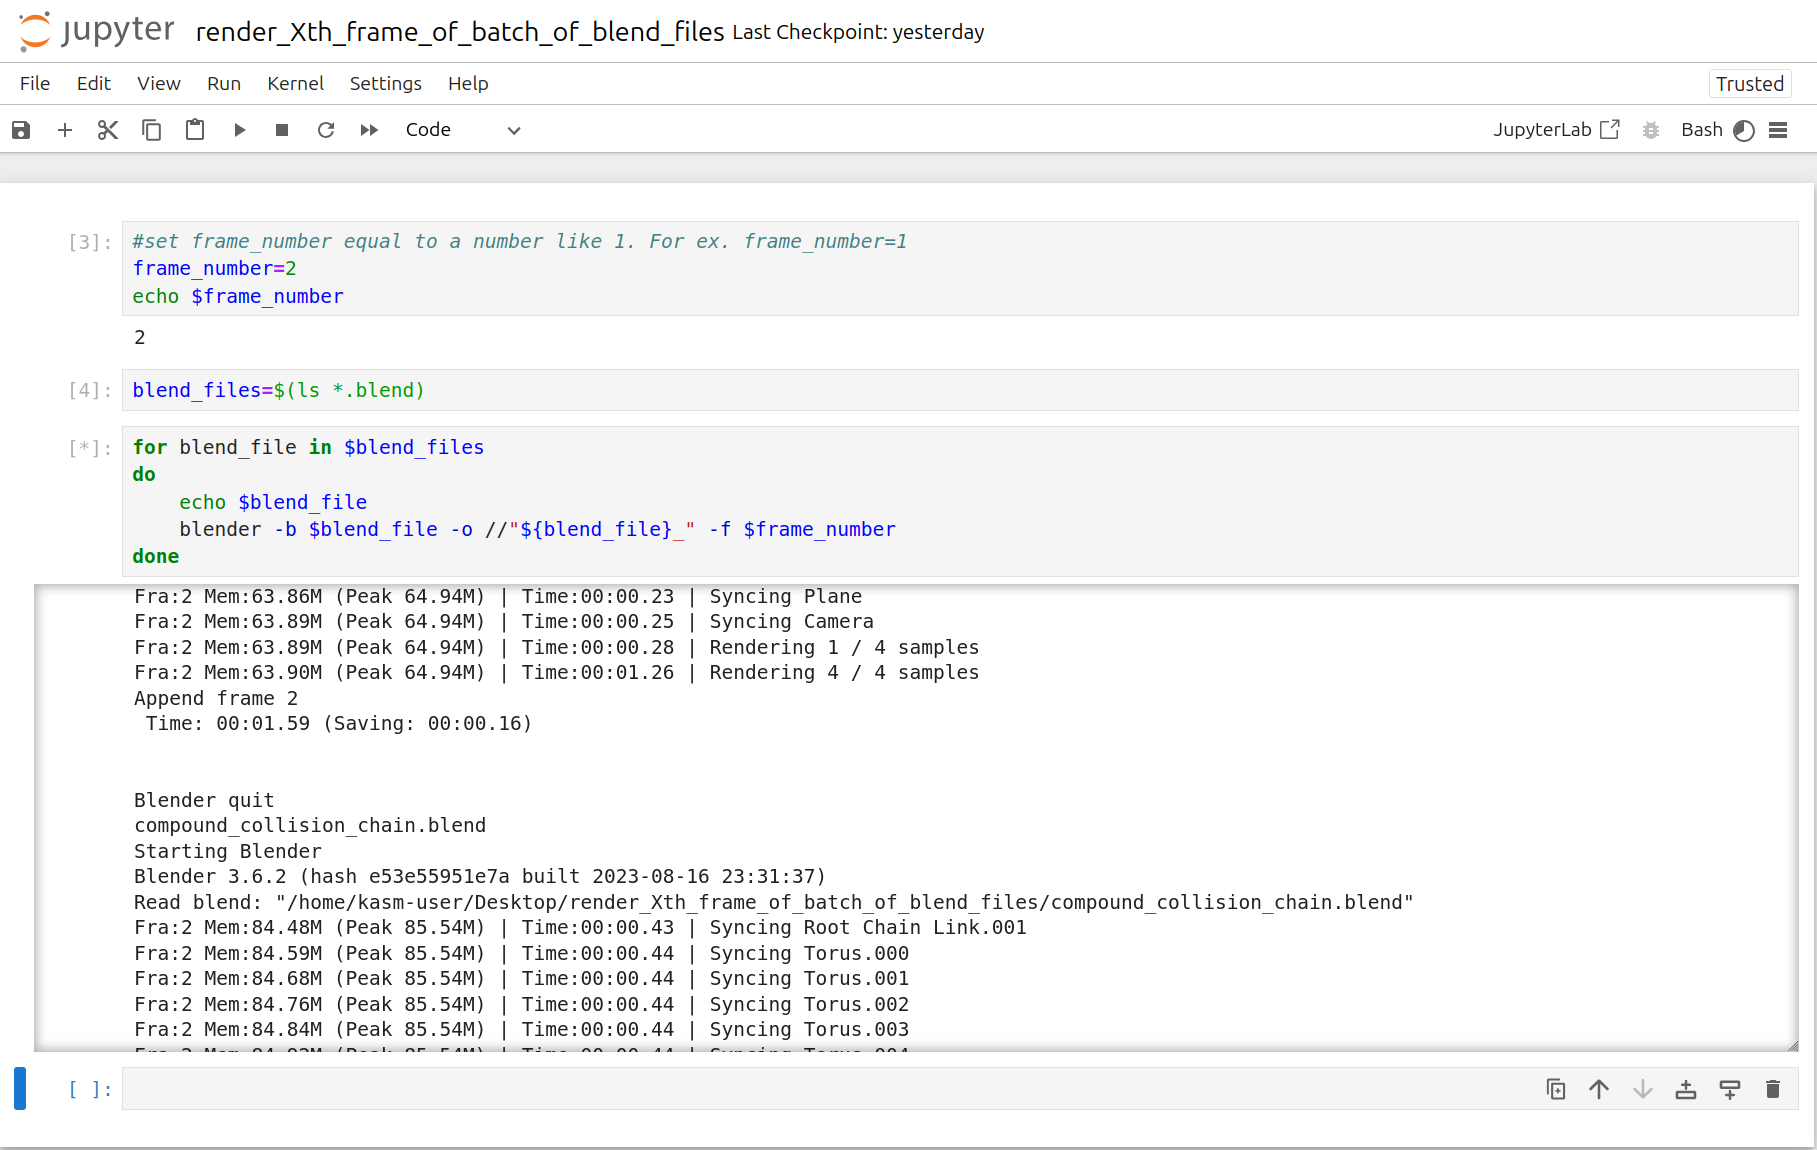
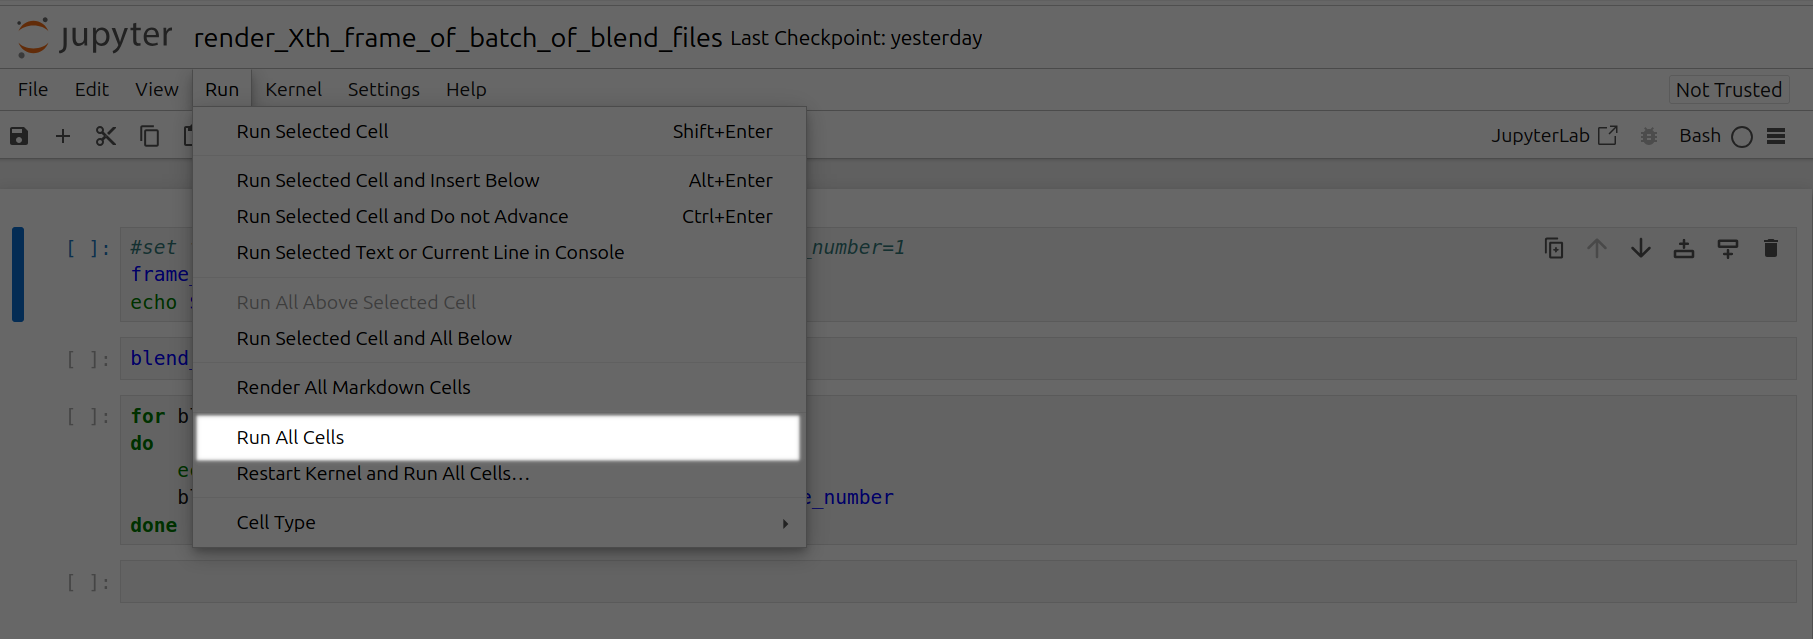
If you want to render a respective animation for the Xth frame of each blend file in a batch of blend files, follow the following steps. Go to /Desktop/render_Xth_frame_of_batch_of_blend_files/ folder in Jupyter Notebook
