> ## Documentation Index
> Fetch the complete documentation index at: https://docs.vast.ai/llms.txt
> Use this file to discover all available pages before exploring further.
# Setting Up Endpoints
> Create and configure a serverless endpoint with full control over parameters and workergroup configuration
This guide walks through creating a serverless endpoint using the full configuration flow, giving you control over scaling parameters, workergroup setup, and template selection.
For a faster, one-click setup, see the [Quickstart](/guides/serverless/quickstart).
## Create an Endpoint
Navigate to the [Serverless Dashboard](https://cloud.vast.ai/serverless/). How you open the **Create Endpoint** dialog depends on whether you already have an endpoint:
* **No endpoints yet:** the dashboard shows the **"Get Started"** quickstart modal. Click **"Advanced setup"** at the bottom of the modal to switch to the full configuration flow.
* **Existing endpoint:** click **"+ Endpoint"** in the top right.
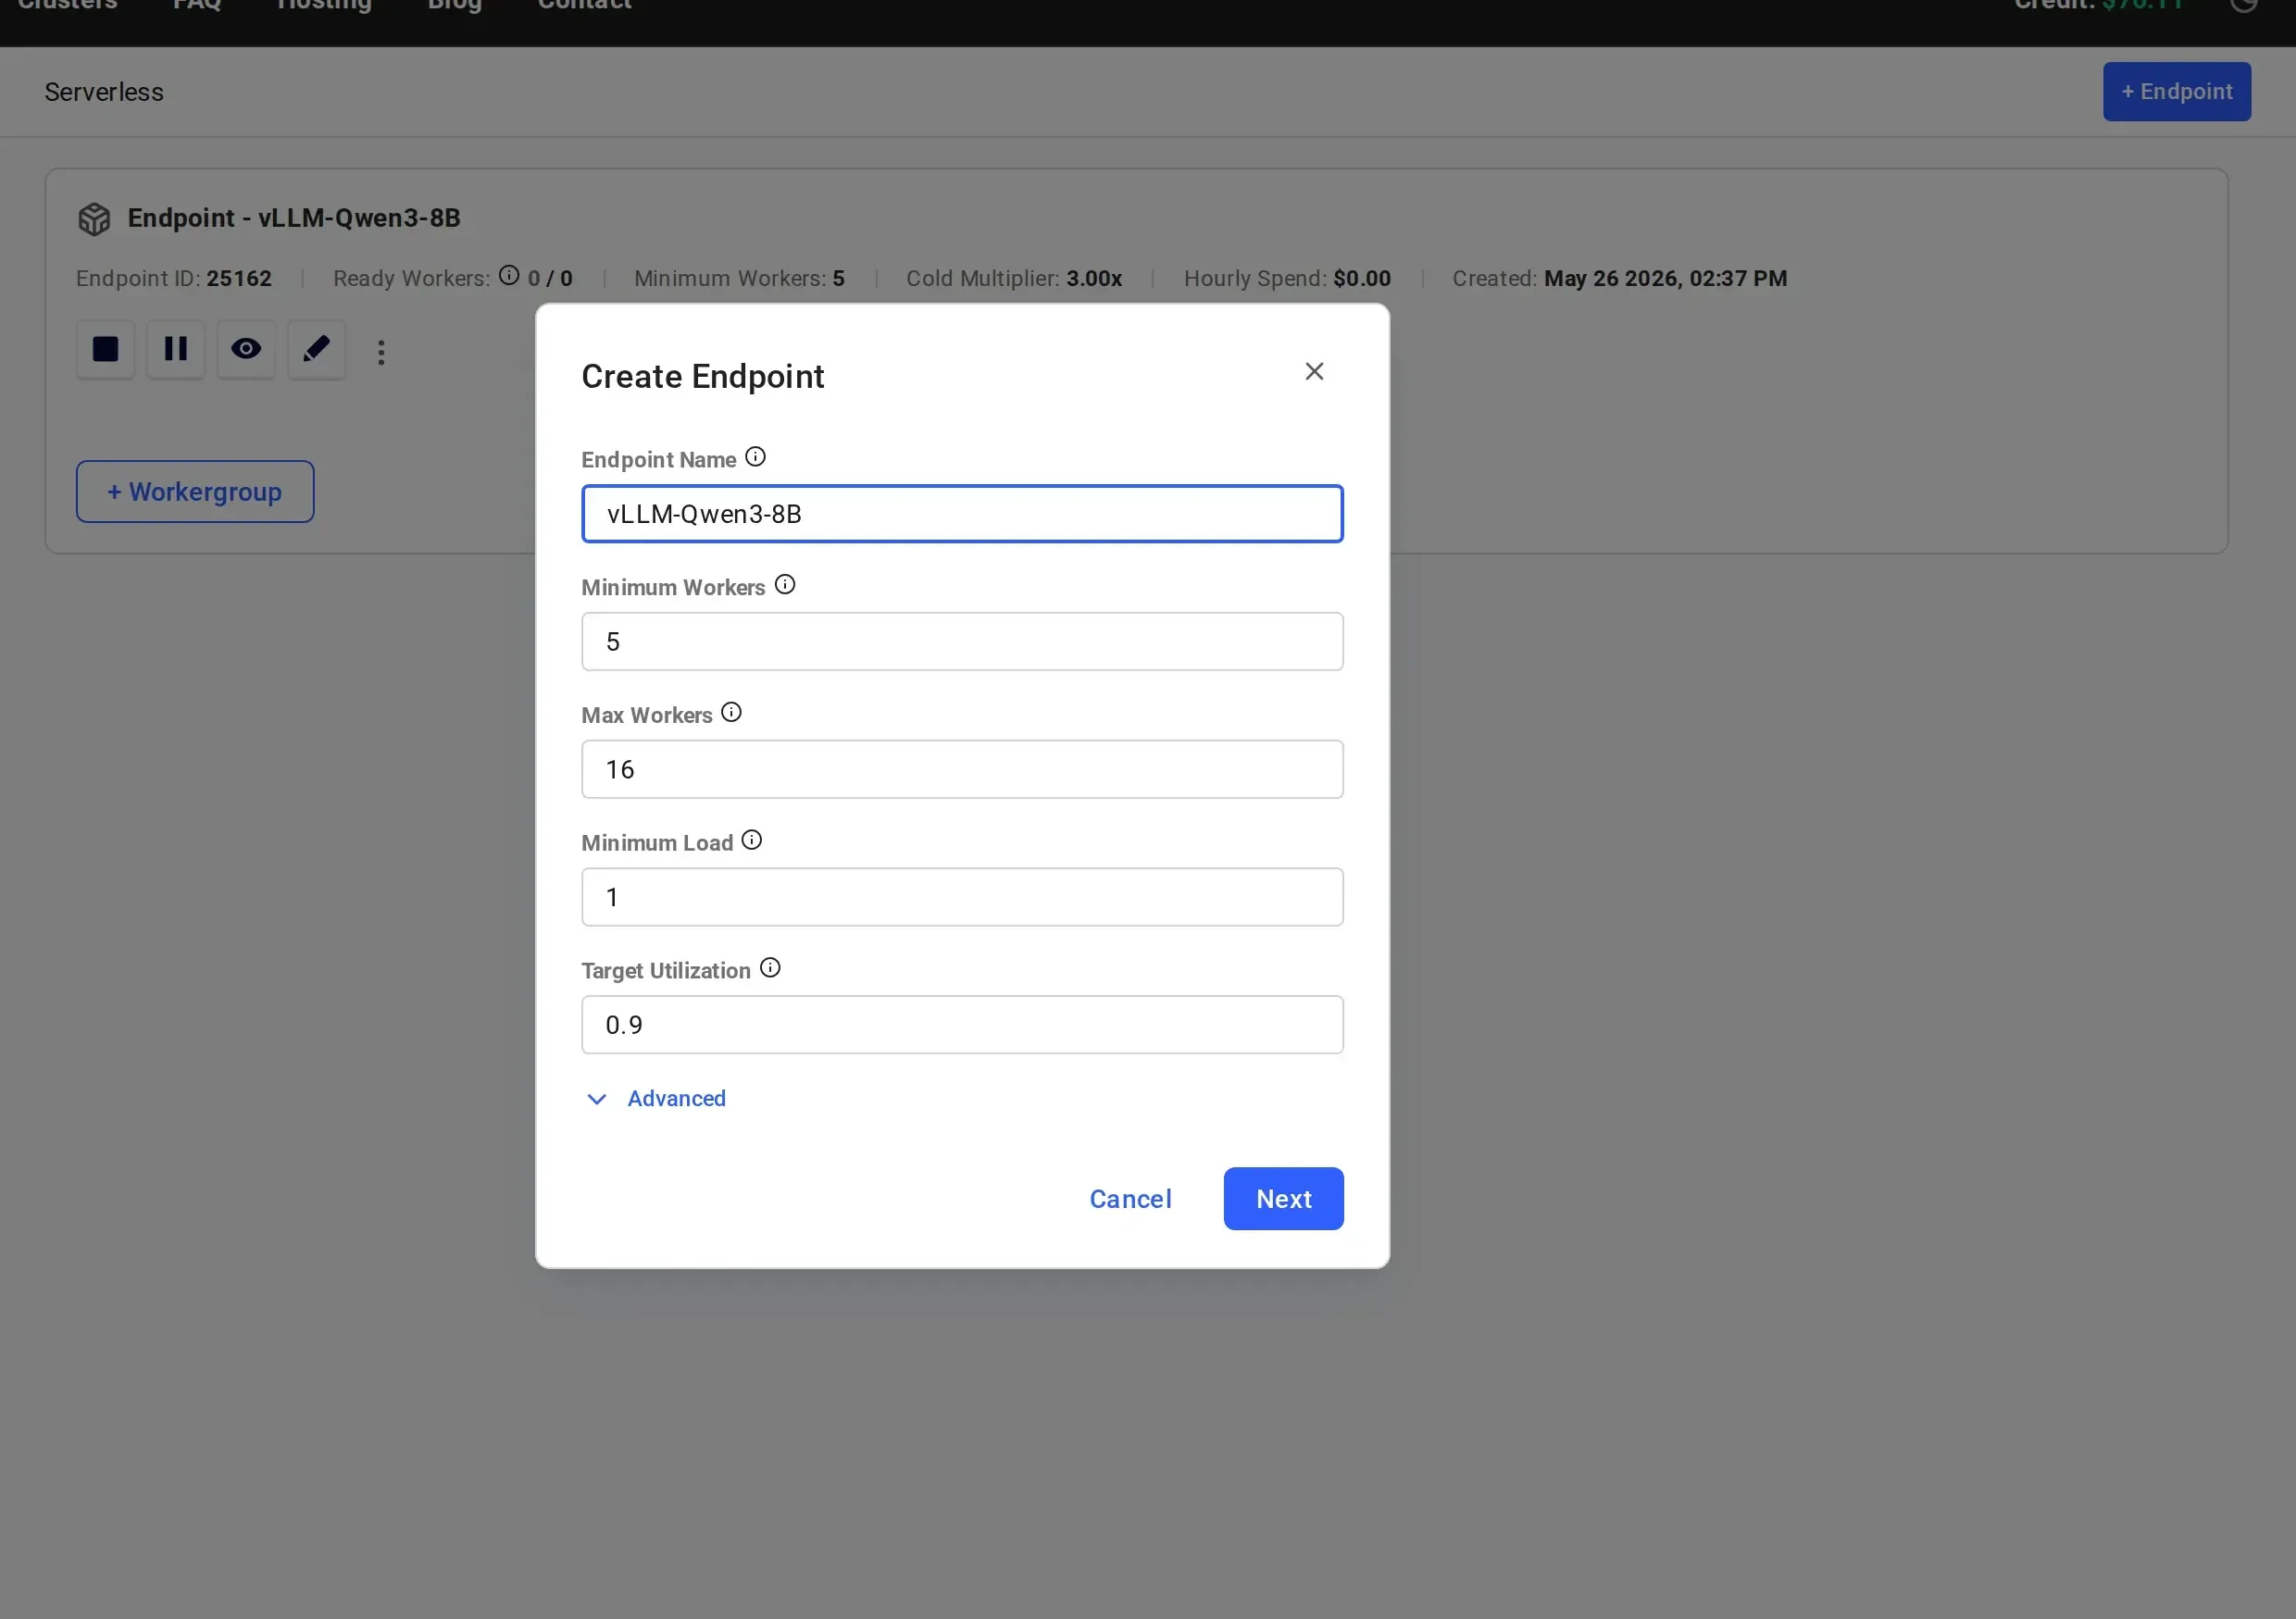
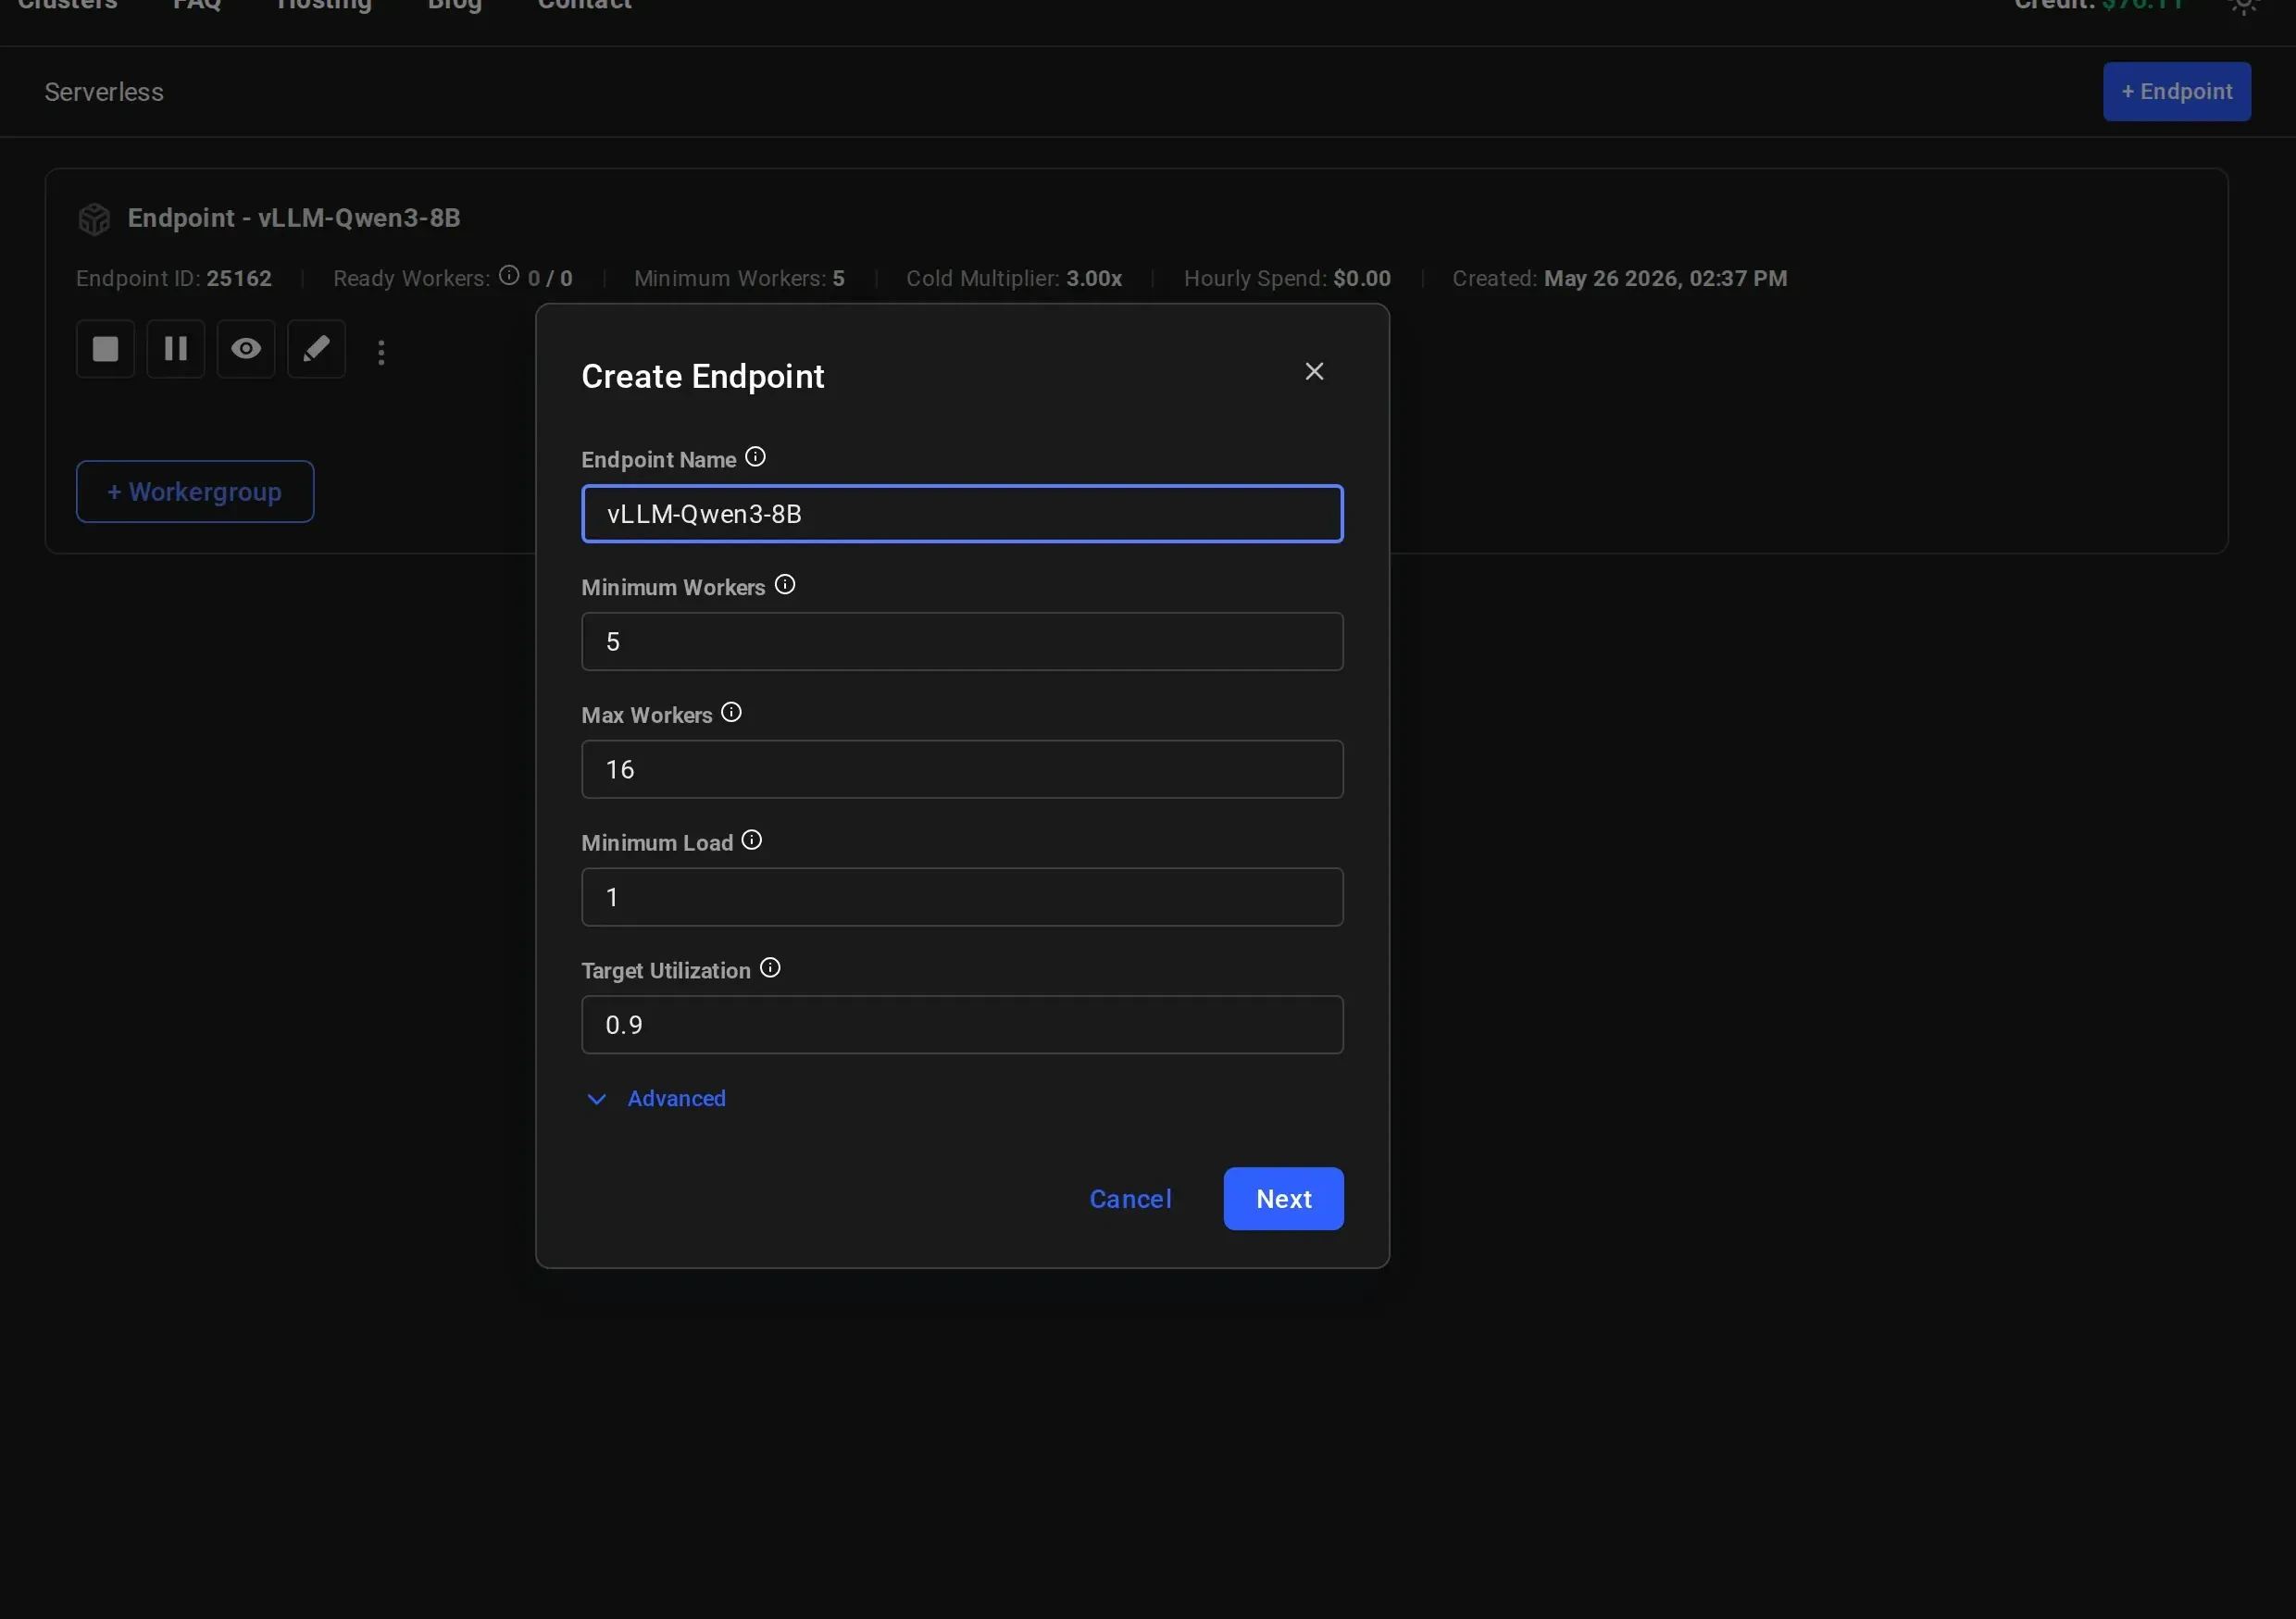
Either path opens the **Create Endpoint** dialog, which lets you configure the following parameters:
| Parameter | Default | Description |
| ---------------------- | -------------- | -------------------------------------------------------------------- |
| **Endpoint Name** | Auto-generated | A descriptive name for your endpoint |
| **Minimum Workers** | 5 | Minimum total workers (active + inactive) maintained by the engine |
| **Max Workers** | 16 | Hard upper limit on total workers |
| **Minimum Load** | 1 | Minimum active capacity (keeps at least one worker active) |
| **Target Utilization** | 0.9 | Ratio of active capacity to anticipated load (lower = more headroom) |
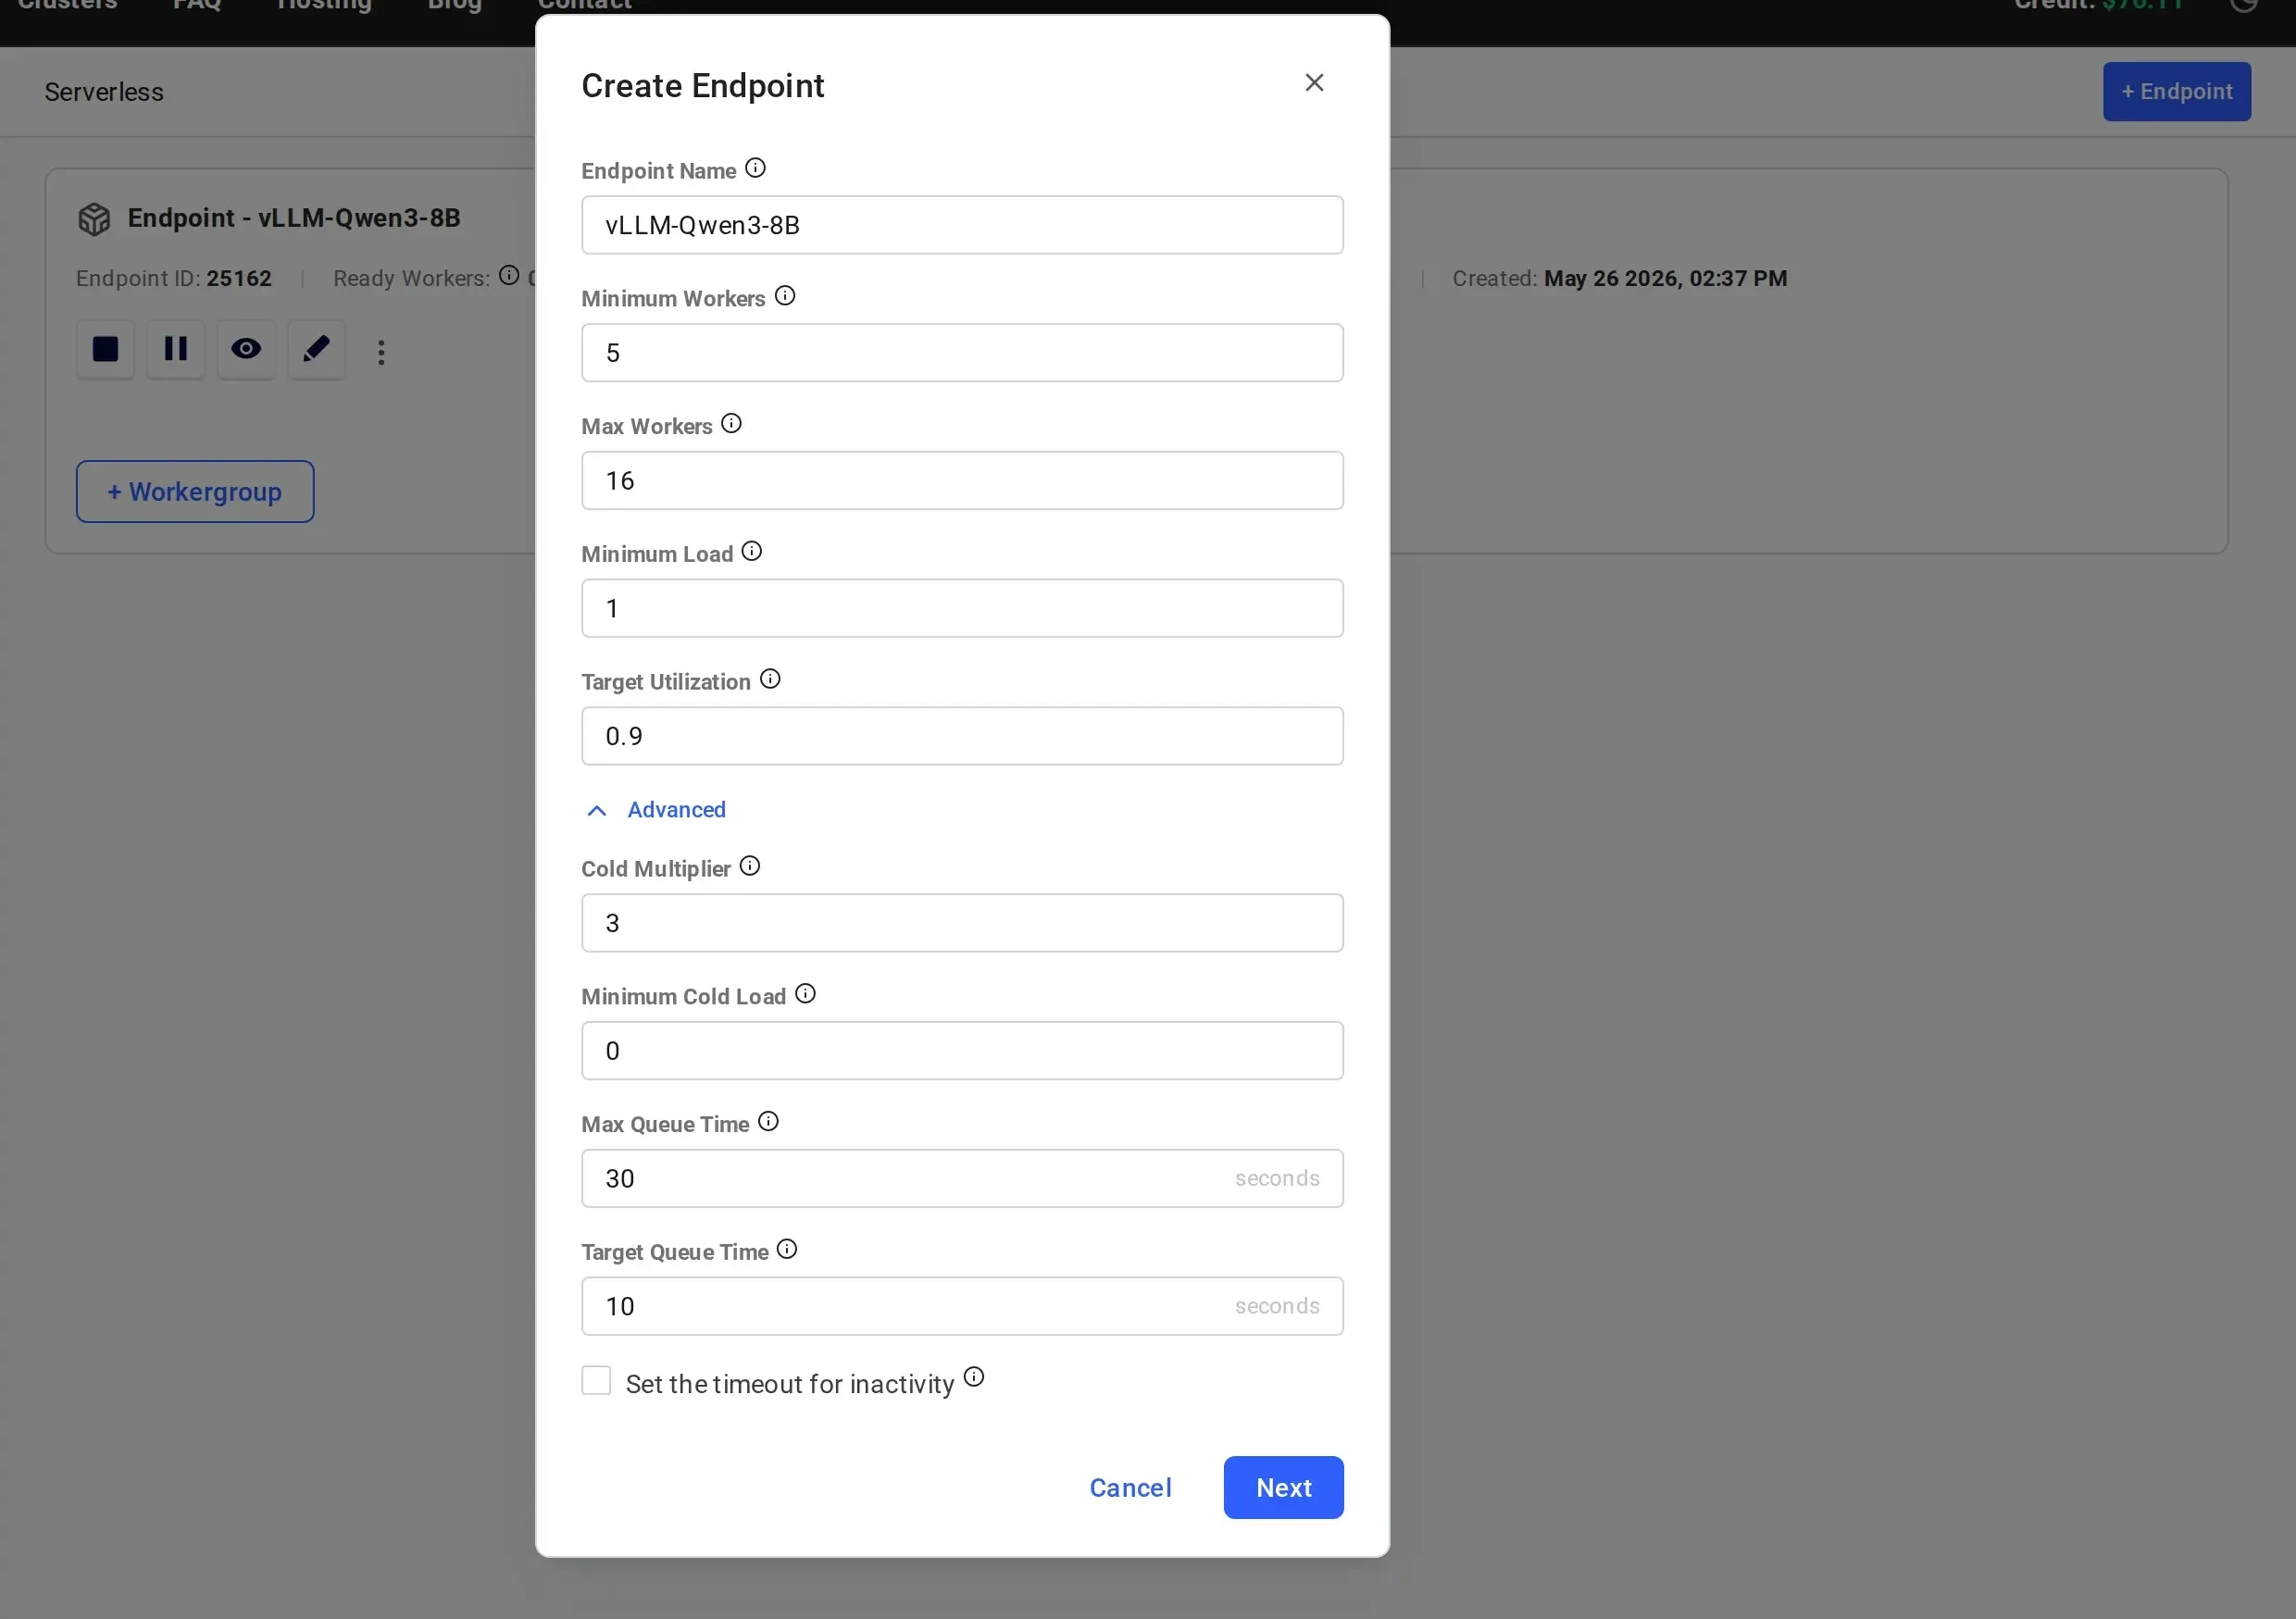
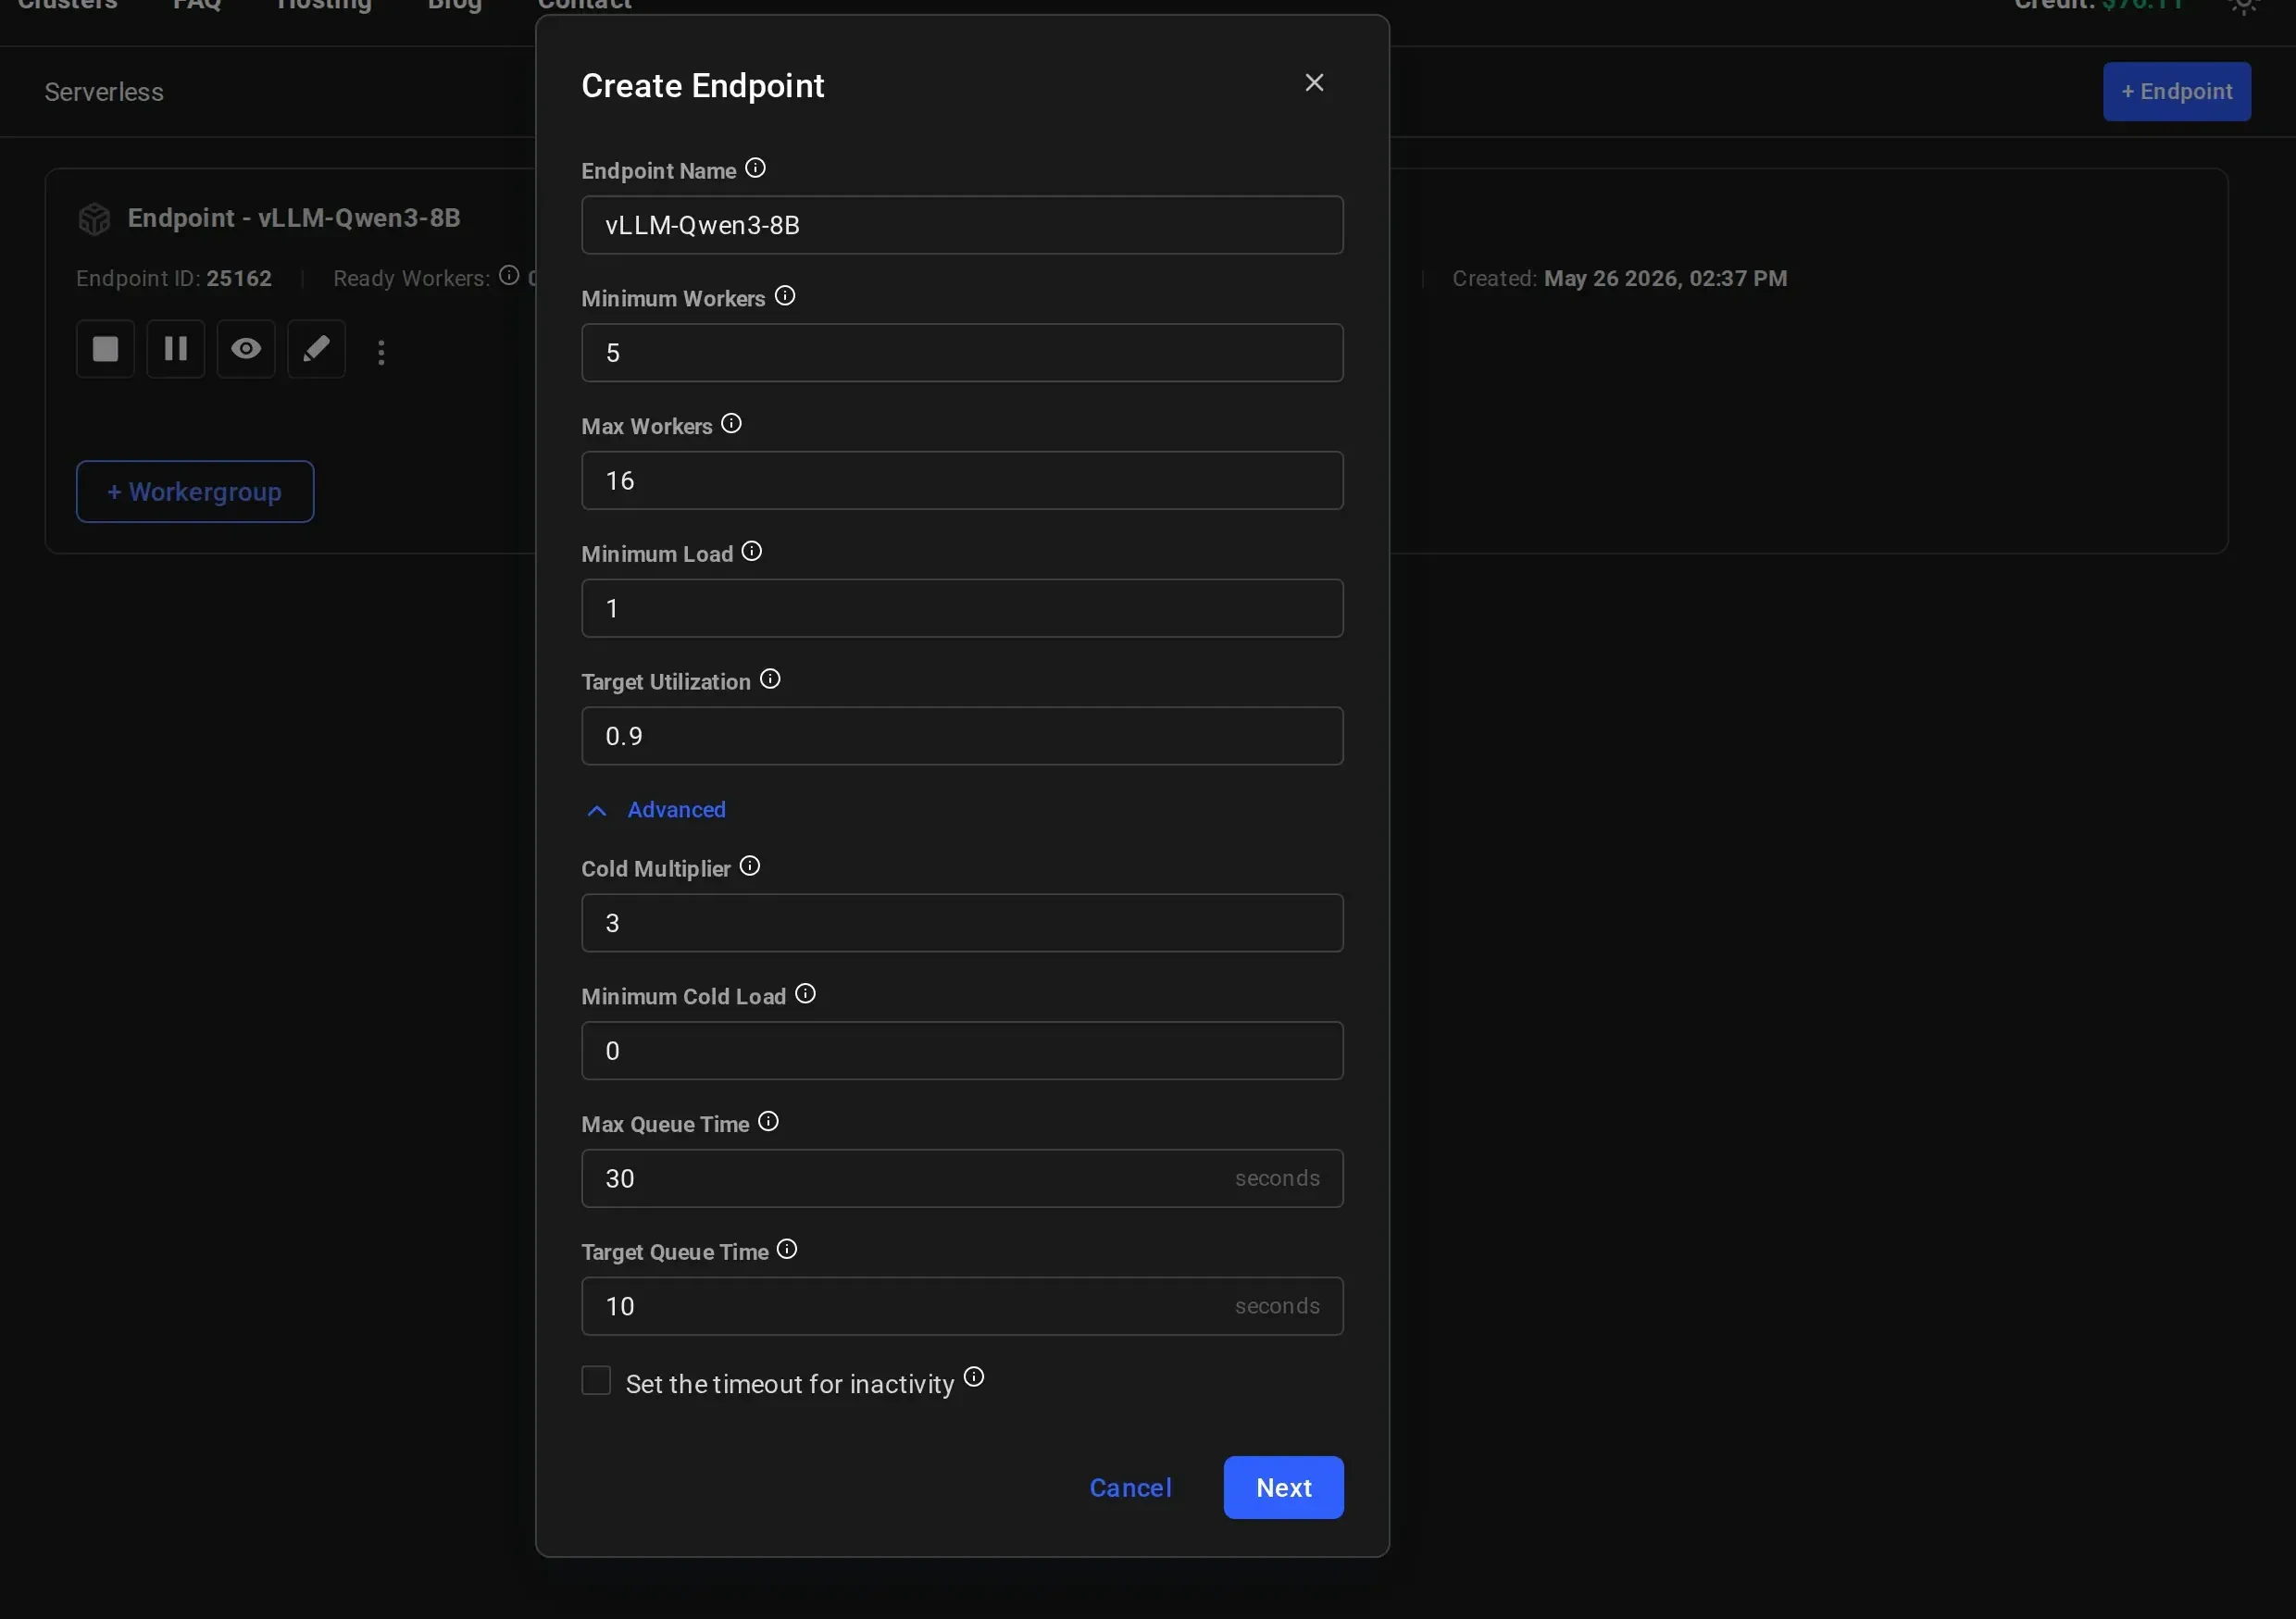
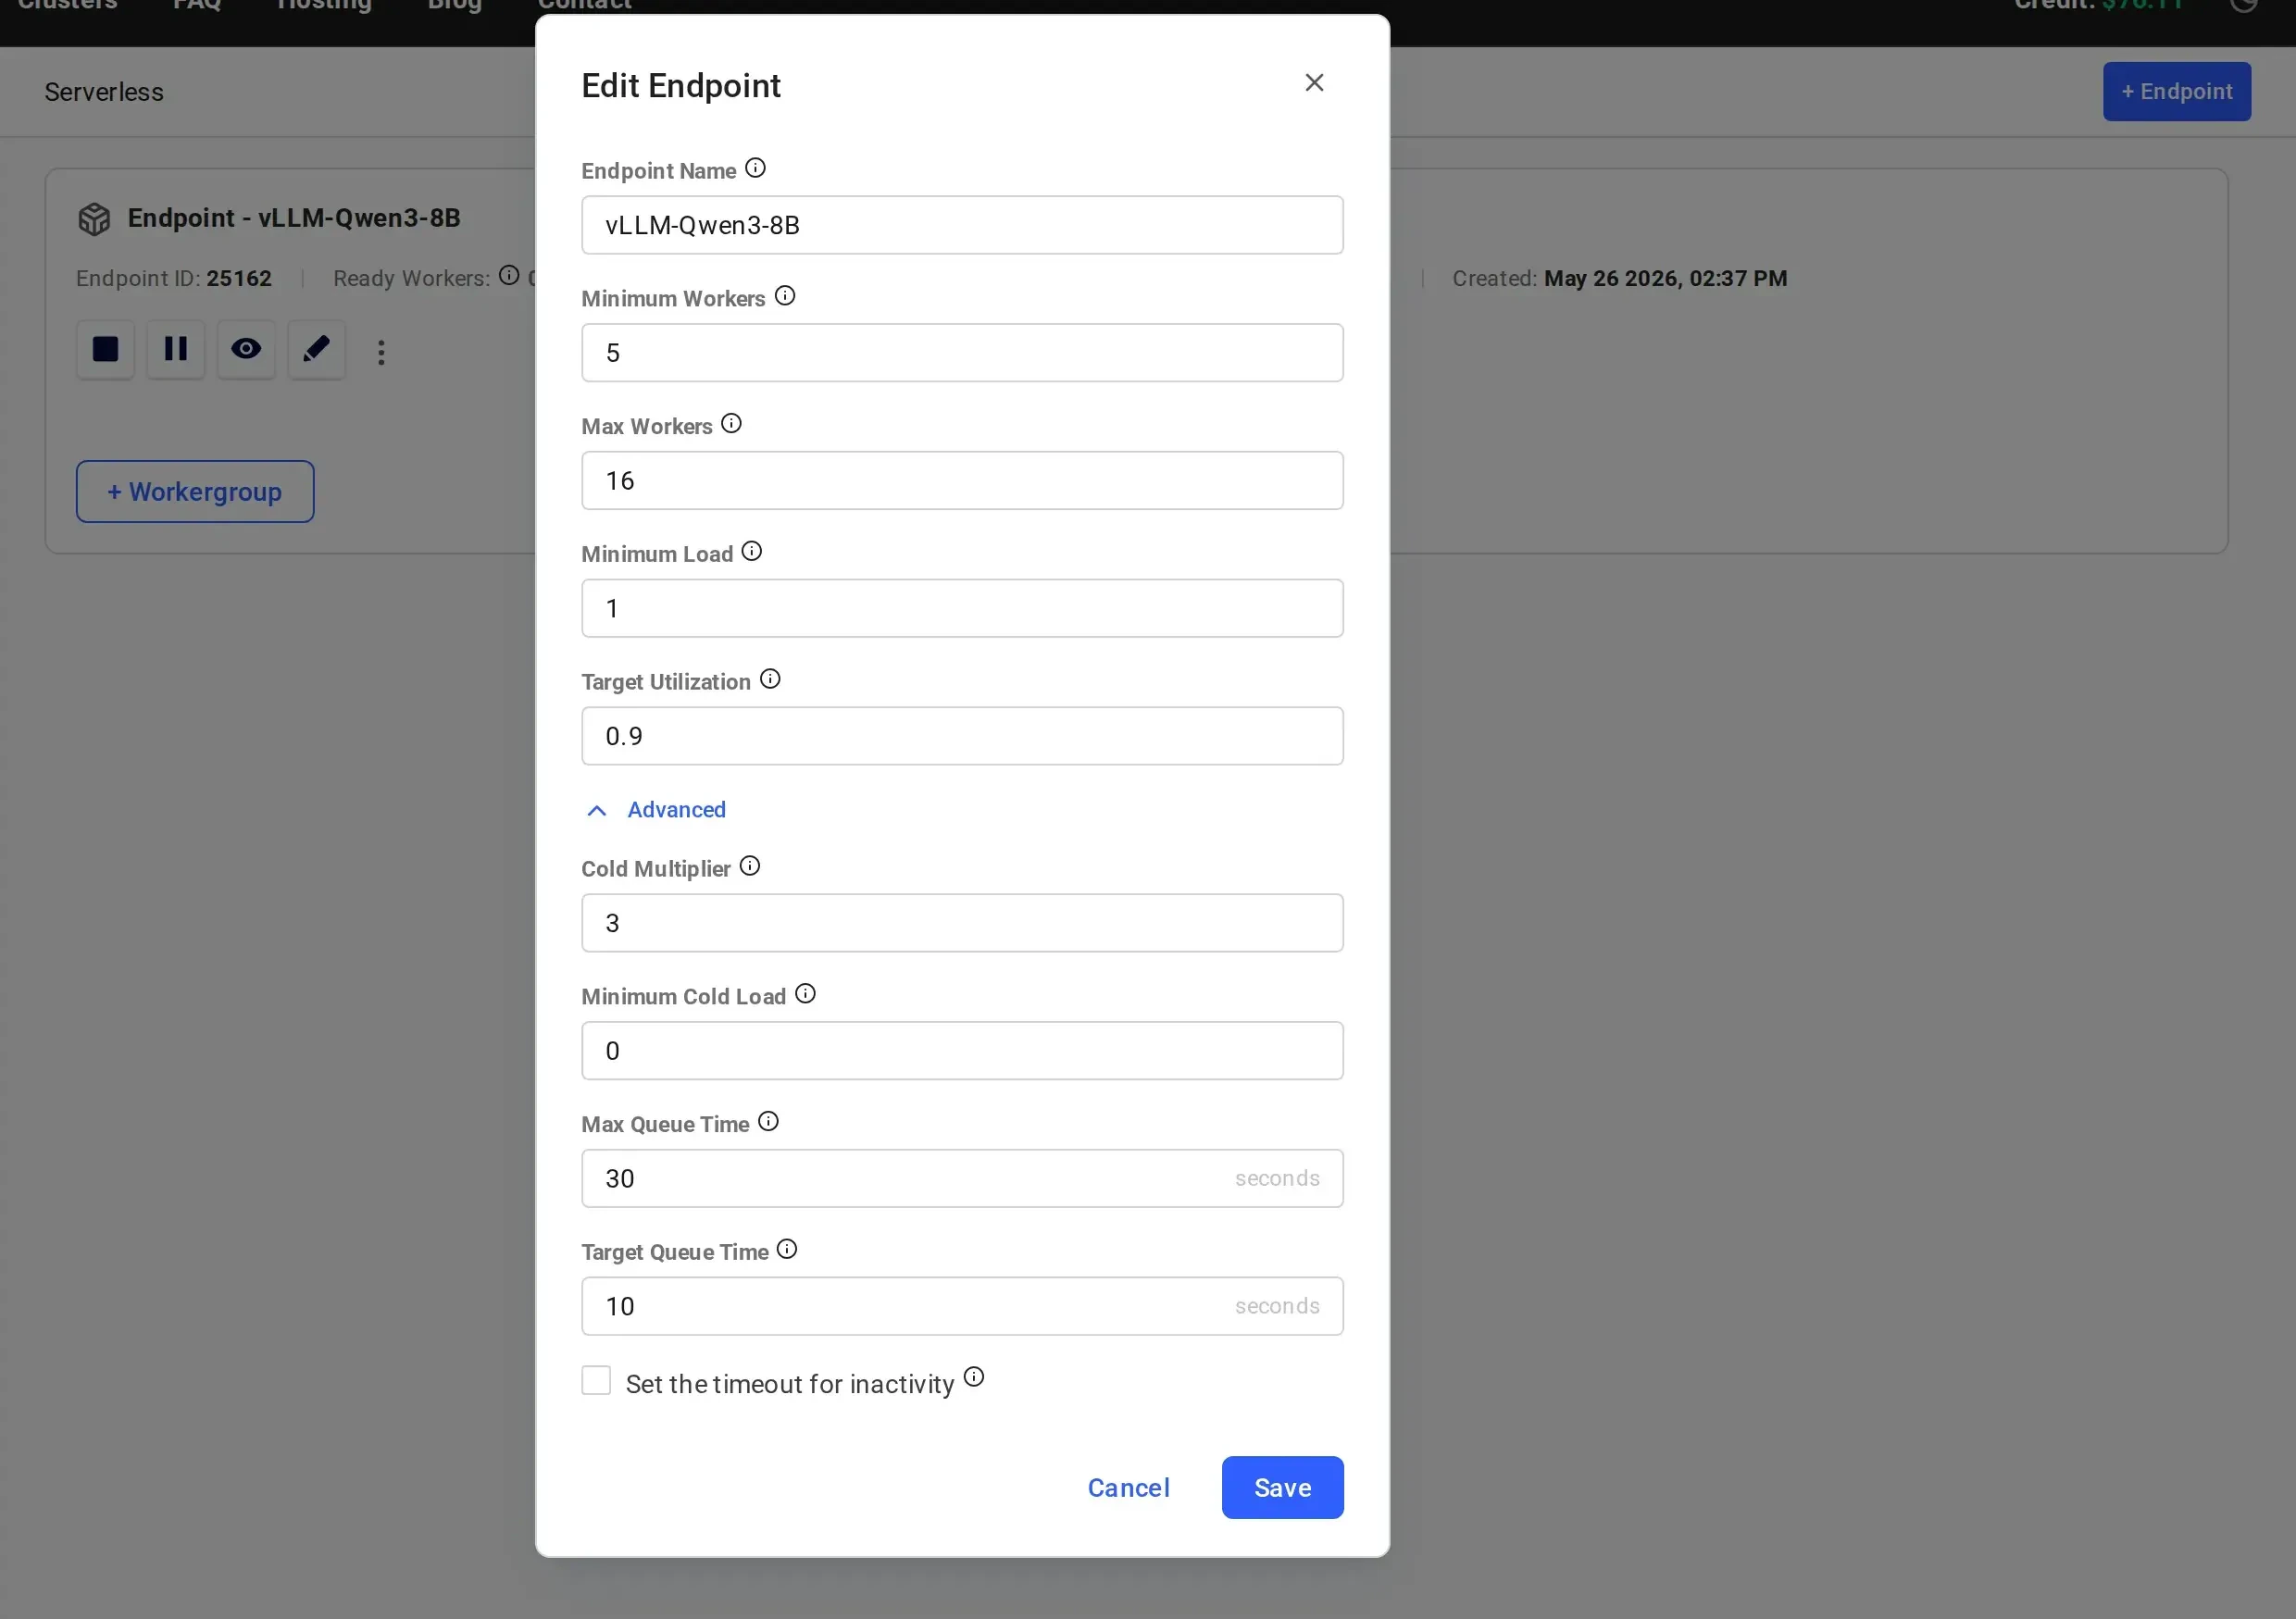
 Optionally, click **"Advanced"** to expand additional scaling parameters. These all have sensible defaults, so you can leave them as-is and continue:
| Parameter | Default | Description |
| ---------------------- | ------- | ------------------------------------------------------------------- |
| **Cold Multiplier** | 3 | Inactive capacity as a multiplier of current active workload |
| **Minimum Cold Load** | 0 | Total capacity target independent of cold multiplier |
| **Max Queue Time** | 30s | Max seconds of expected queue time per worker before routing holds |
| **Target Queue Time** | 10s | Queue time threshold that triggers aggressive scale-up |
| **Inactivity Timeout** | Not set | Seconds of inactivity before the engine is allowed to scale to zero |
Optionally, click **"Advanced"** to expand additional scaling parameters. These all have sensible defaults, so you can leave them as-is and continue:
| Parameter | Default | Description |
| ---------------------- | ------- | ------------------------------------------------------------------- |
| **Cold Multiplier** | 3 | Inactive capacity as a multiplier of current active workload |
| **Minimum Cold Load** | 0 | Total capacity target independent of cold multiplier |
| **Max Queue Time** | 30s | Max seconds of expected queue time per worker before routing holds |
| **Target Queue Time** | 10s | Queue time threshold that triggers aggressive scale-up |
| **Inactivity Timeout** | Not set | Seconds of inactivity before the engine is allowed to scale to zero |
 For details on what each parameter controls, see [Endpoint Parameters](/guides/serverless/serverless-parameters).
Click **"Next"** to proceed to workergroup configuration.
On the **Create Workergroup** page, start by selecting a template for your workers.
Click **"Select Template"** and choose from the available pre-built templates. For LLM inference, select **vLLM (Serverless)**, which comes pre-configured with:
* **Model**: Qwen/Qwen3-8B (8 billion parameter LLM)
* **Framework**: vLLM for high-performance inference
* **API**: OpenAI-compatible endpoints
For details on what each parameter controls, see [Endpoint Parameters](/guides/serverless/serverless-parameters).
Click **"Next"** to proceed to workergroup configuration.
On the **Create Workergroup** page, start by selecting a template for your workers.
Click **"Select Template"** and choose from the available pre-built templates. For LLM inference, select **vLLM (Serverless)**, which comes pre-configured with:
* **Model**: Qwen/Qwen3-8B (8 billion parameter LLM)
* **Framework**: vLLM for high-performance inference
* **API**: OpenAI-compatible endpoints
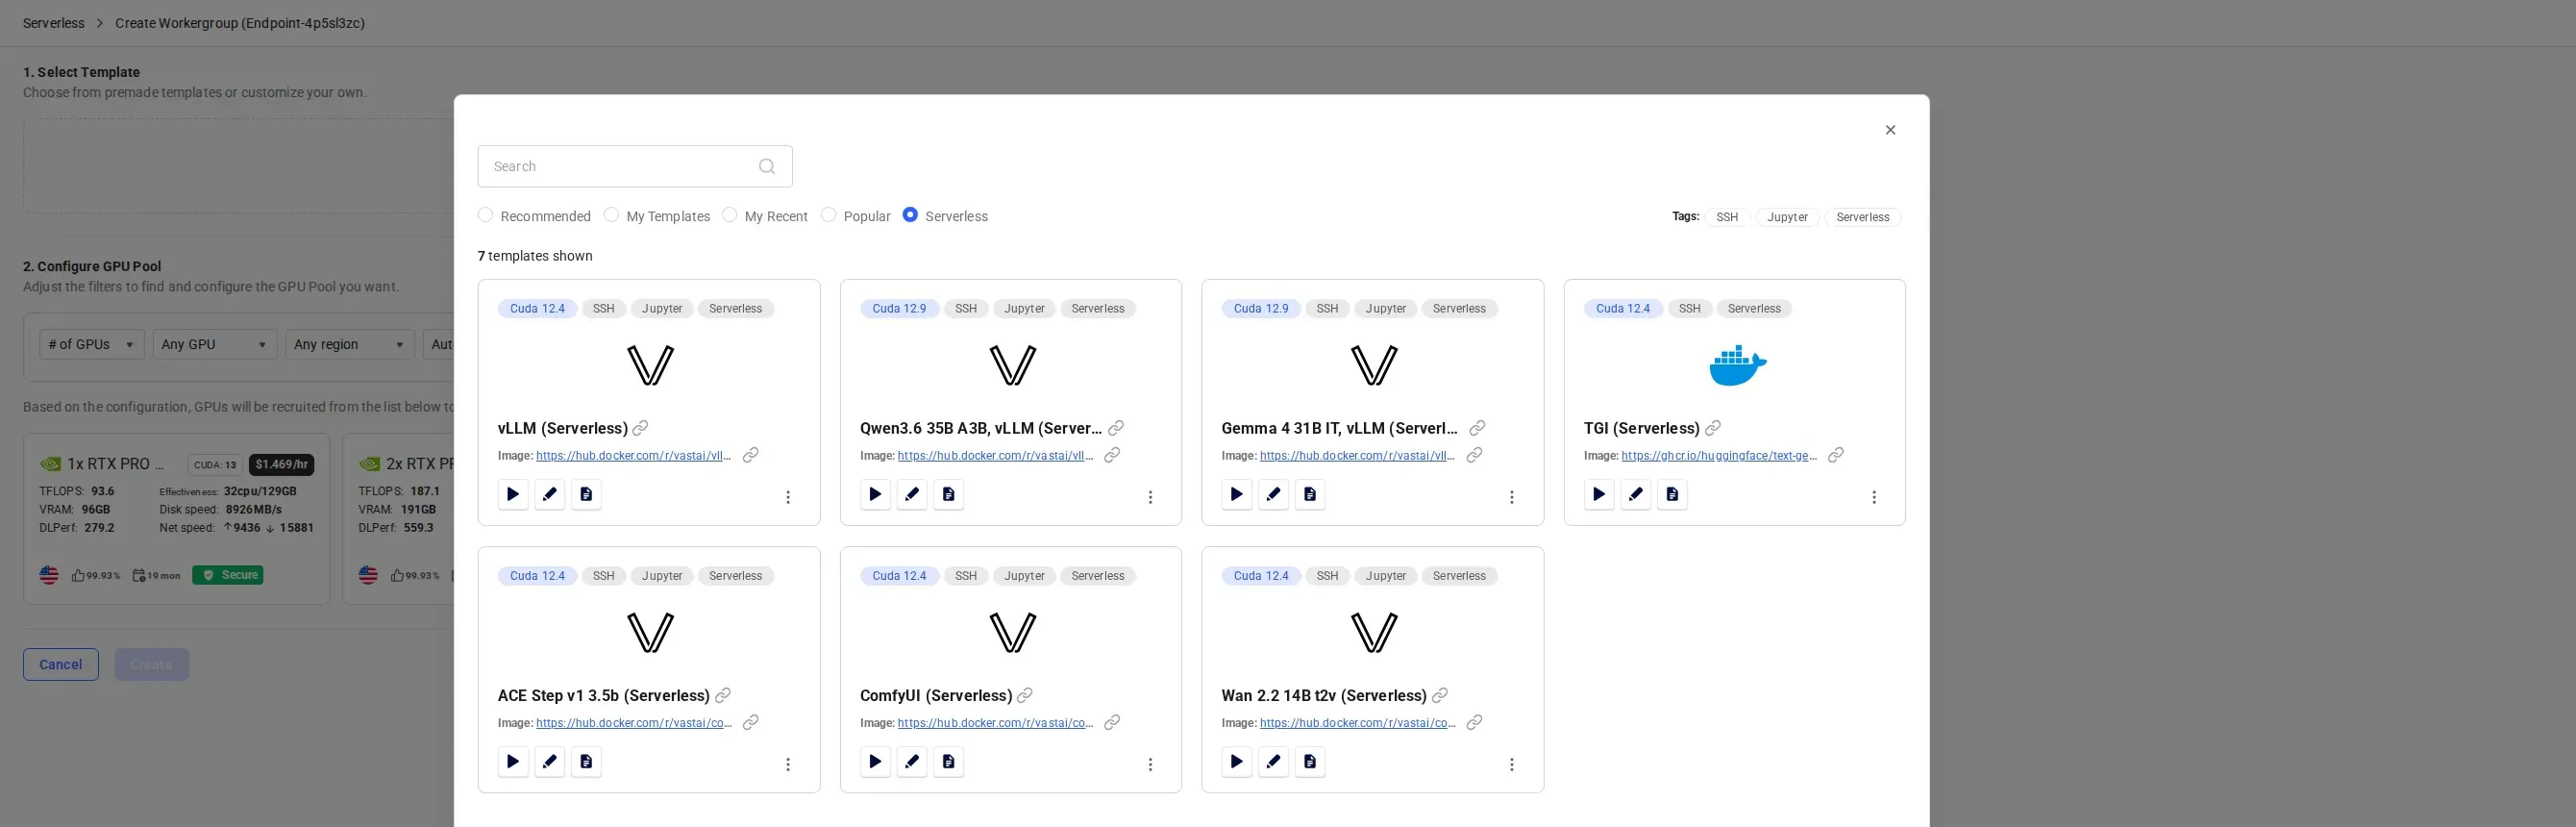
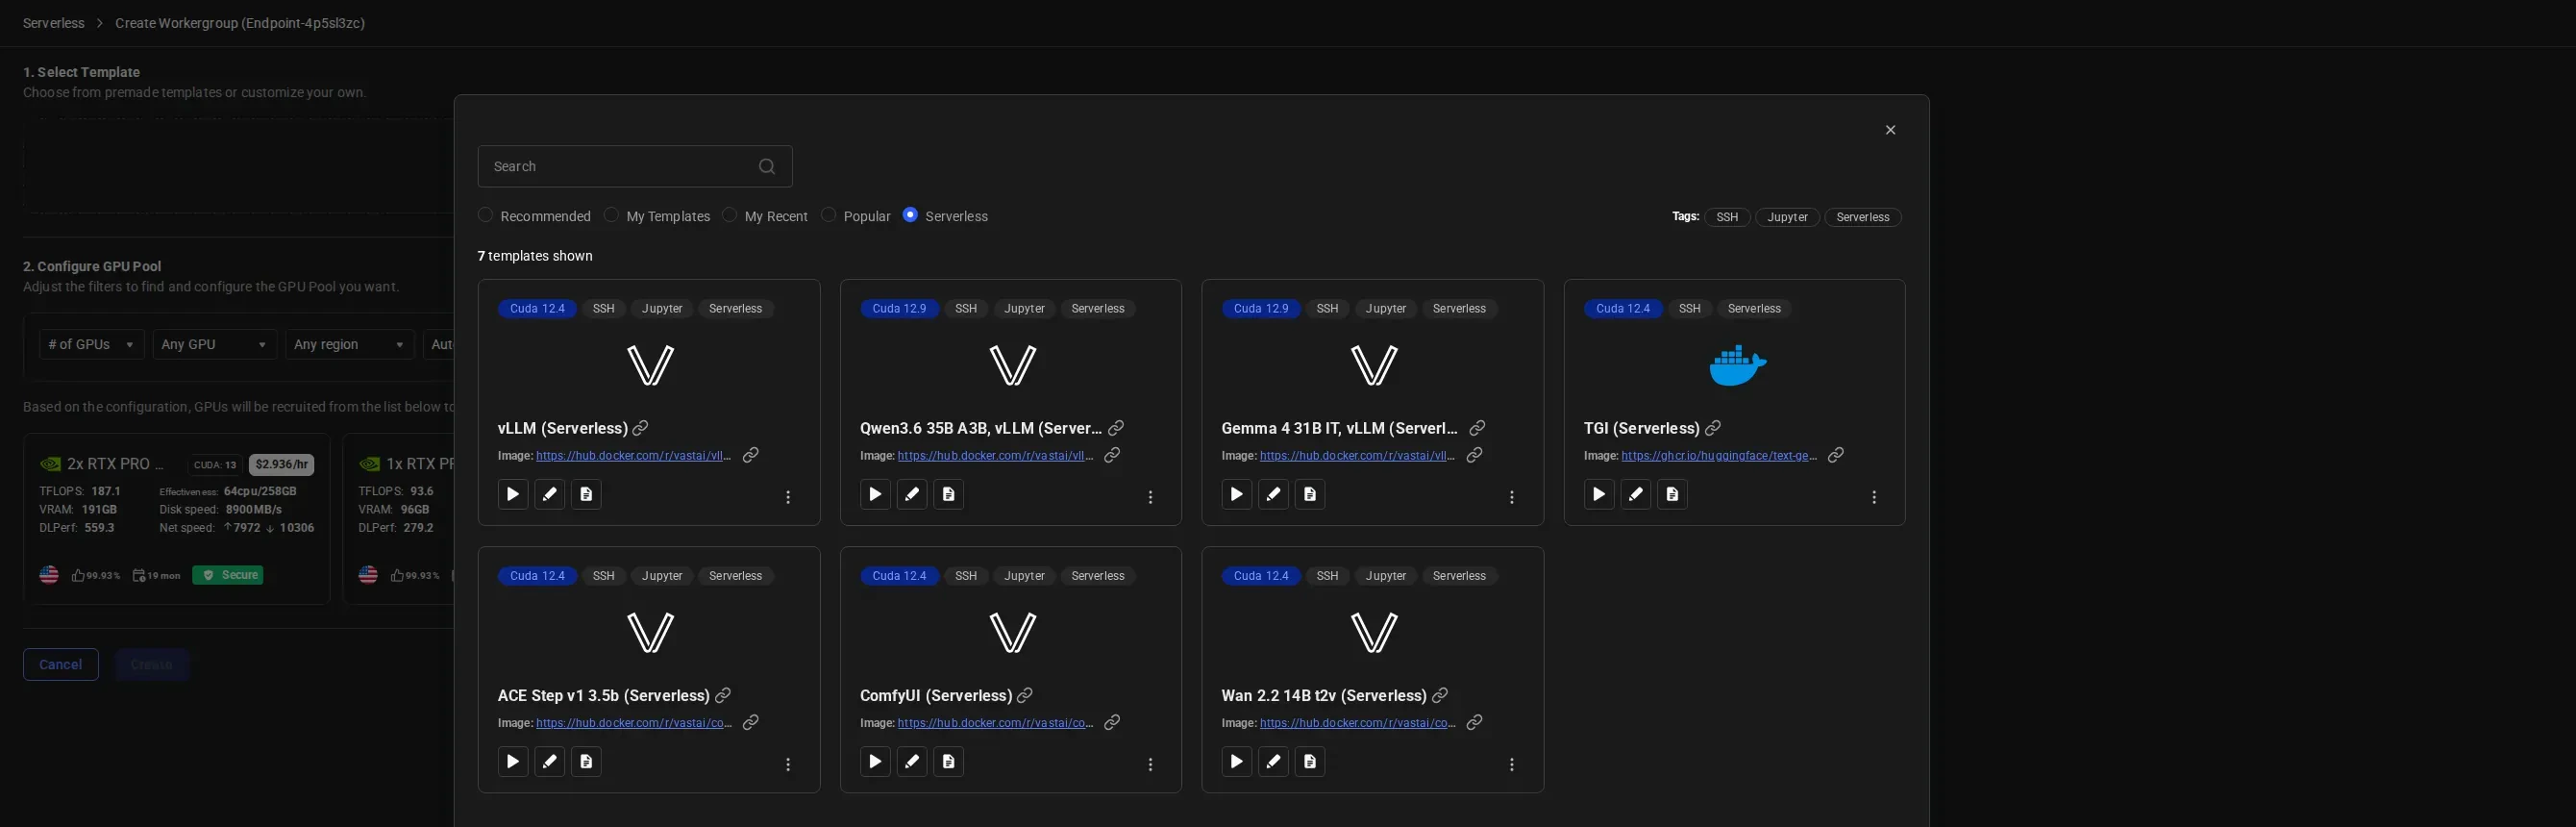 The template will automatically filter available GPU instances to those with enough VRAM for the model.
After selecting a template, choose the GPU instances for your workergroup.
Use the filters to narrow by GPU type, quantity, region, and sort order. Each instance card shows specs including TFLOPS, VRAM, efficiency, disk speed, and pricing.
The template will automatically filter available GPU instances to those with enough VRAM for the model.
After selecting a template, choose the GPU instances for your workergroup.
Use the filters to narrow by GPU type, quantity, region, and sort order. Each instance card shows specs including TFLOPS, VRAM, efficiency, disk speed, and pricing.
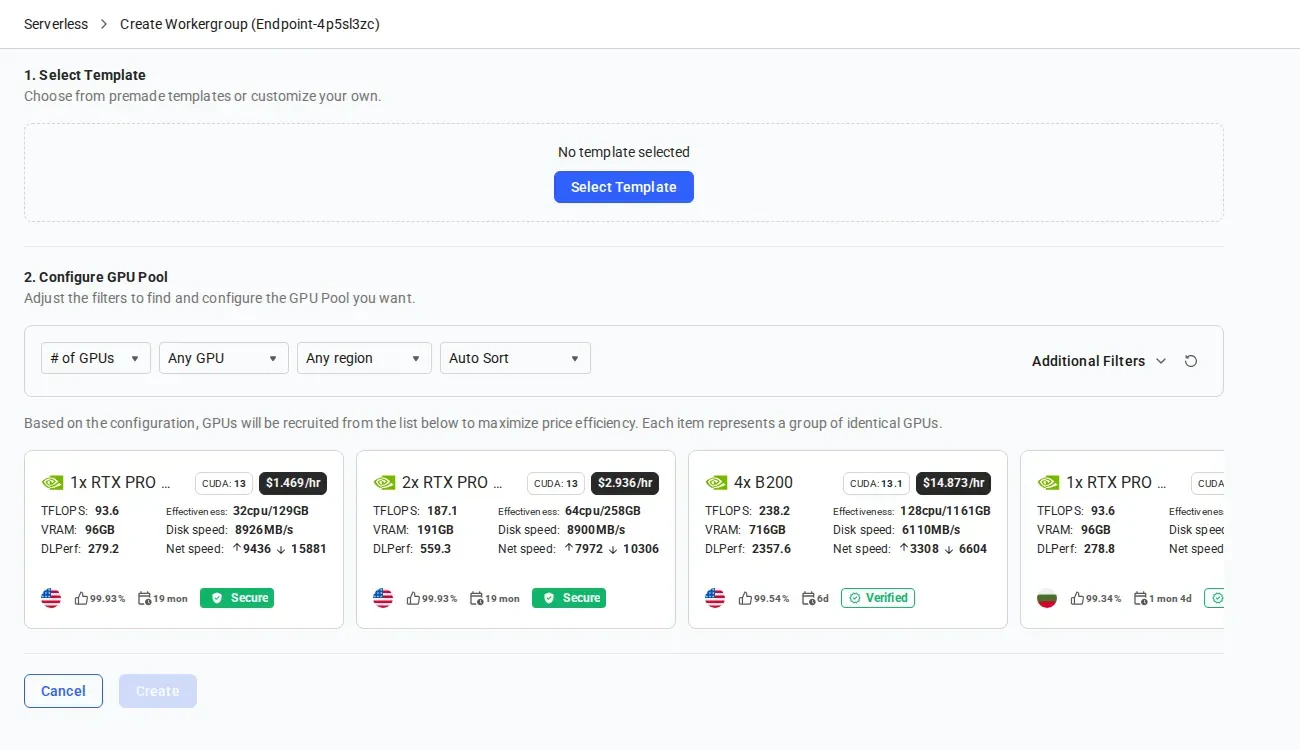
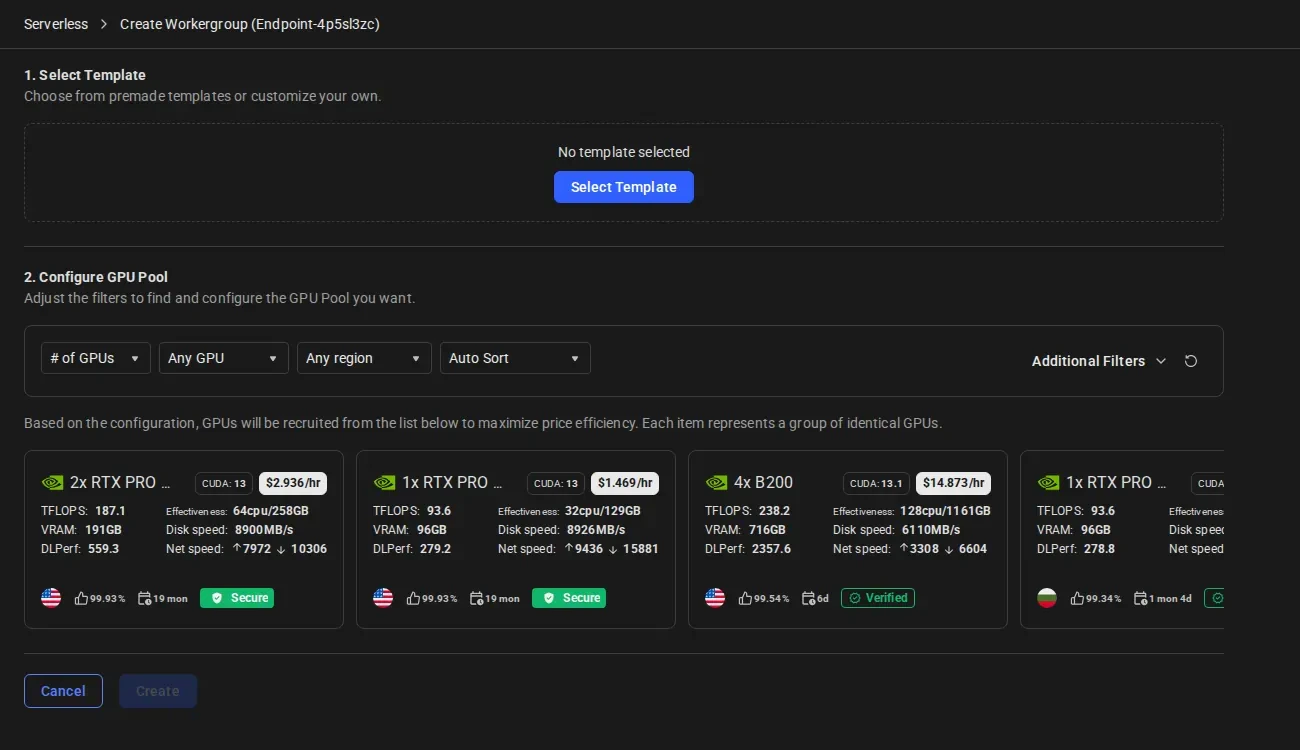 Click **"Create"** once you've selected your template and reviewed the available instances.
Your serverless infrastructure is now being provisioned. **This process takes time** as workers need to:
1. Start up the GPU instances
2. Download the model (8GB for Qwen3-8B)
3. Load the model into GPU memory
4. Complete health checks
Click **"Create"** once you've selected your template and reviewed the available instances.
Your serverless infrastructure is now being provisioned. **This process takes time** as workers need to:
1. Start up the GPU instances
2. Download the model (8GB for Qwen3-8B)
3. Load the model into GPU memory
4. Complete health checks
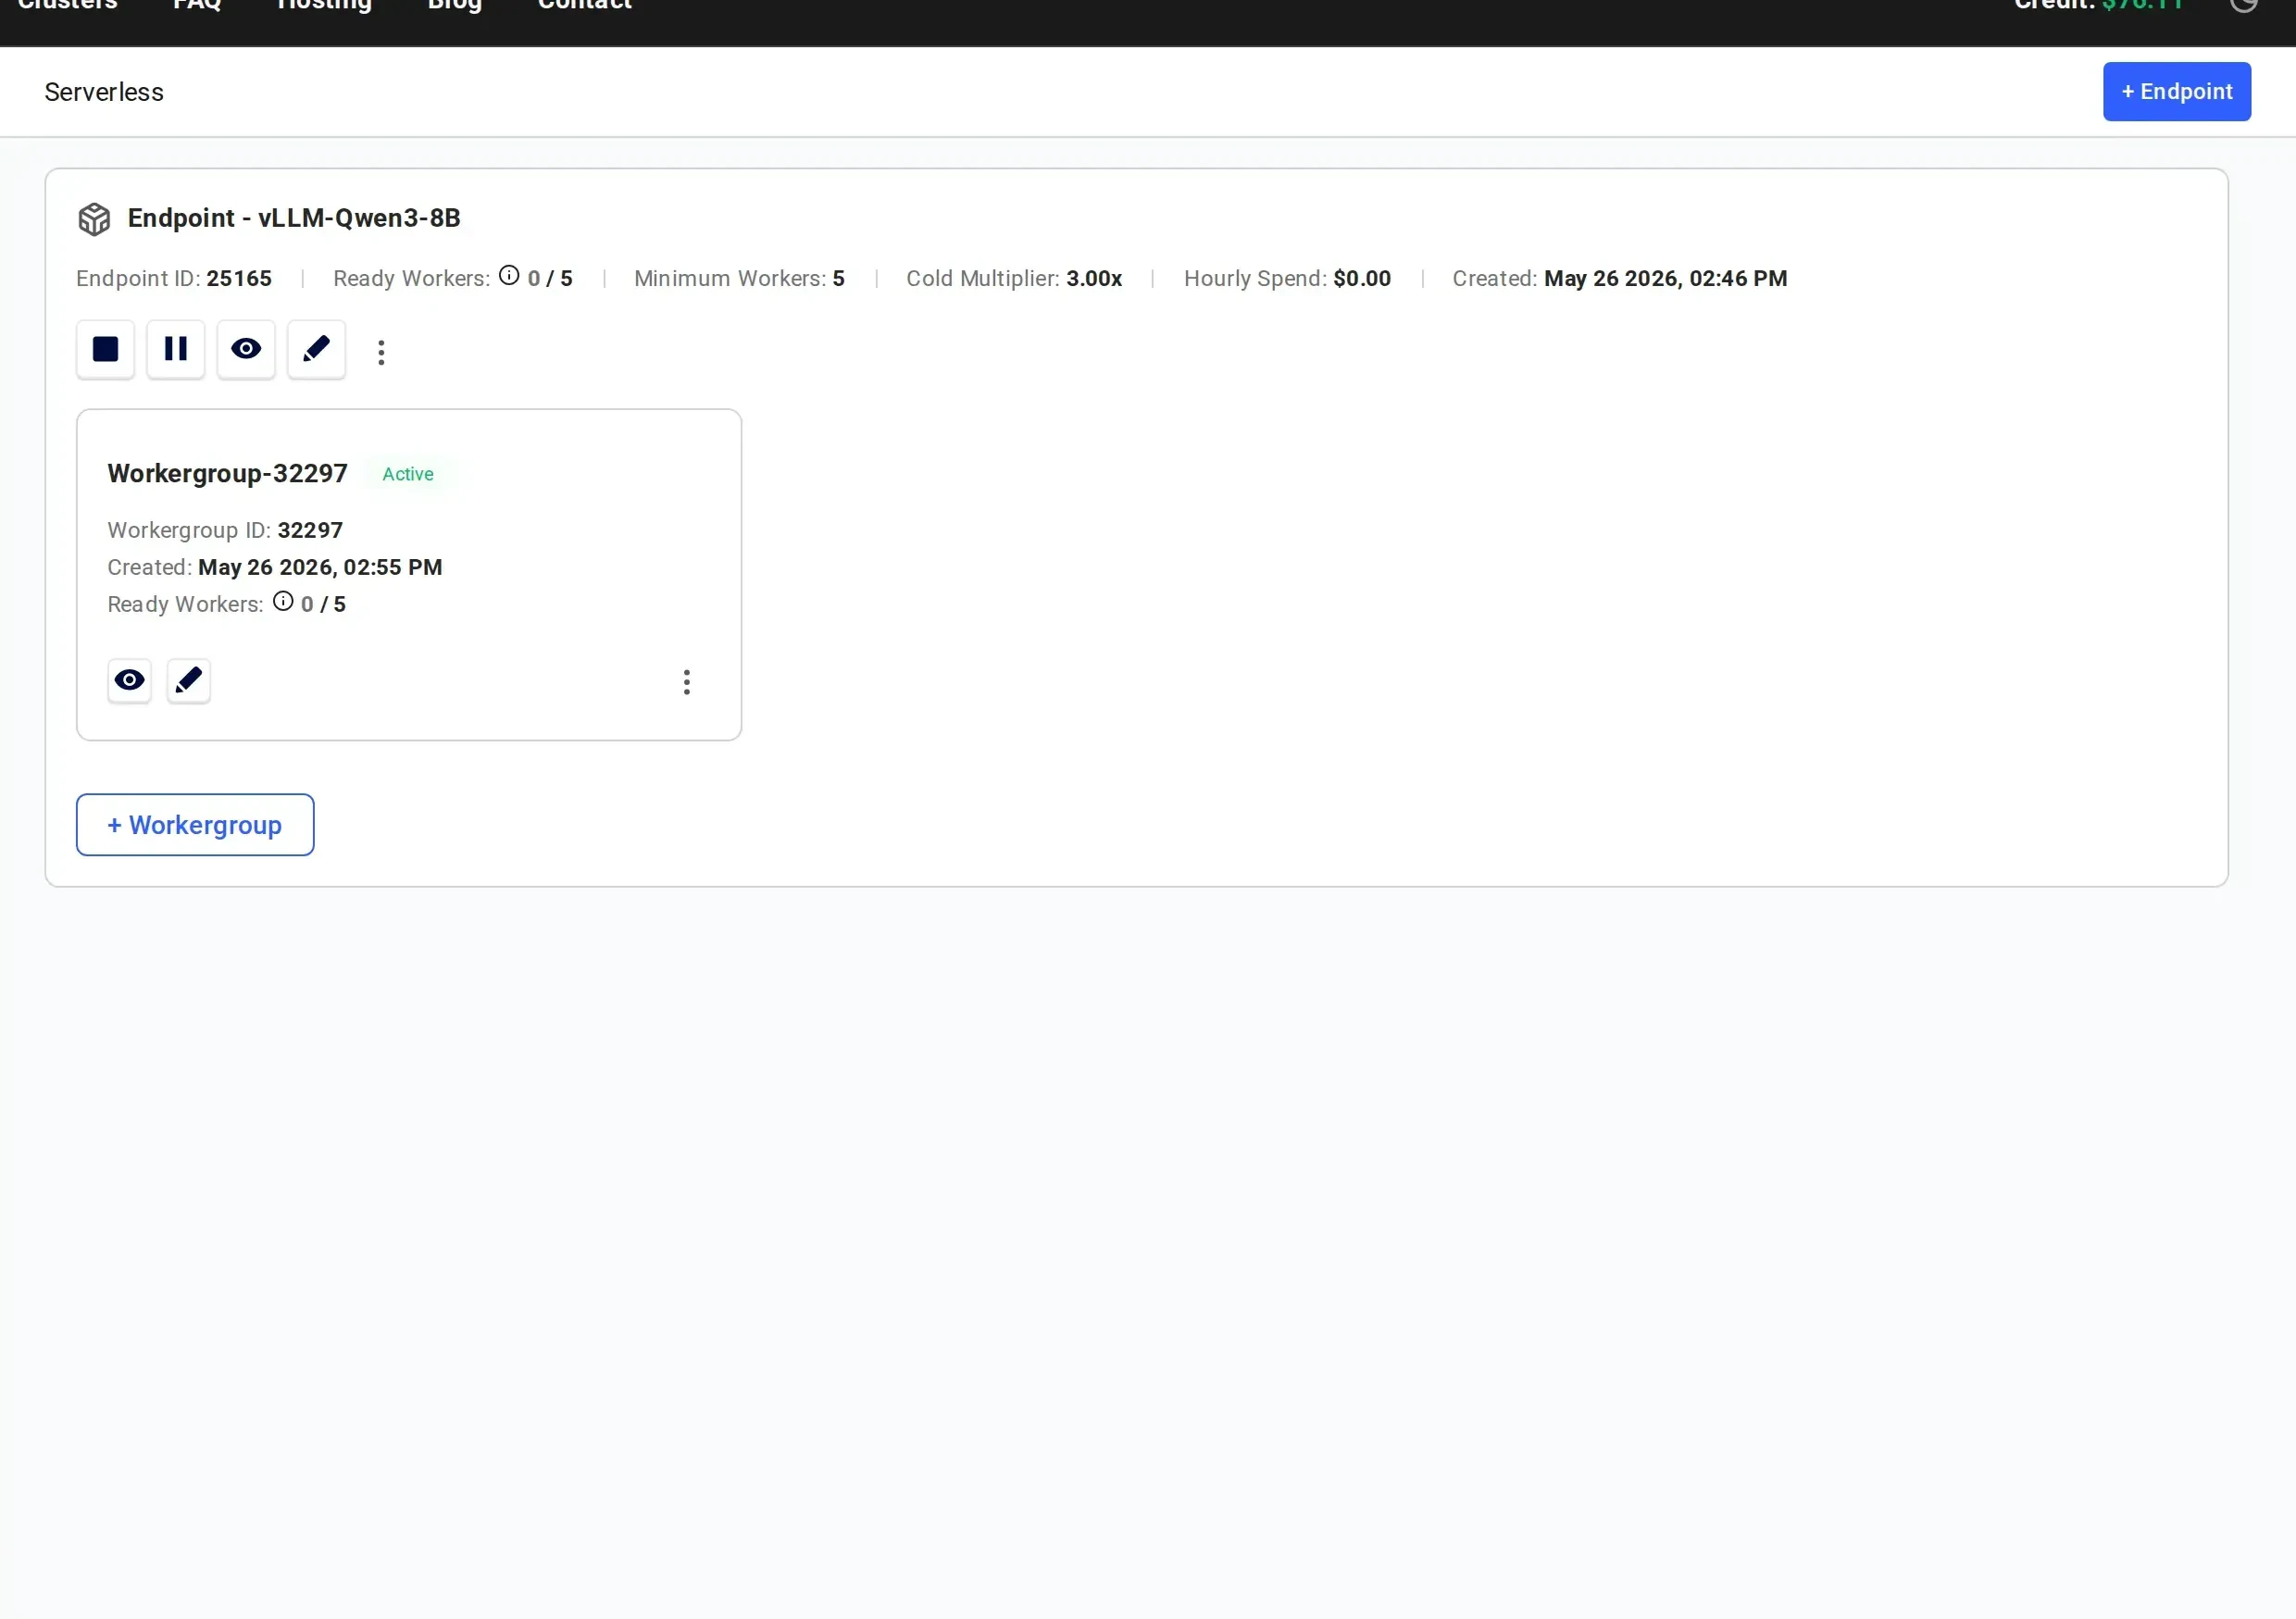
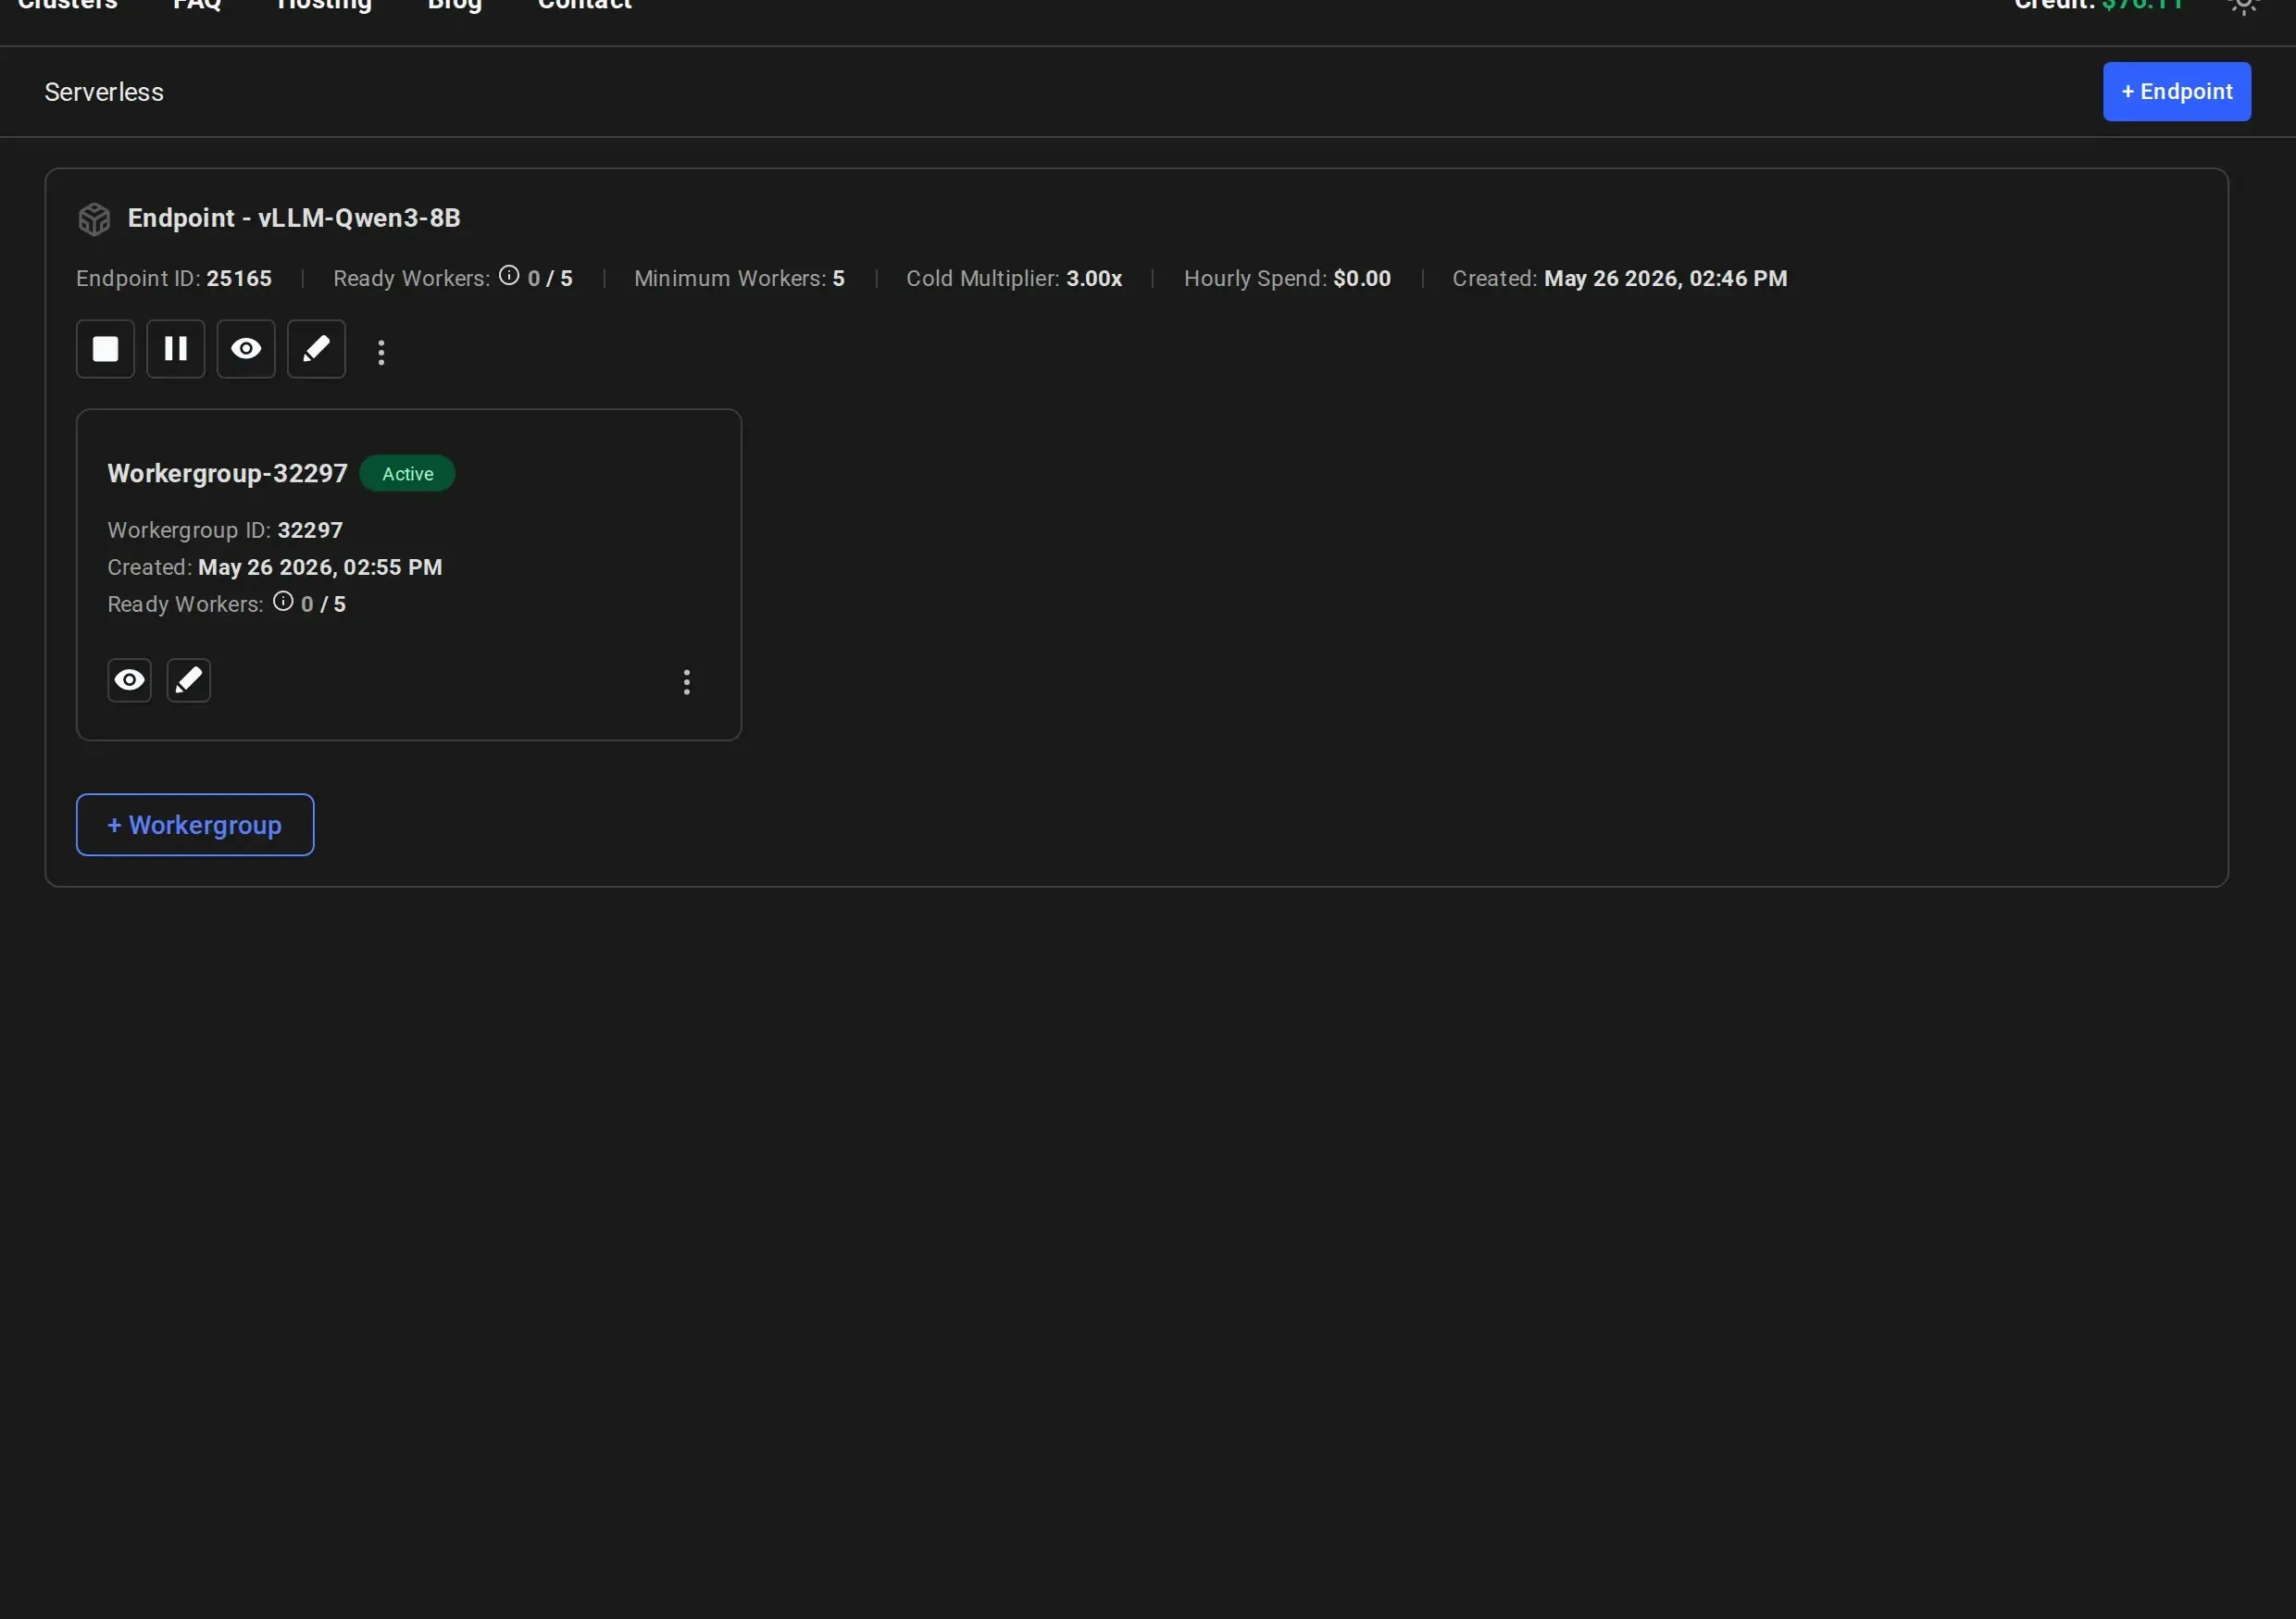 **Expect 3-5 minutes wait time** for workers to become ready, especially on first deployment. Larger models may take longer.
Monitor the worker status in the dashboard:
* **Stopped**: Worker has the model loaded and is ready to activate on-demand (cold worker)
* **Loading**: Worker is starting up and loading the model into GPU memory
* **Ready**: Worker is active and ready to handle requests
You can view detailed statistics by clicking **"View detailed stats"** on the Workergroup.
Monitor the instance logs to track the loading process:
* Click on the "eye" icon to view the logs for a worker
* Logs show model download progress, loading status, and any startup errors
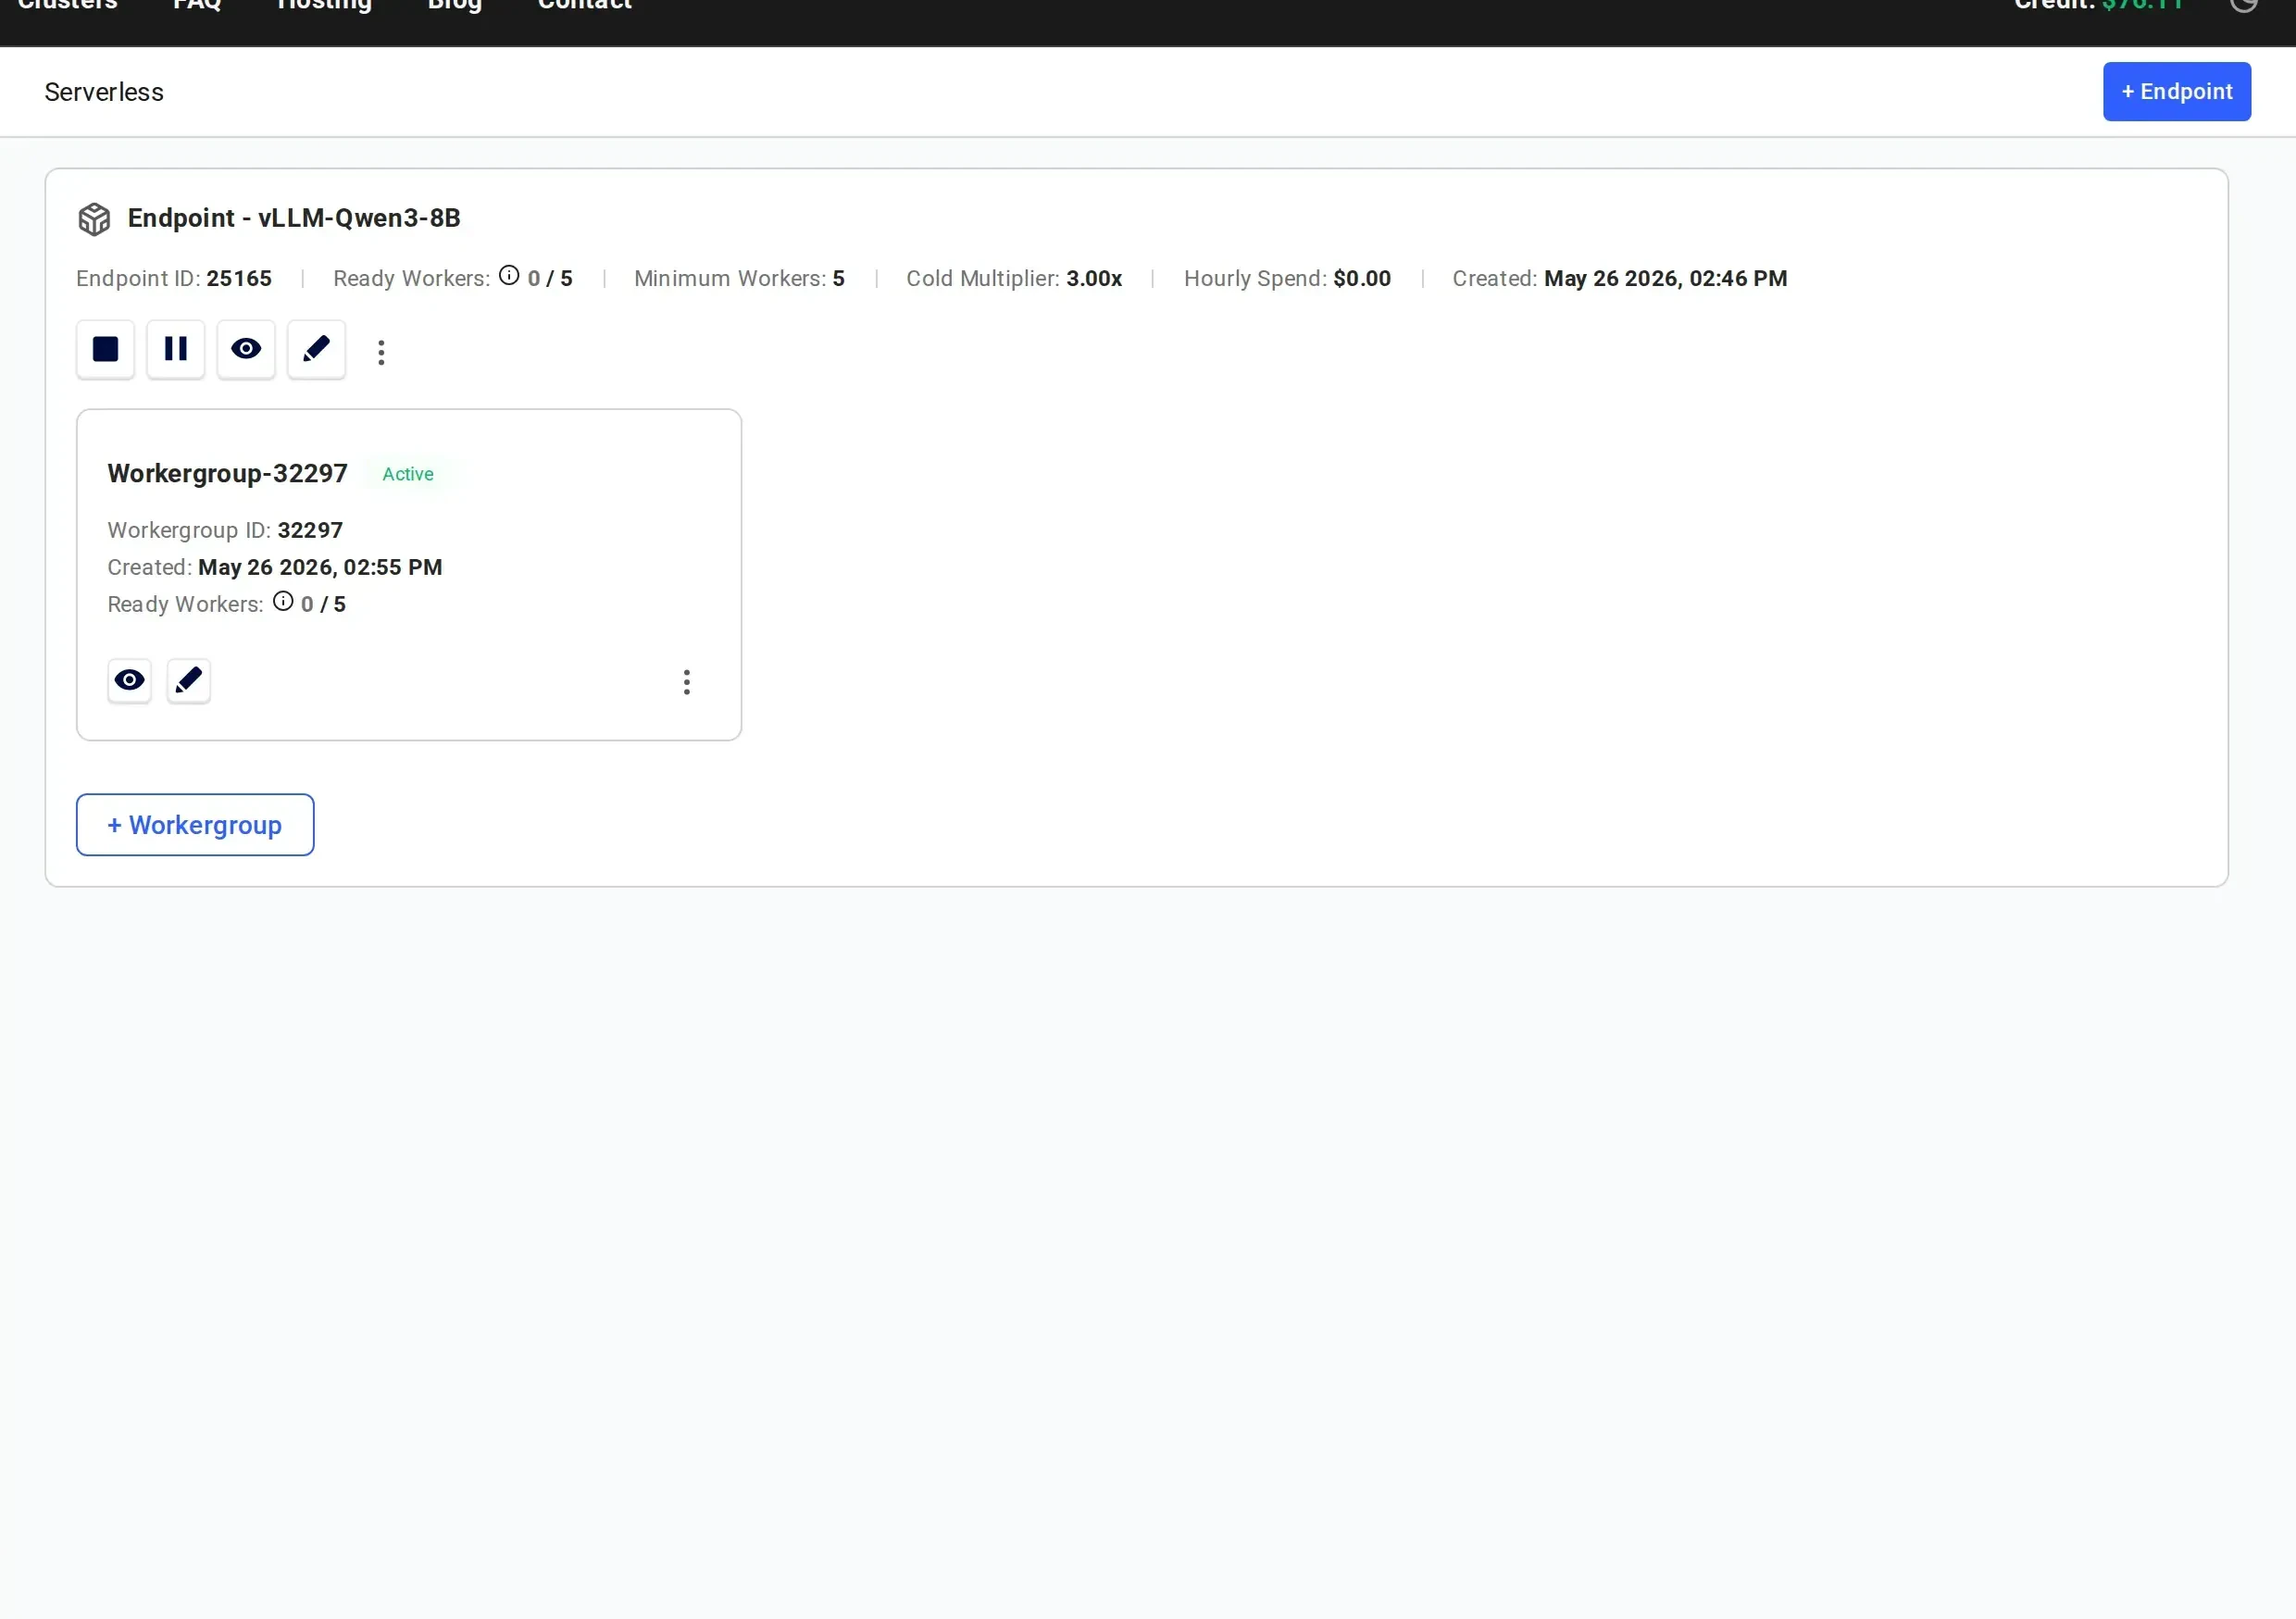
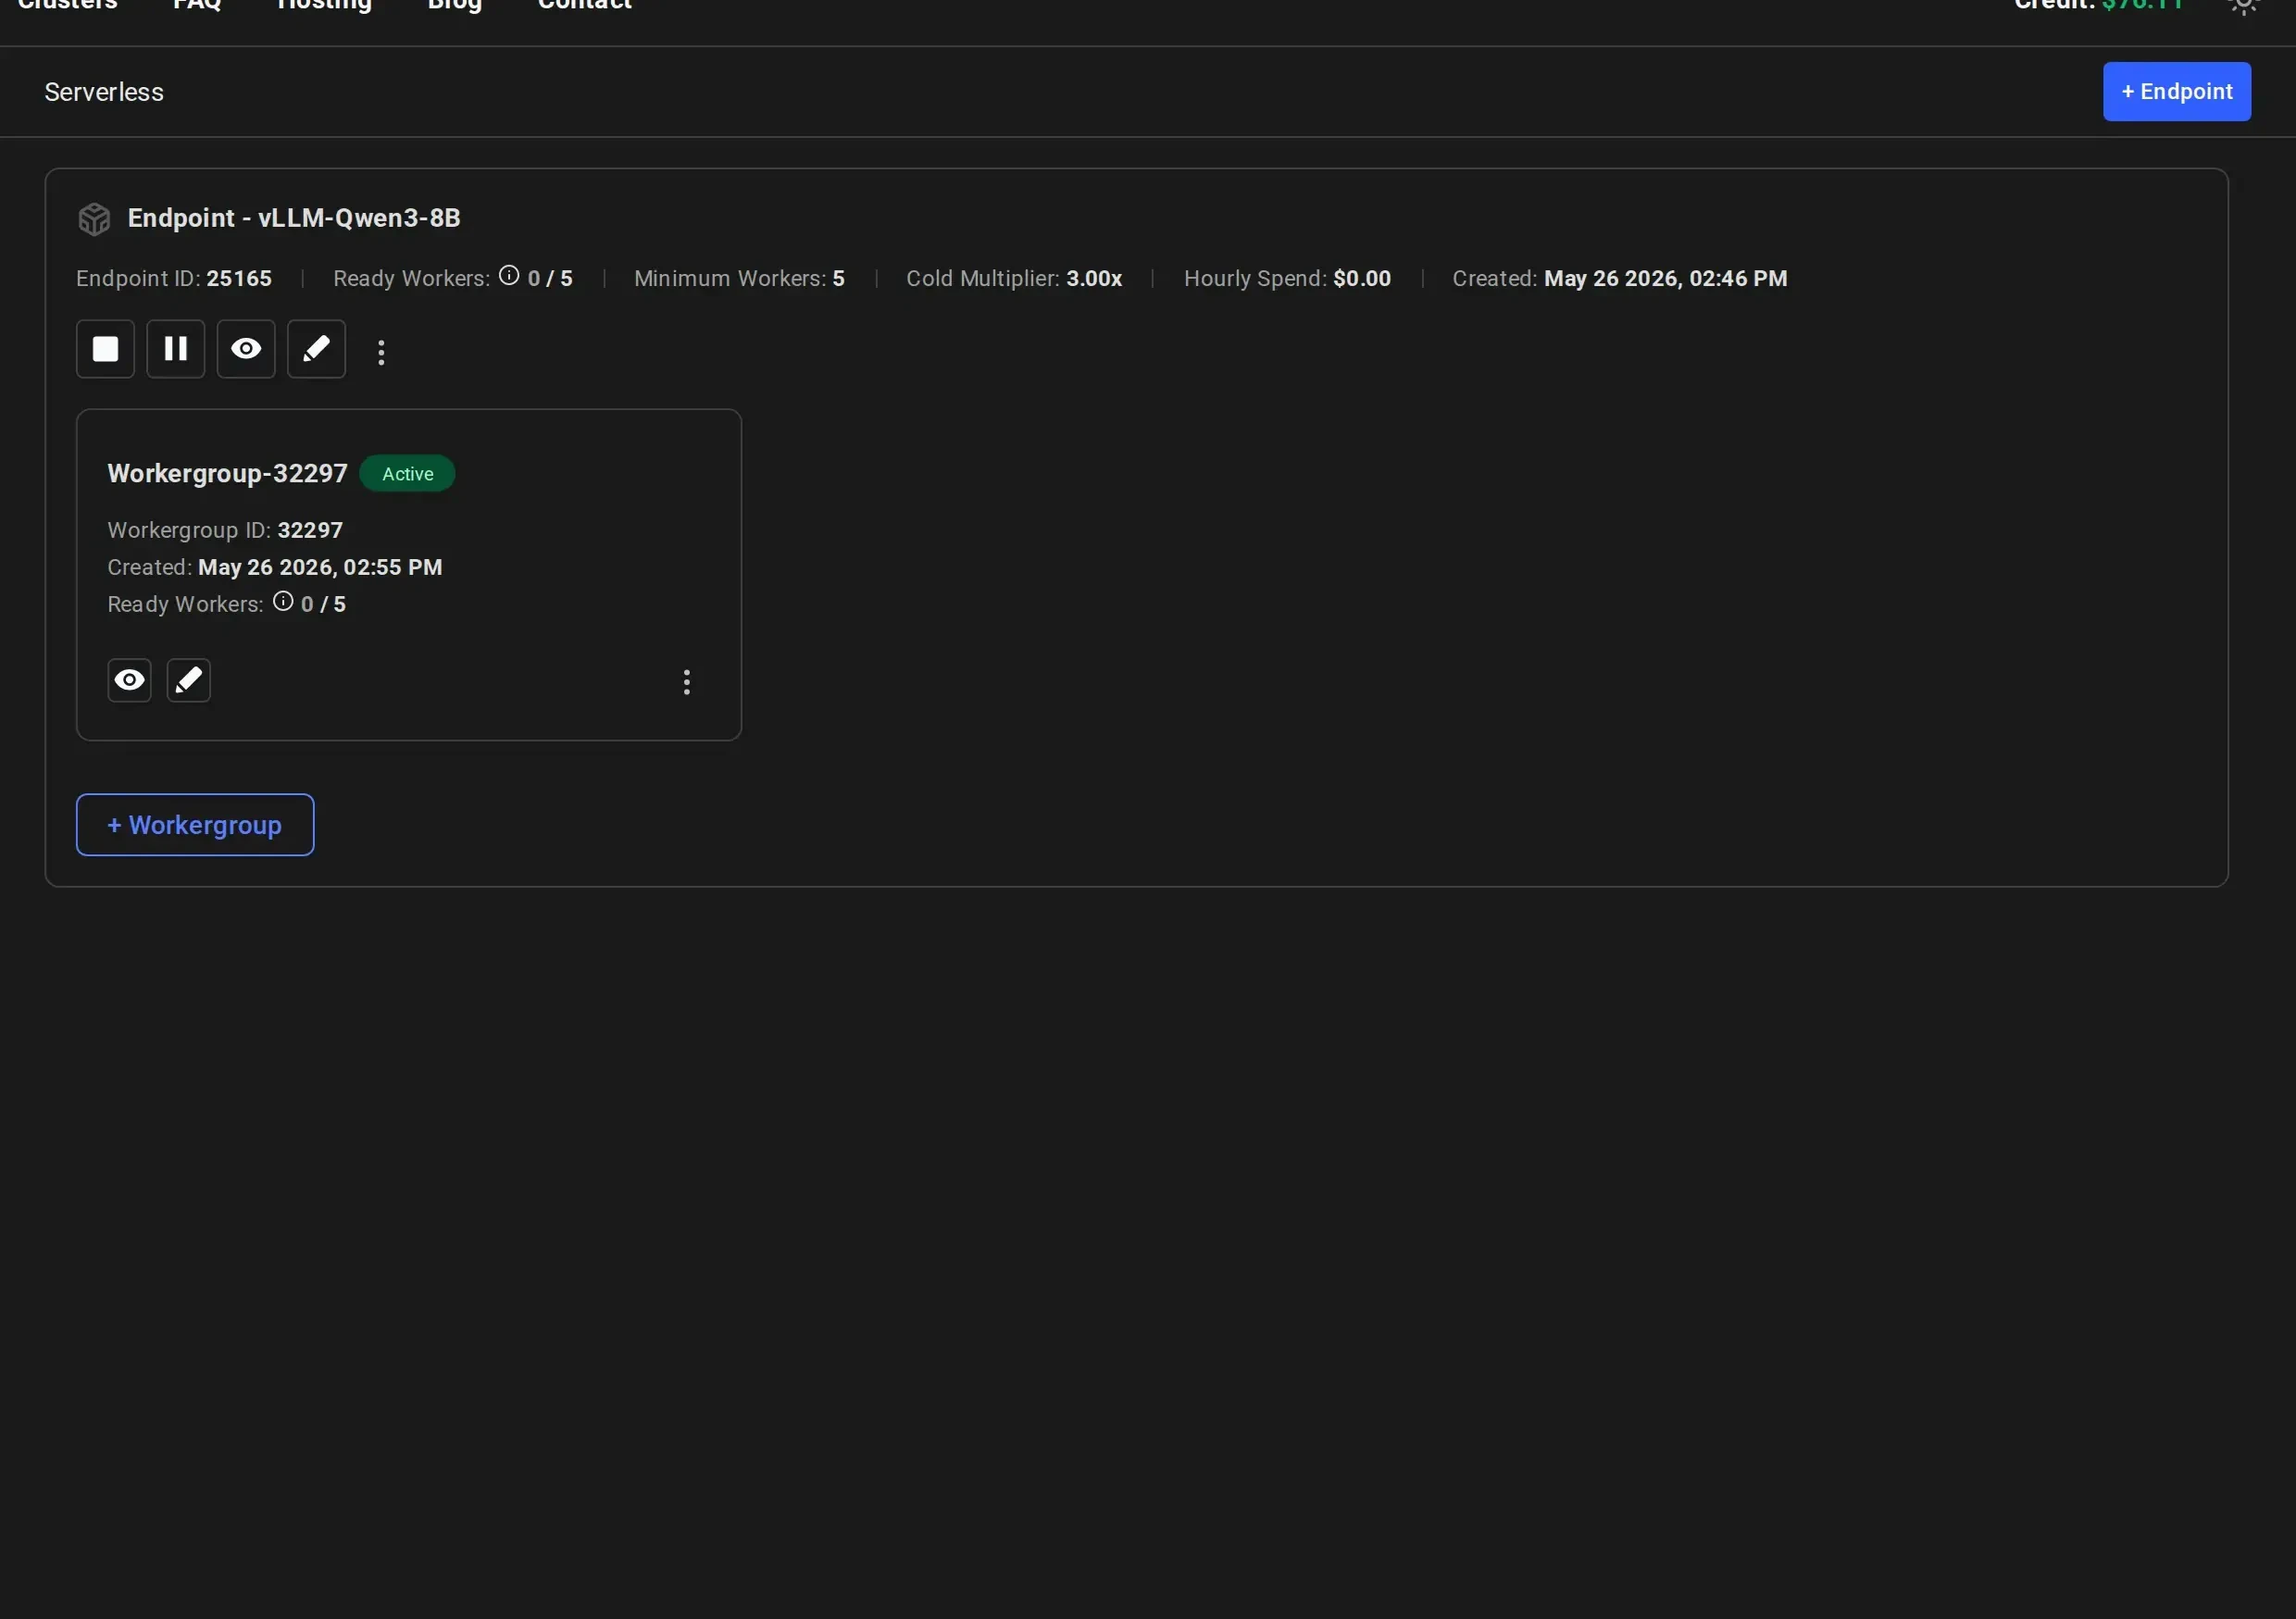
**Expect 3-5 minutes wait time** for workers to become ready, especially on first deployment. Larger models may take longer.
Monitor the worker status in the dashboard:
* **Stopped**: Worker has the model loaded and is ready to activate on-demand (cold worker)
* **Loading**: Worker is starting up and loading the model into GPU memory
* **Ready**: Worker is active and ready to handle requests
You can view detailed statistics by clicking **"View detailed stats"** on the Workergroup.
Monitor the instance logs to track the loading process:
* Click on the "eye" icon to view the logs for a worker
* Logs show model download progress, loading status, and any startup errors
 The SDK automatically holds and retries requests until workers are ready. However, for best performance, wait for at least one worker to show "Ready" or "Stopped" status before making your first call.
## Edit an Existing Endpoint
To modify parameters on a live endpoint, click the **pencil icon** on the endpoint card in the Serverless Dashboard.
The **Edit Endpoint** dialog shows the same parameters as creation. Changes take effect immediately and the serverless engine will work to match the new targets.
The SDK automatically holds and retries requests until workers are ready. However, for best performance, wait for at least one worker to show "Ready" or "Stopped" status before making your first call.
## Edit an Existing Endpoint
To modify parameters on a live endpoint, click the **pencil icon** on the endpoint card in the Serverless Dashboard.
The **Edit Endpoint** dialog shows the same parameters as creation. Changes take effect immediately and the serverless engine will work to match the new targets.
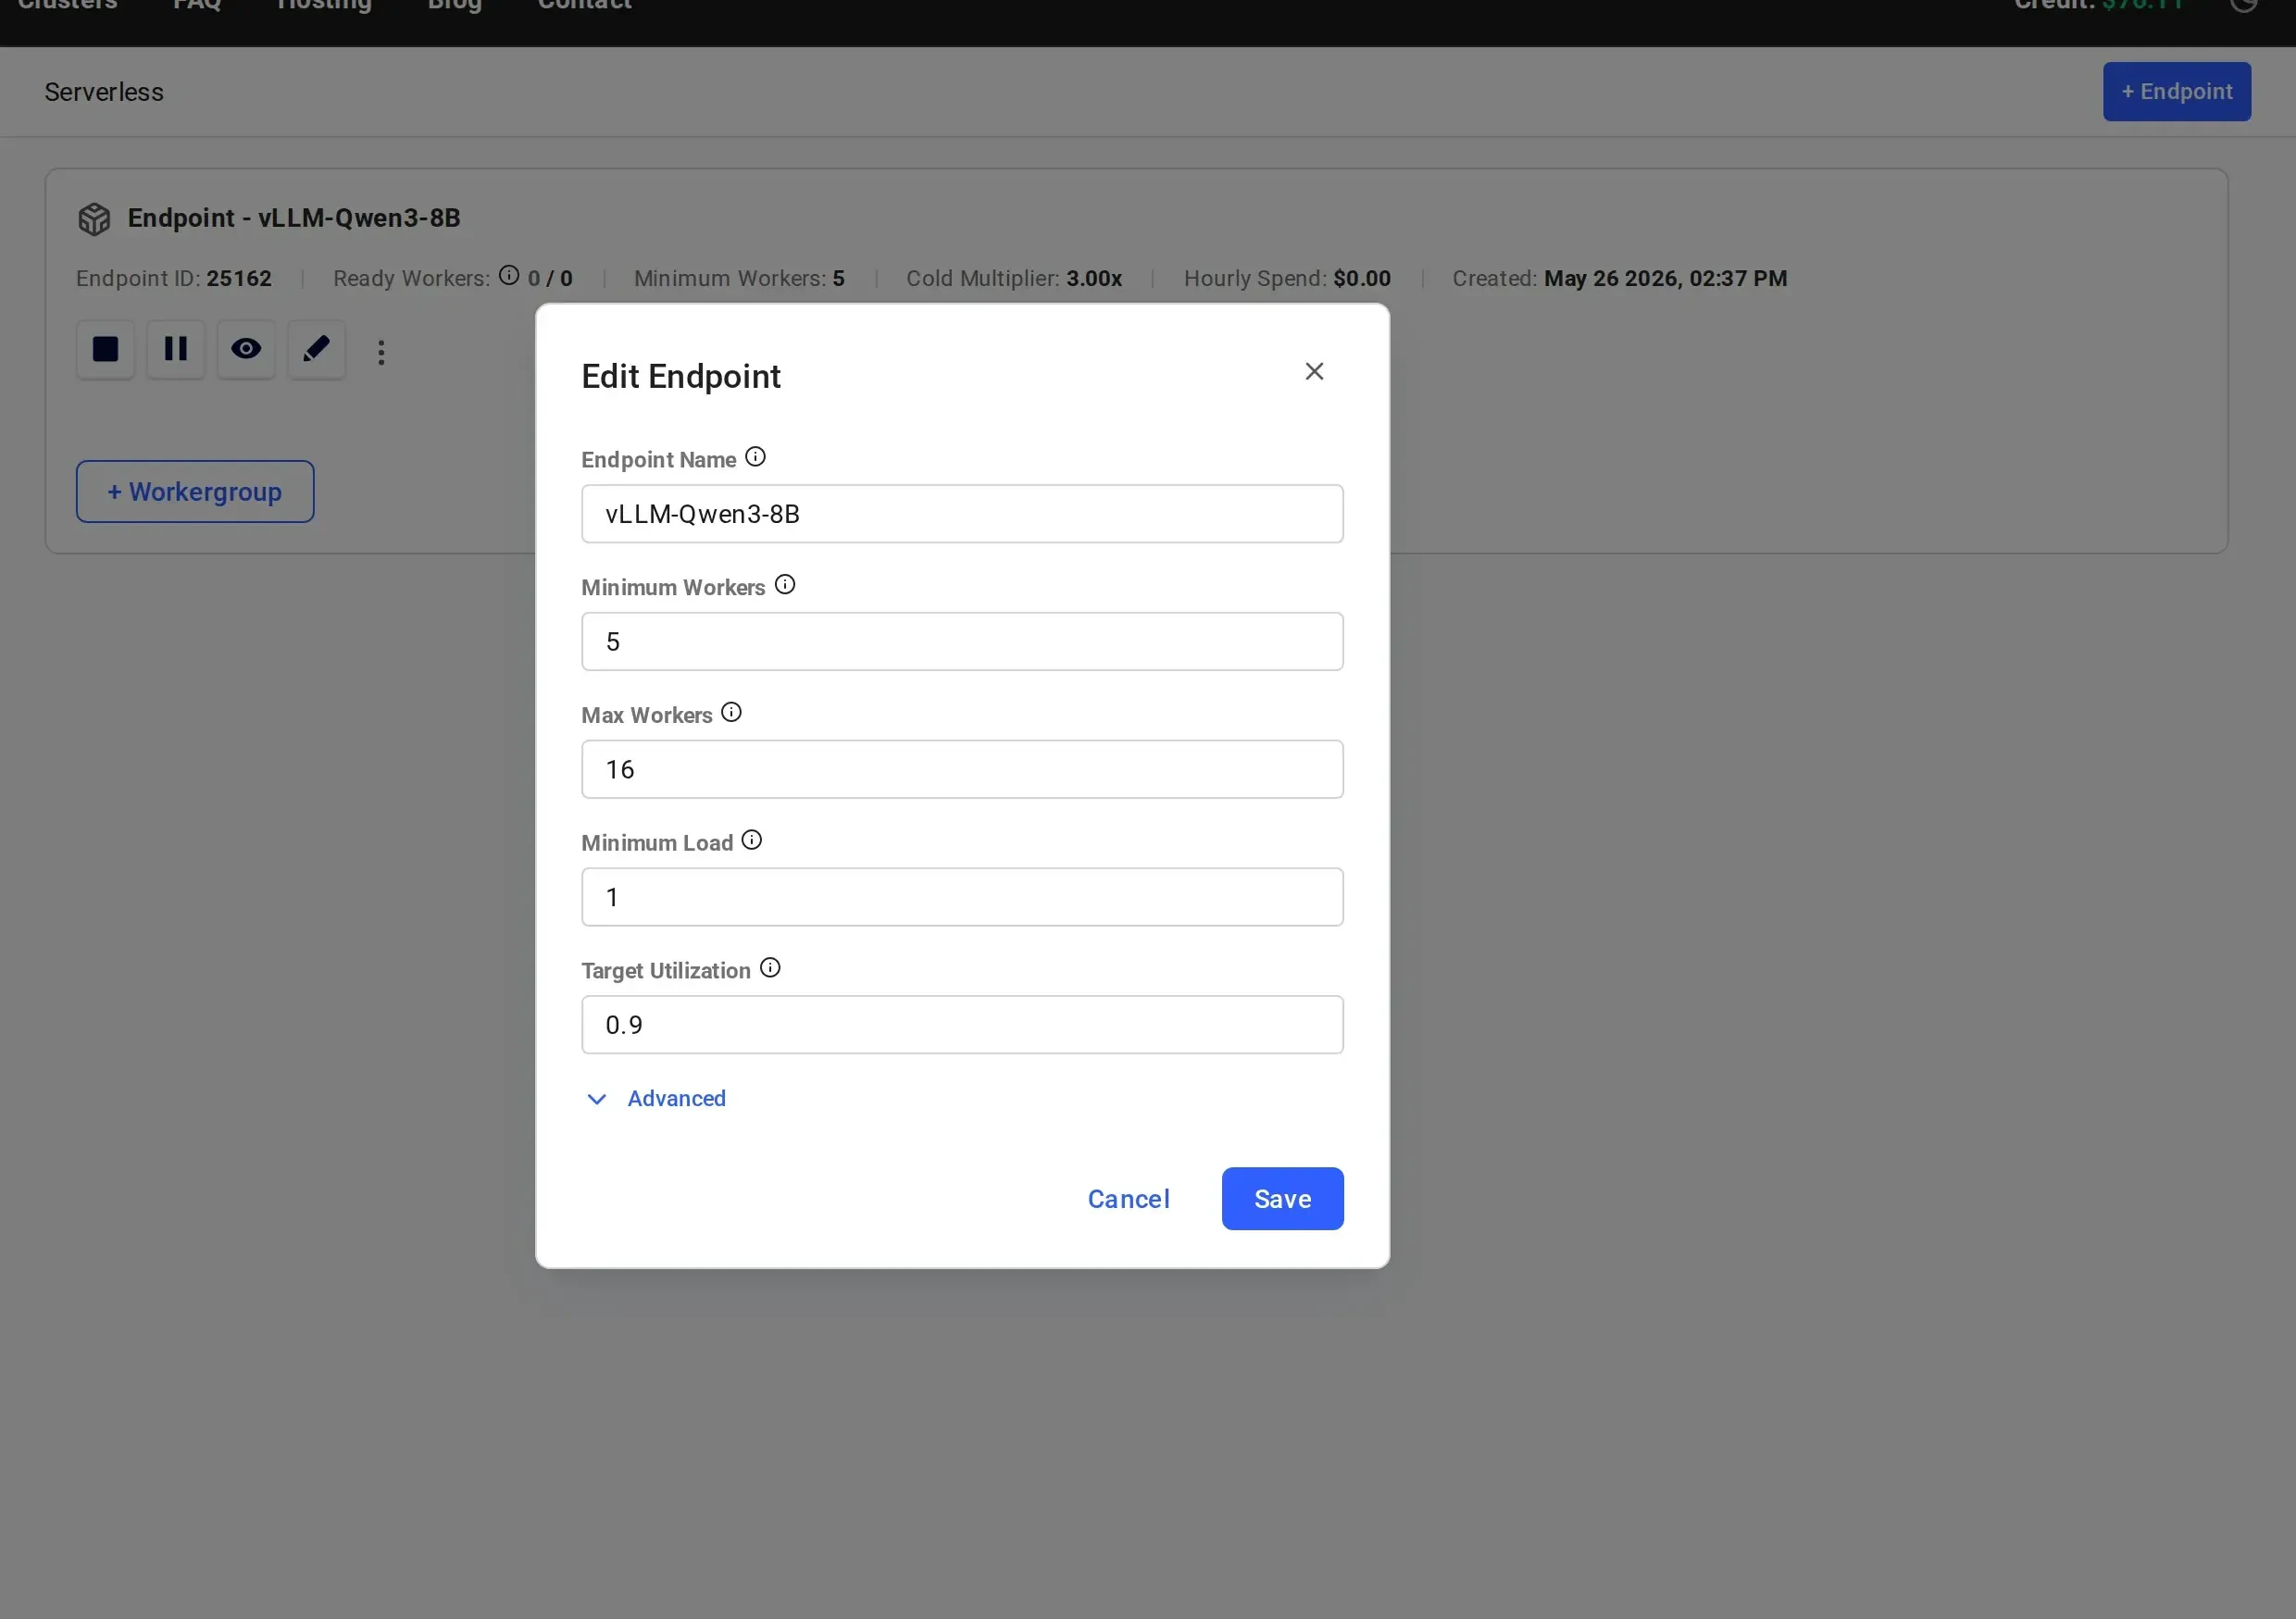
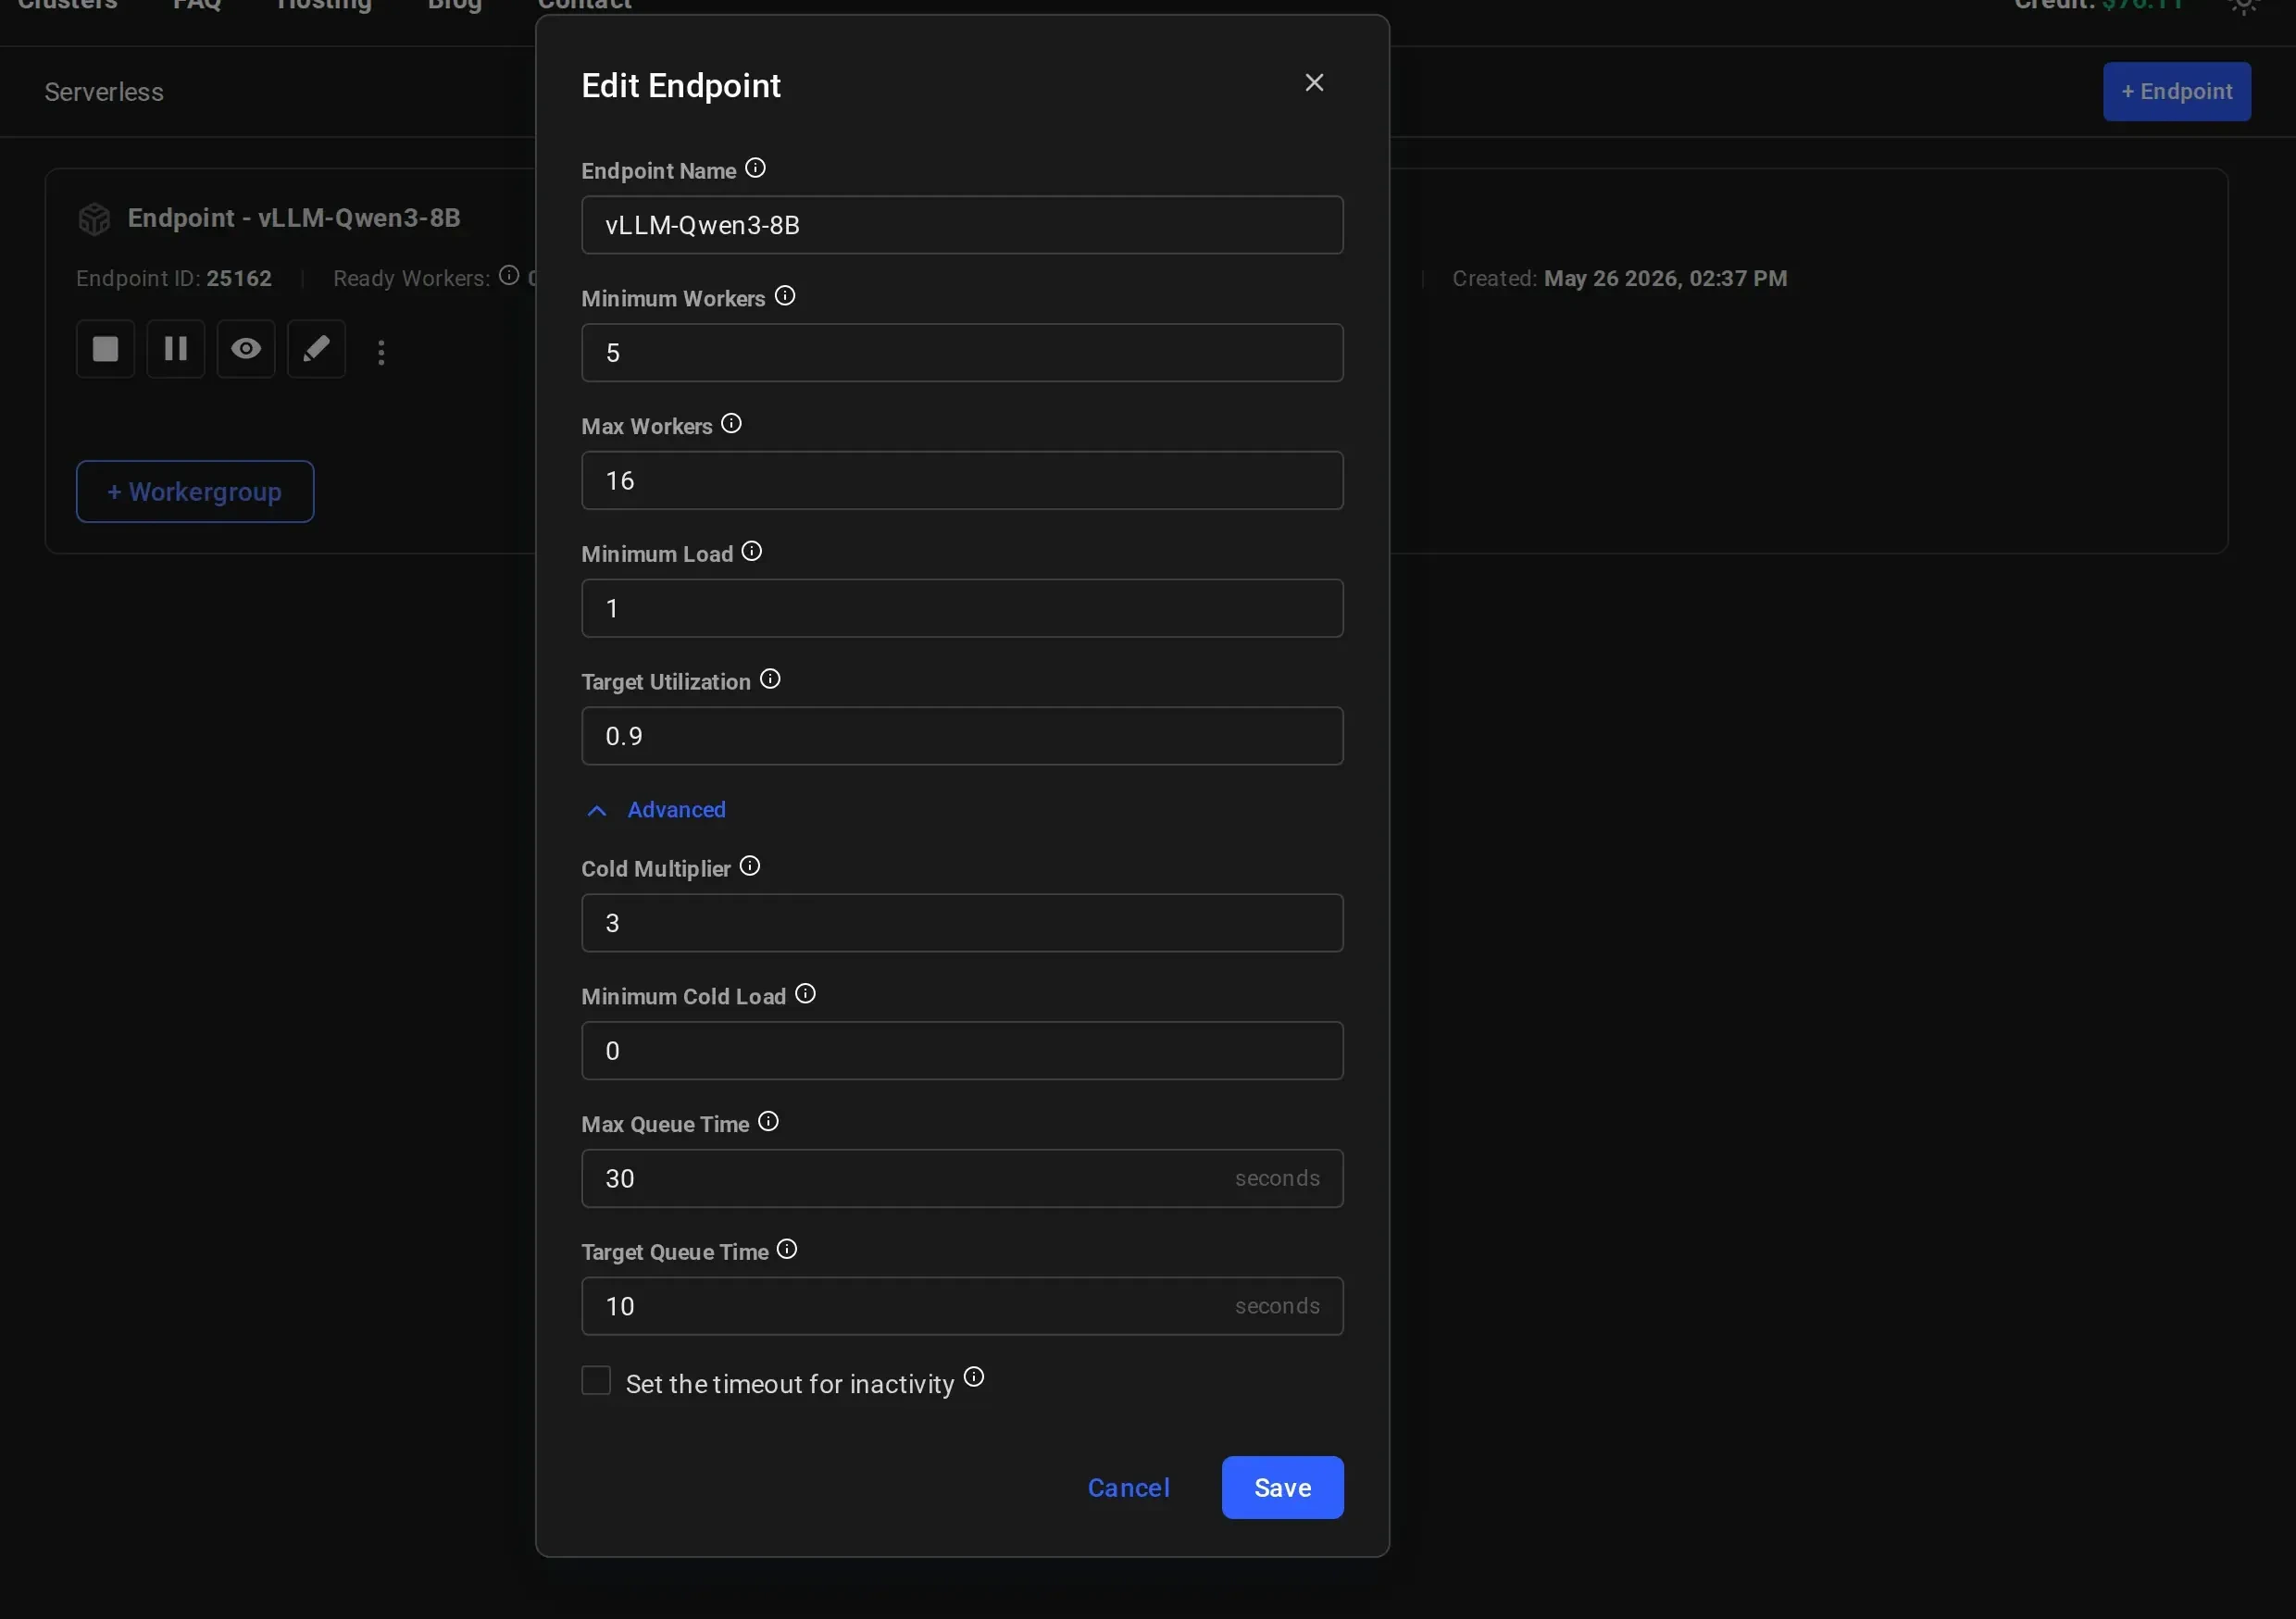
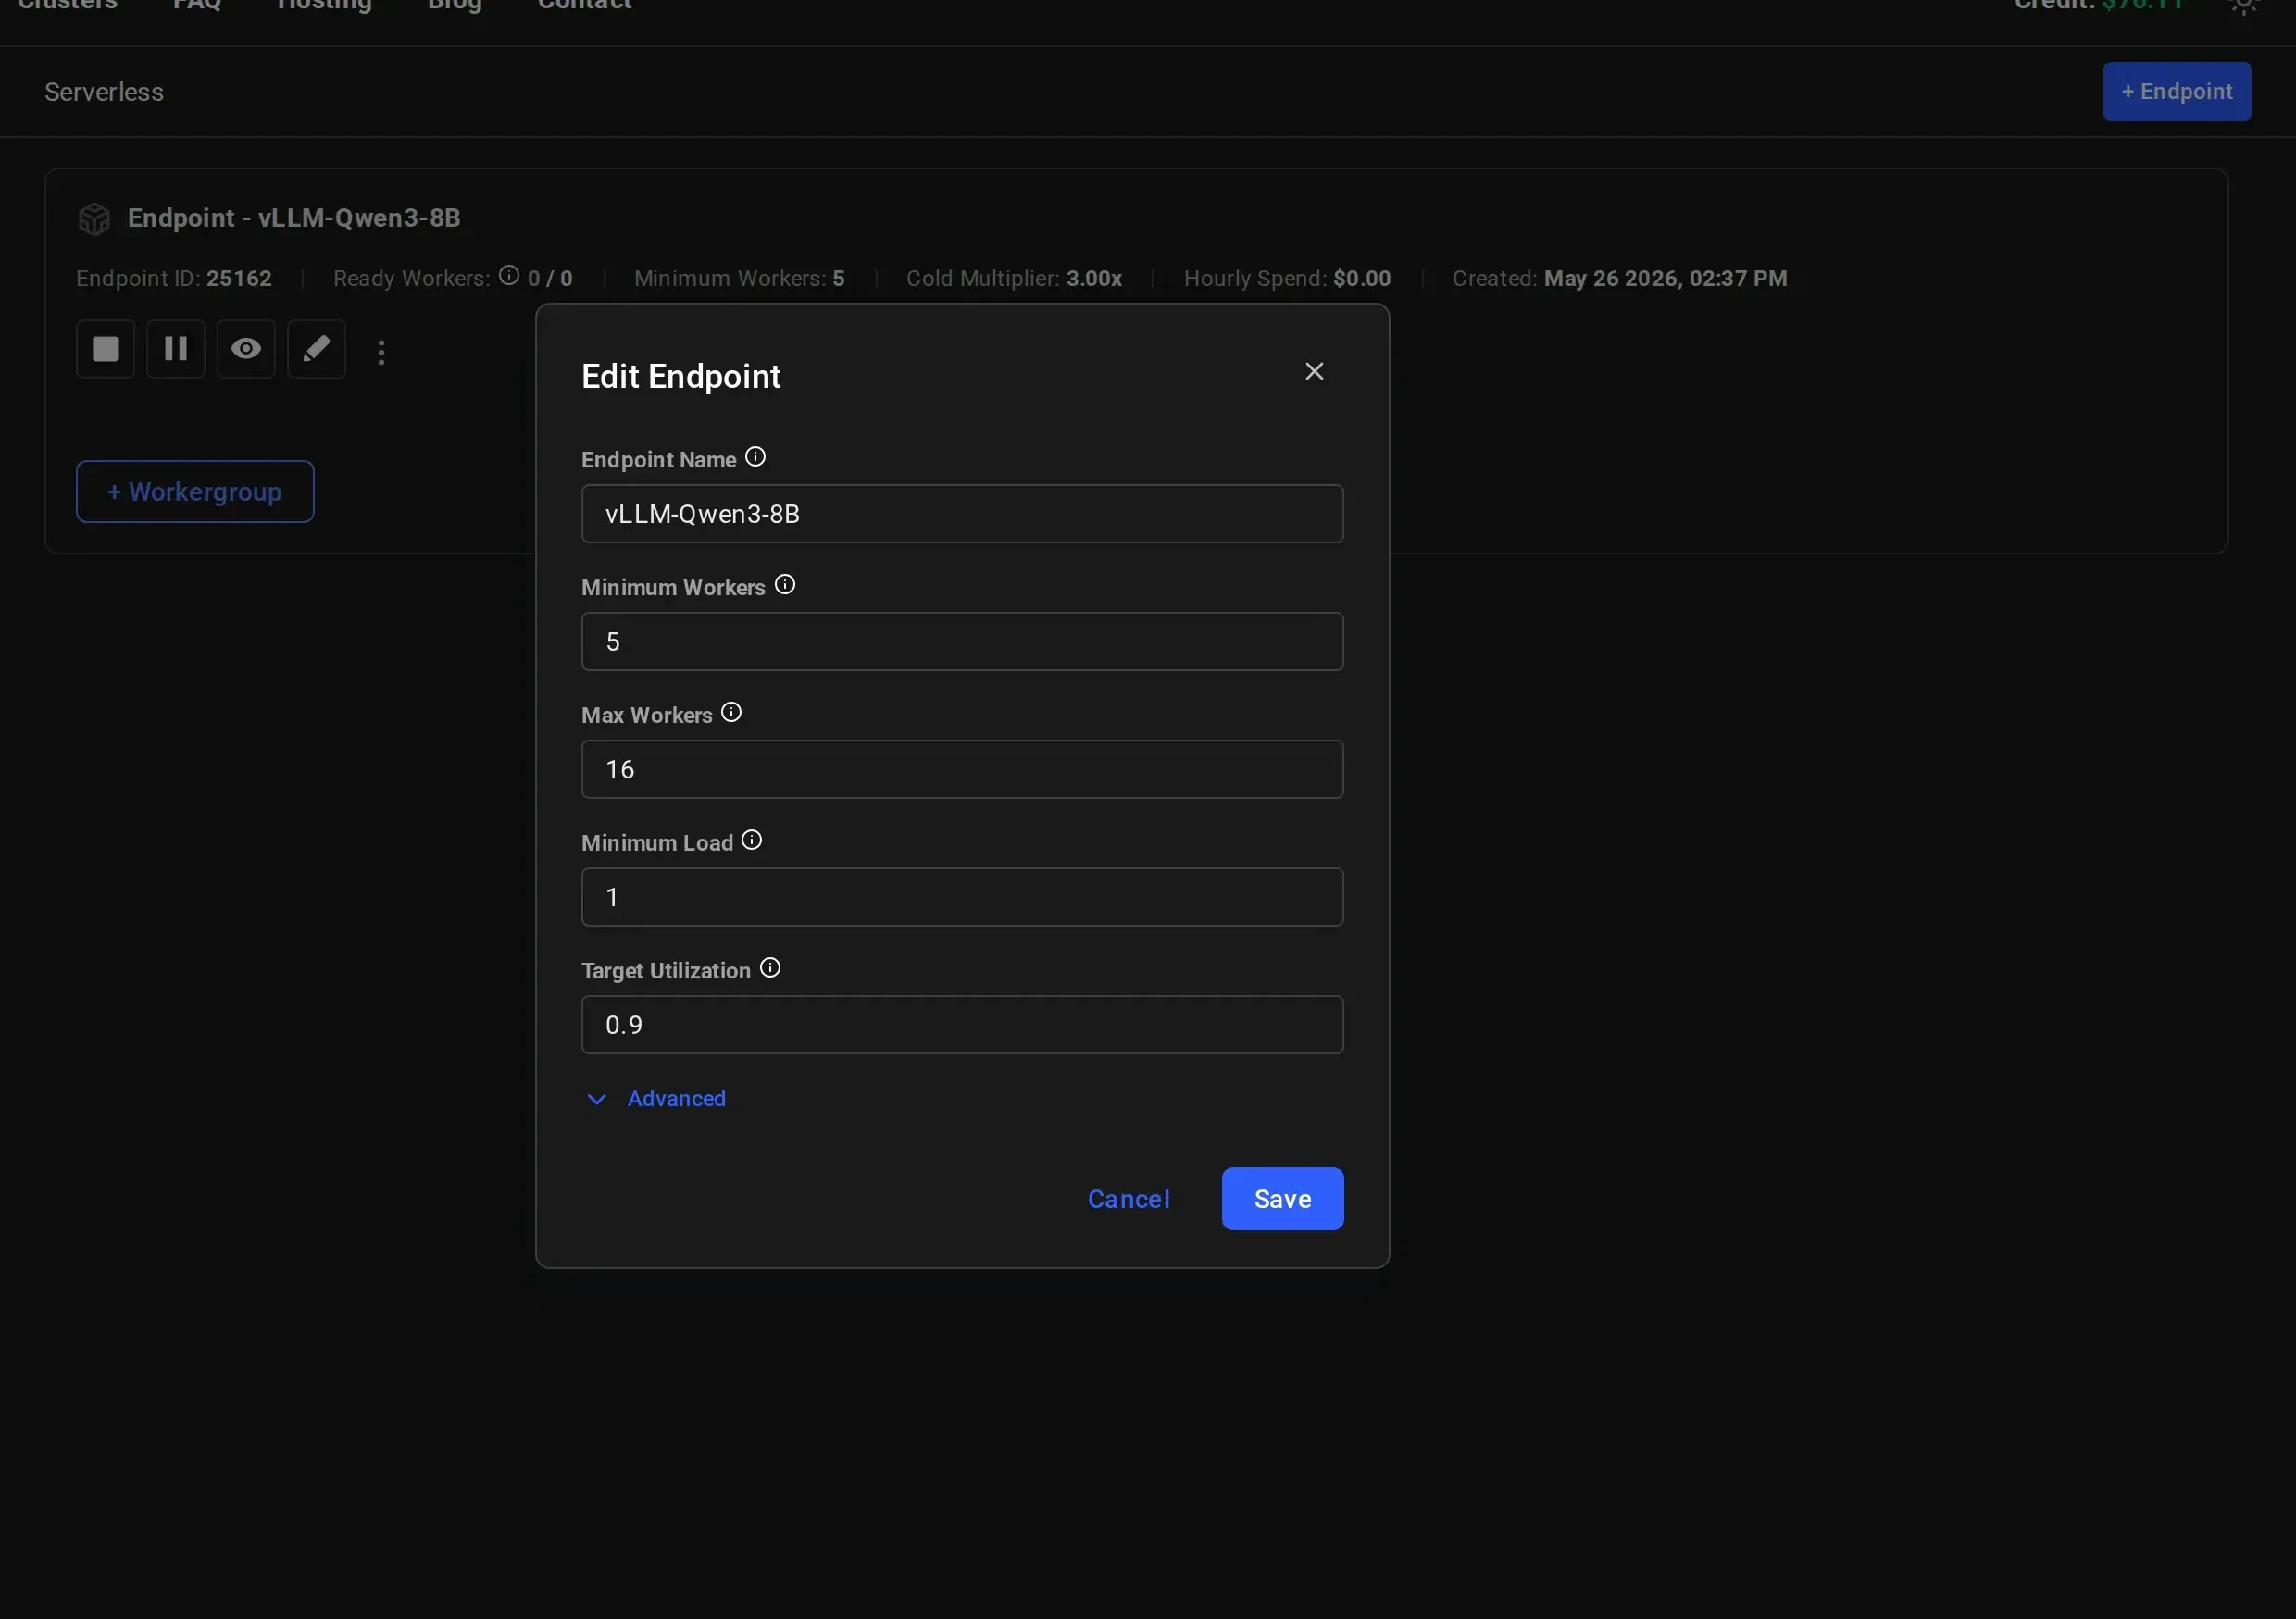 Click **"Advanced"** to access additional scaling controls:
 ## Next Steps
* [Endpoint Parameters](/guides/serverless/serverless-parameters) for a deep dive into what each parameter controls
* [Managing Scale](/guides/serverless/managing-scale) for tuning your endpoint for different load scenarios
* [Workergroup Parameters](/guides/serverless/workergroup-parameters) for configuring GPU instance settings
## Next Steps
* [Endpoint Parameters](/guides/serverless/serverless-parameters) for a deep dive into what each parameter controls
* [Managing Scale](/guides/serverless/managing-scale) for tuning your endpoint for different load scenarios
* [Workergroup Parameters](/guides/serverless/workergroup-parameters) for configuring GPU instance settings