> ## Documentation Index
> Fetch the complete documentation index at: https://docs.vast.ai/llms.txt
> Use this file to discover all available pages before exploring further.
# Managing Your Team
This guide covers all the operations you'll need to manage your team after creation, including inviting members, managing roles, editing settings, and more.
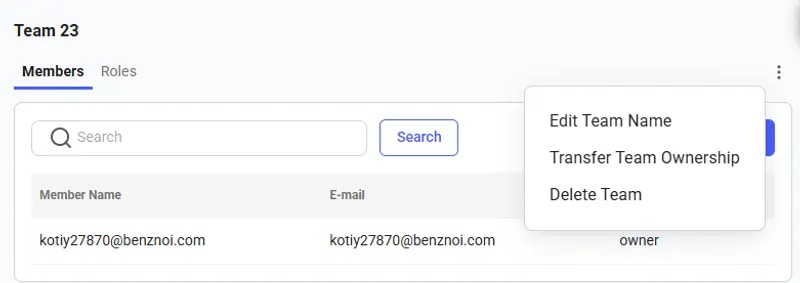
## The Members Page
The Members page is the main hub for managing your team. Here you can view team members, assign roles, invite new members, and access team settings.
Here's an example of what a Members page looks like in the console:
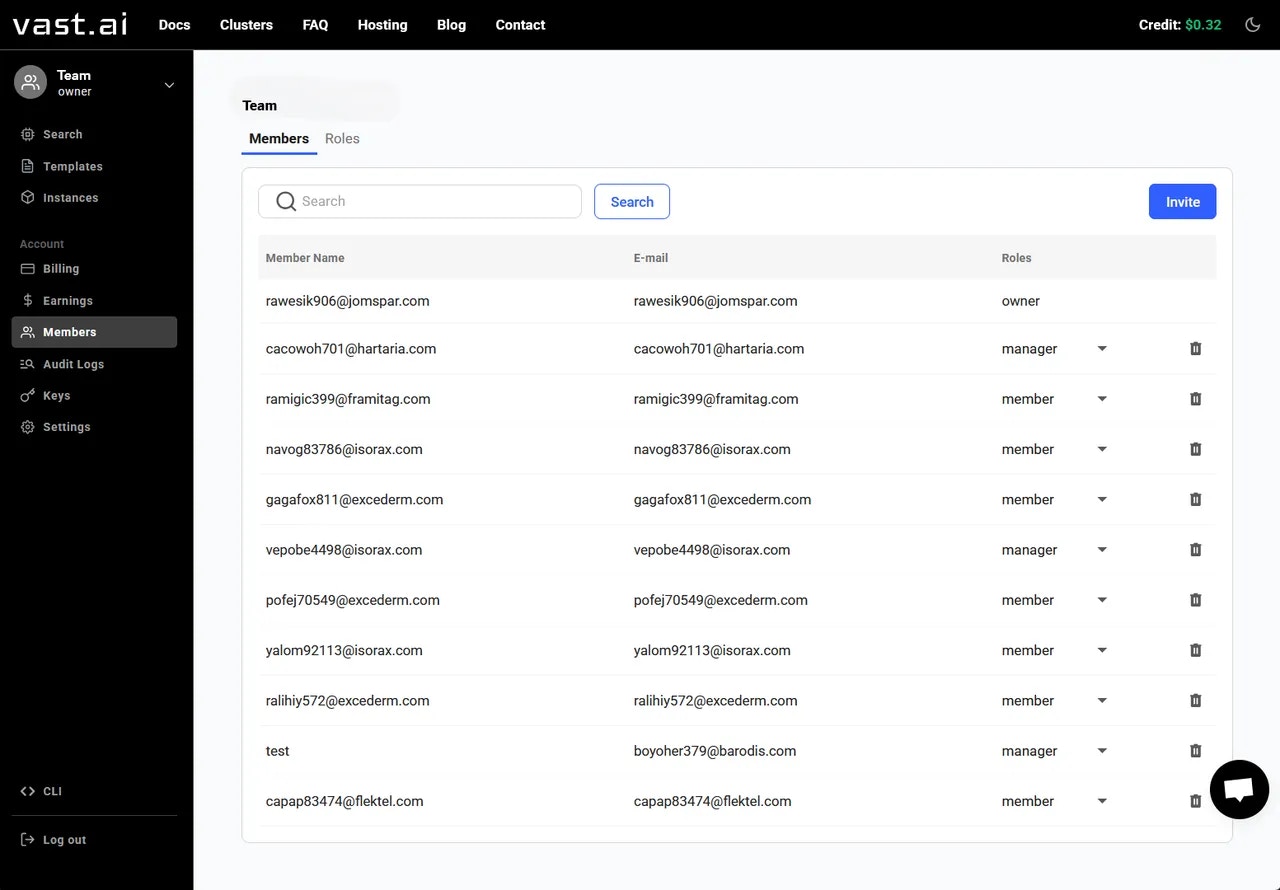 From this page, you can:
* View all team members and their assigned roles
* Change member roles by clicking the directional arrow
* Remove team members
* Invite new members
* Access team settings (three-dot menu)
## Inviting Team Members
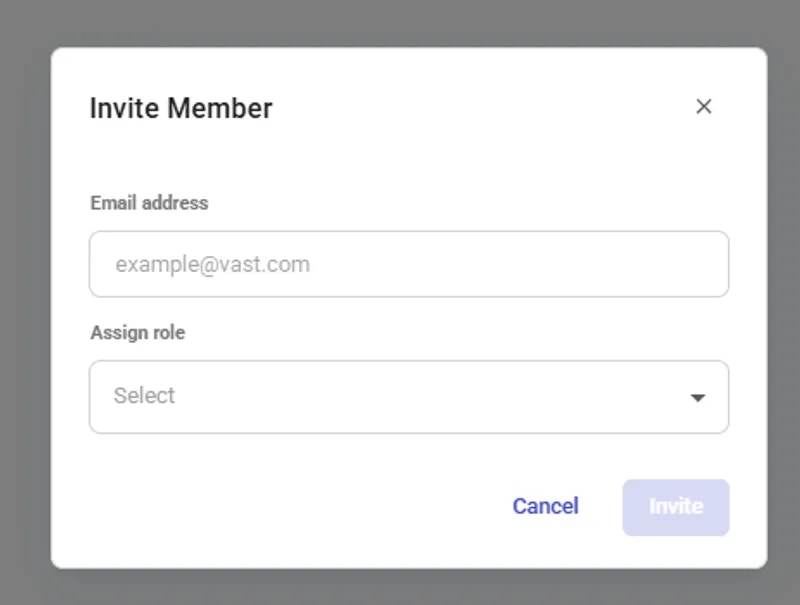
To invite a team member, go to the **Members Page** and click on the **Invite** button.
This will bring up a popup where you can enter the email and team role for the person you want to invite. Once complete, click **Invite** to send the invitation email.
From this page, you can:
* View all team members and their assigned roles
* Change member roles by clicking the directional arrow
* Remove team members
* Invite new members
* Access team settings (three-dot menu)
## Inviting Team Members
To invite a team member, go to the **Members Page** and click on the **Invite** button.
This will bring up a popup where you can enter the email and team role for the person you want to invite. Once complete, click **Invite** to send the invitation email.
 Anyone with the proper permissions (currently **team\_write**) can send invitations to invite team members at any role level.
### Accepting Team Invitations
1. **Receiving the Invitation Email**: Invitees will receive an email containing a unique team invitation link.
2. **Completing the Joining Process**: Clicking the link will initiate a set of operations to add the invitee to the team. This may involve signing into the Vast.ai platform or creating an account if necessary.
3. **Confirmation of Membership**: Once the process is complete, the new member will be officially added to the team and will have access based on their role.
**Note:** If the recipient of the invitation does not have a Vast account, they will need to create one before being added to your Team.
### Best Practices for Invitations
* **Ensure Accurate Email Address**: Double-check the email address before sending invitations to avoid any miscommunication.
* **Communicate with Invitees**: Inform potential team members that they will be receiving an invitation and what steps they need to follow.
* **Follow-up on Pending Invitations**: Keep track of sent invitations and follow up with invitees who haven't joined yet. **Note:** Team Invitations will expire after **4 hours.**
## Managing Member Roles
You can change a member's role by clicking on the directional arrow next to their name and selecting a new role.
Anyone with the proper permissions (currently **team\_write**) can send invitations to invite team members at any role level.
### Accepting Team Invitations
1. **Receiving the Invitation Email**: Invitees will receive an email containing a unique team invitation link.
2. **Completing the Joining Process**: Clicking the link will initiate a set of operations to add the invitee to the team. This may involve signing into the Vast.ai platform or creating an account if necessary.
3. **Confirmation of Membership**: Once the process is complete, the new member will be officially added to the team and will have access based on their role.
**Note:** If the recipient of the invitation does not have a Vast account, they will need to create one before being added to your Team.
### Best Practices for Invitations
* **Ensure Accurate Email Address**: Double-check the email address before sending invitations to avoid any miscommunication.
* **Communicate with Invitees**: Inform potential team members that they will be receiving an invitation and what steps they need to follow.
* **Follow-up on Pending Invitations**: Keep track of sent invitations and follow up with invitees who haven't joined yet. **Note:** Team Invitations will expire after **4 hours.**
## Managing Member Roles
You can change a member's role by clicking on the directional arrow next to their name and selecting a new role.
 Every team comes with two default roles:
* **Manager**: Full access to team resources
* **Member**: Limited read access to most resources while still being able to rent instances
For detailed information about creating custom roles with specific permissions, see the [Teams Roles](/guides/teams/teams-roles) documentation.
## Editing Team Settings
### Change Team Name
You must be a team owner or team manager to update the team name. Here is how to do it:
1. Switch to Team Context by clicking your profile in the top-left corner
2. Select the team you want to manage
3. Open the Members Page
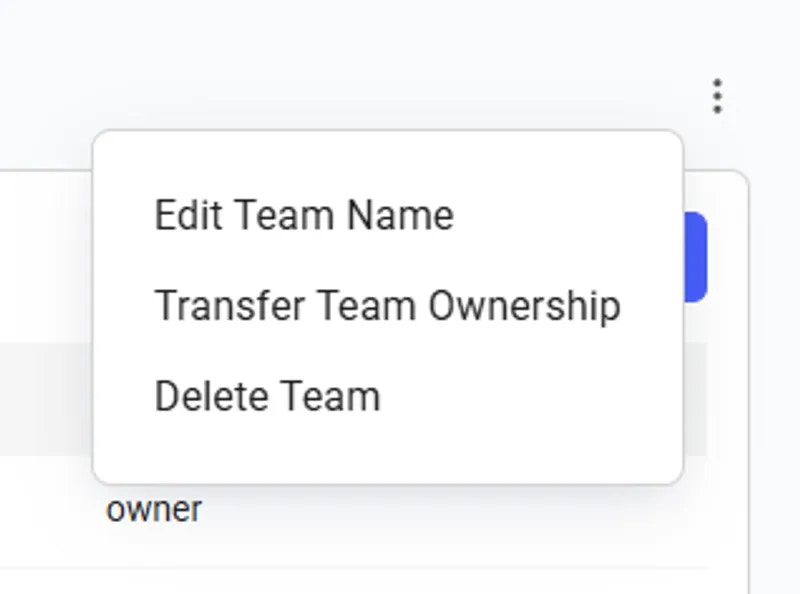
4. Click the three-dot menu and select 'Edit Team Name'
Every team comes with two default roles:
* **Manager**: Full access to team resources
* **Member**: Limited read access to most resources while still being able to rent instances
For detailed information about creating custom roles with specific permissions, see the [Teams Roles](/guides/teams/teams-roles) documentation.
## Editing Team Settings
### Change Team Name
You must be a team owner or team manager to update the team name. Here is how to do it:
1. Switch to Team Context by clicking your profile in the top-left corner
2. Select the team you want to manage
3. Open the Members Page
4. Click the three-dot menu and select 'Edit Team Name'
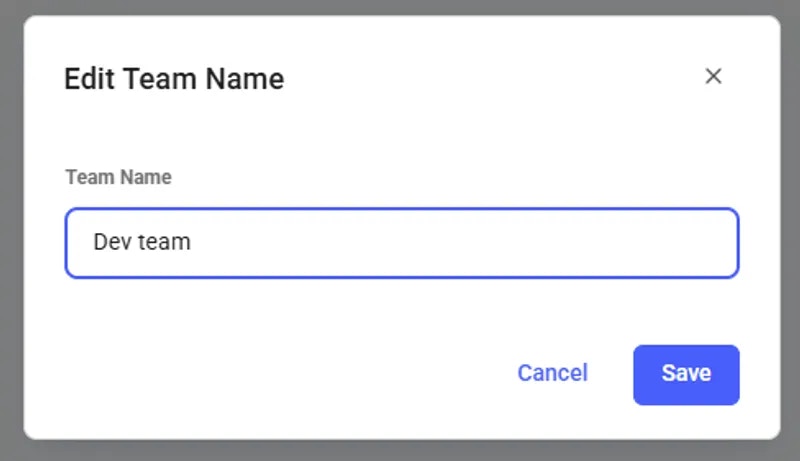
 The 'Edit team name' option opens a pop-up that allows you to enter and save a new team name.
 ## Transferring Team Ownership
The Transfer Team Ownership feature allows an owner to seamlessly reassign the team to another member within it. To do so, navigate to the **Members** page and click the three-dot menu in the upper right corner.
## Transferring Team Ownership
The Transfer Team Ownership feature allows an owner to seamlessly reassign the team to another member within it. To do so, navigate to the **Members** page and click the three-dot menu in the upper right corner.
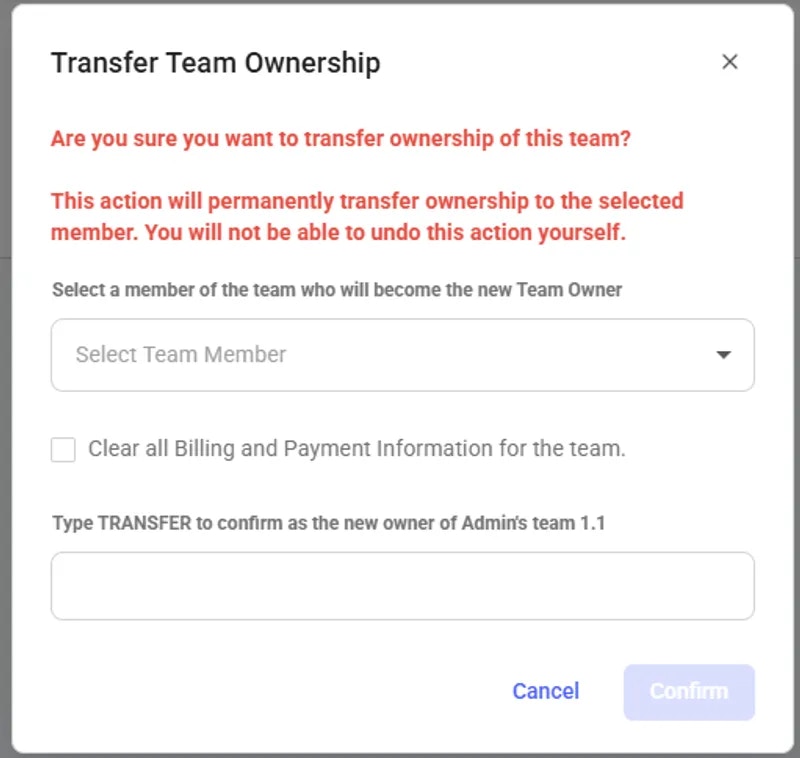
 From there, you can click **Transfer Team Ownership** and open a pop-up, select a new owner (who must already be a member of the team), and confirm the transfer. Once confirmed, ownership will be reassigned, and your role will be changed to a manager.
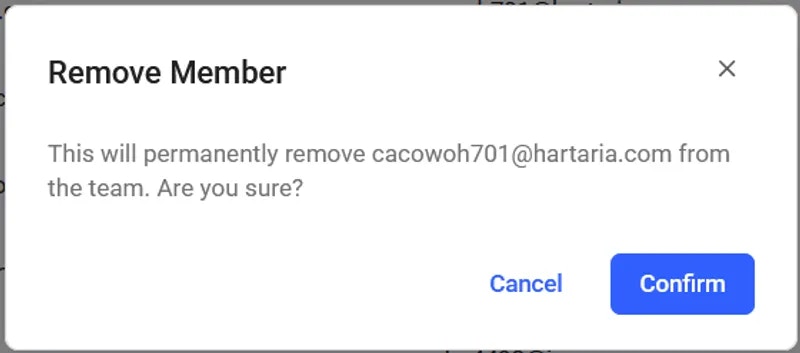
 ## Removing Team Members
You can remove a team member by clicking on 'Delete' next to their name, which will trigger a confirmation pop-up.
## Removing Team Members
You can remove a team member by clicking on 'Delete' next to their name, which will trigger a confirmation pop-up.
 ## Deleting a Team
Only the Team Owner can delete a team.
To delete a team, open the three-dot menu on the Members page and select 'Delete team'. Make sure you have deleted all instances from the Instances page, or all machines from the Machines page (if you are a host), before proceeding.
⚠ **Warning**: This action is permanent and cannot be undone. All team members will be removed and any remaining credits will be returned to your personal account.
## Deleting a Team
Only the Team Owner can delete a team.
To delete a team, open the three-dot menu on the Members page and select 'Delete team'. Make sure you have deleted all instances from the Instances page, or all machines from the Machines page (if you are a host), before proceeding.
⚠ **Warning**: This action is permanent and cannot be undone. All team members will be removed and any remaining credits will be returned to your personal account.