Windows Powershell
Modern versions of Windows support running CLI ssh commands in PowerShell. We recommemnd you use the CLI wherever possible.This guide will focus only on Windows GUI tools. If you would like to proceed with the CLI, please navigate to the full SSH guide for setup information.
Jupyter Terminal - SSH Alternative
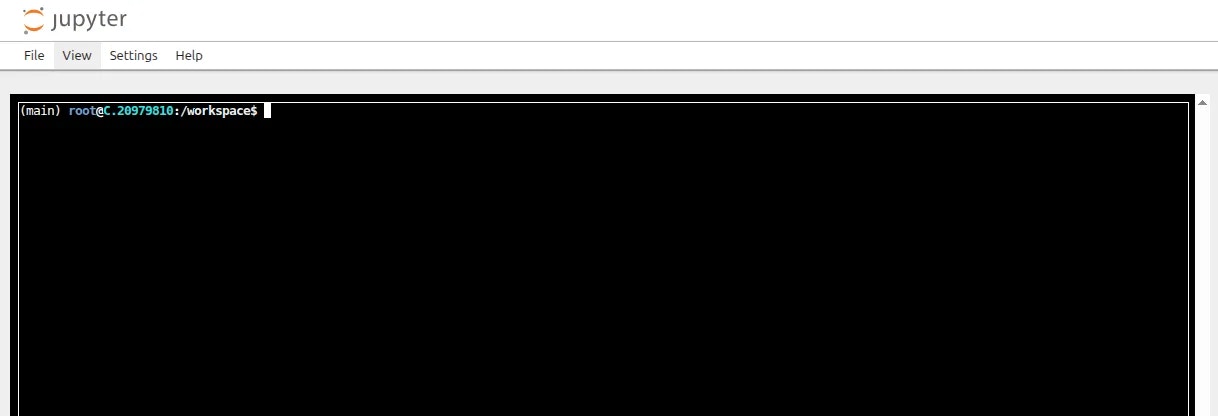
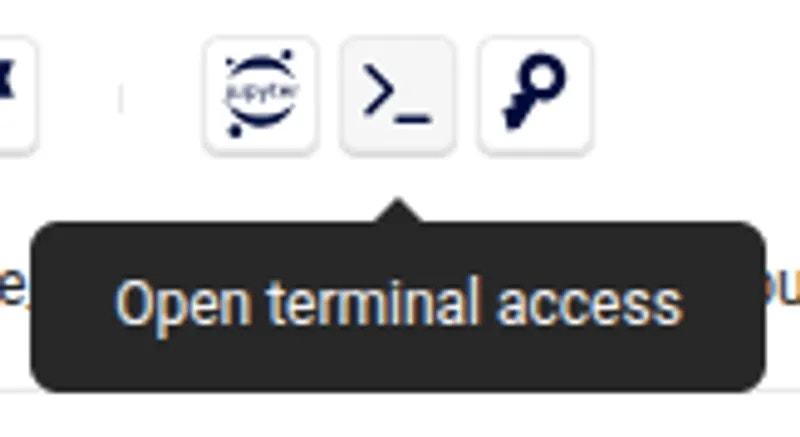
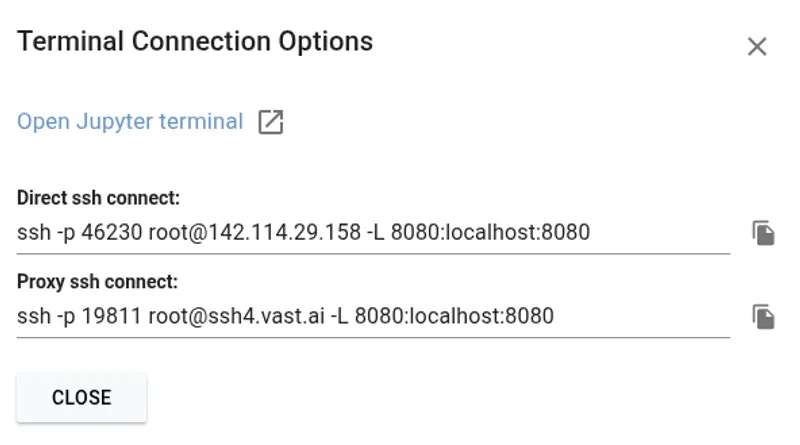
As a simple alternative to SSH, you might like to consider Jupyter Terminal instead. All instances started in Jupyter launch mode will have this enabled. It is a very straightforward web-based terminal with session persistence. It’s great for a quick CLI session. Access the terminal from the SSH connections interface
Jupyter Terminal
GUI Setup Guide (Windows)
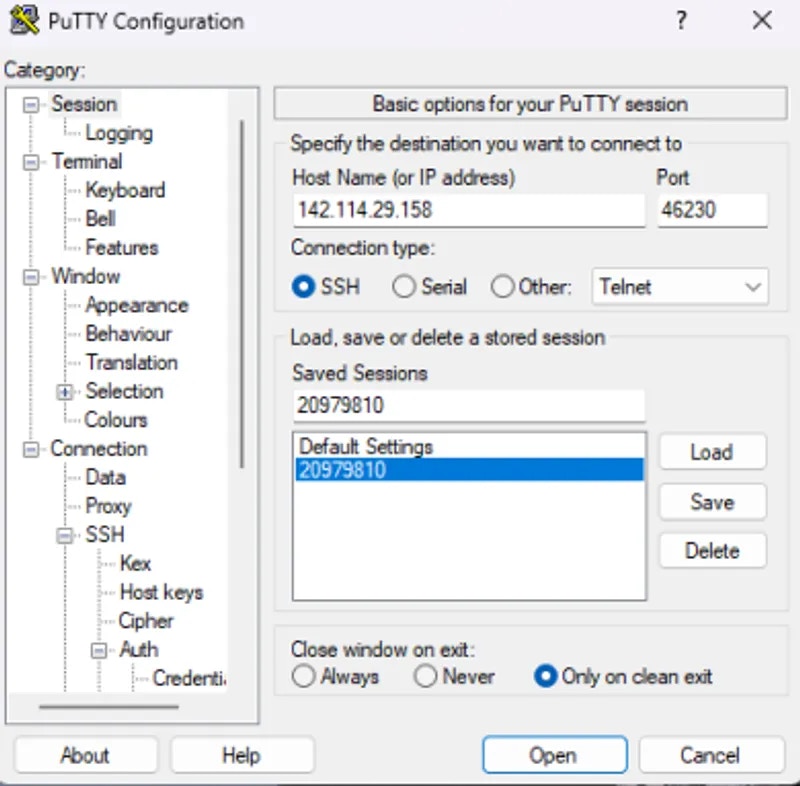
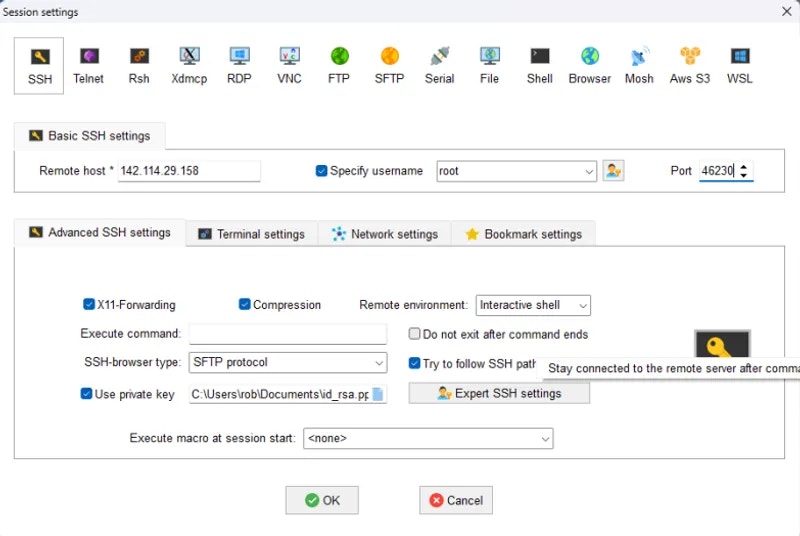
Several GUI tools are available to help with SSH connectivity. While it is often most straightforward to use the terminal we will cover some of the popular options here. For each application we will assume the following:- IP address: 142.114.29.158
- Port: 46230
- Username: root
SSH Button
Example SSH Details
PuTTY
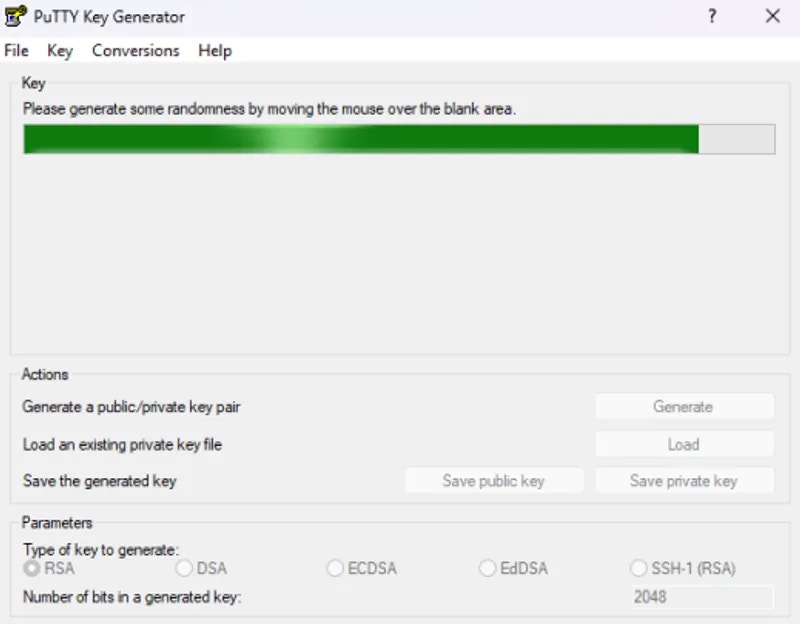
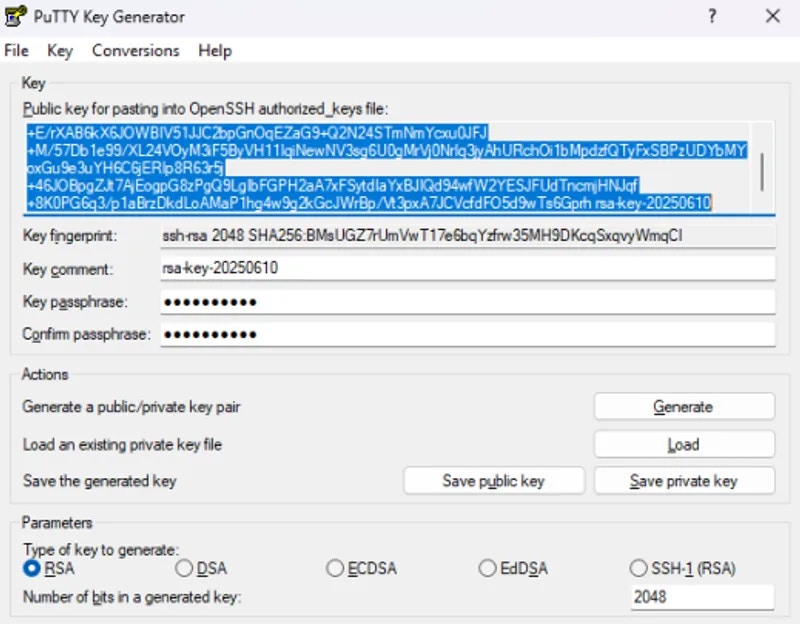
PuTTY consists of two important components - PuTTY for making connections and PuTTYGen for creating SSH keys. First, we will generate a public and private key pair. PuTTy uses its own.ppk private key type.
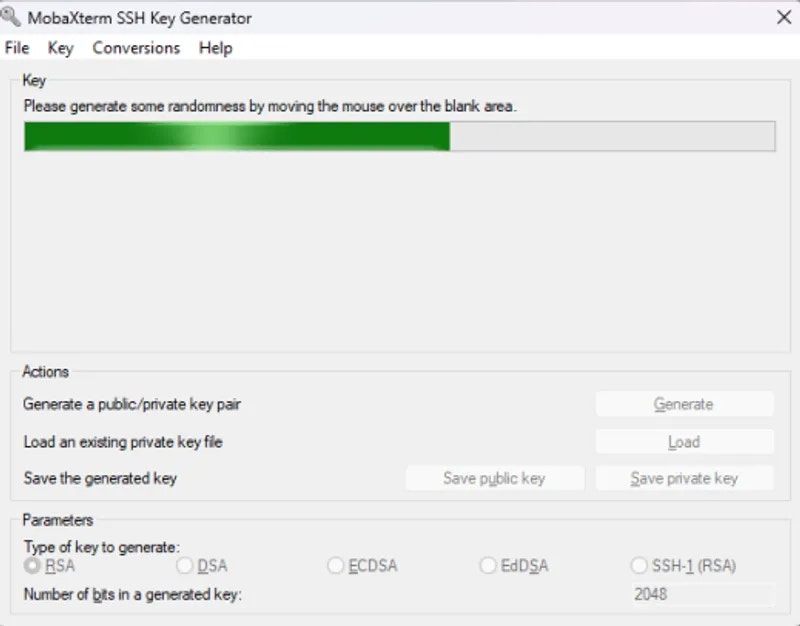
Open PuTTYGen and click the ‘Generate’ button. You will be asked to move your mouse around until the green bar is full.
PuTTYgen Key Generation

Save Keys
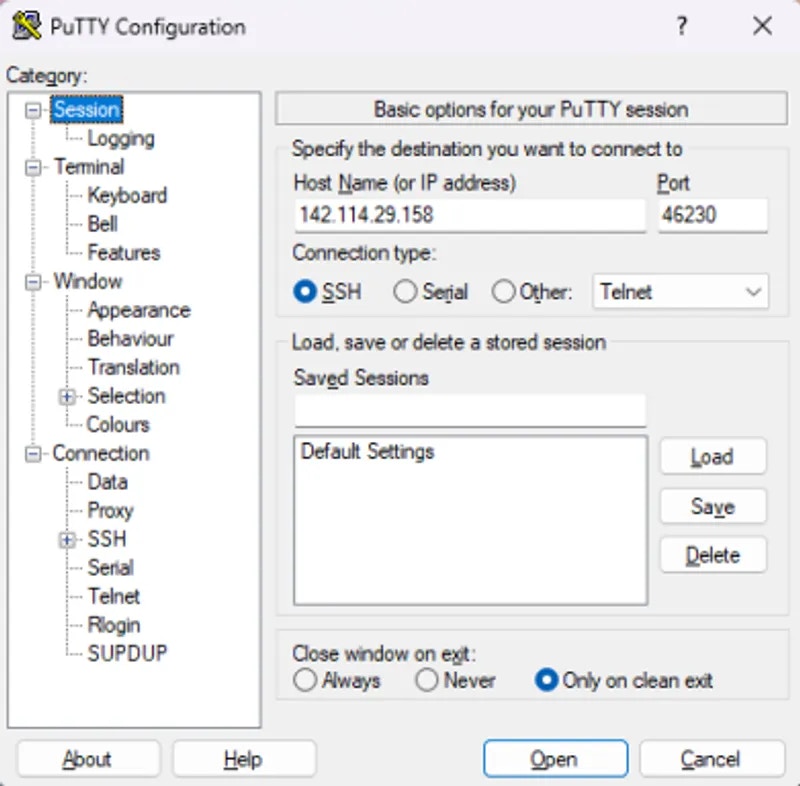
PuTTY session tab
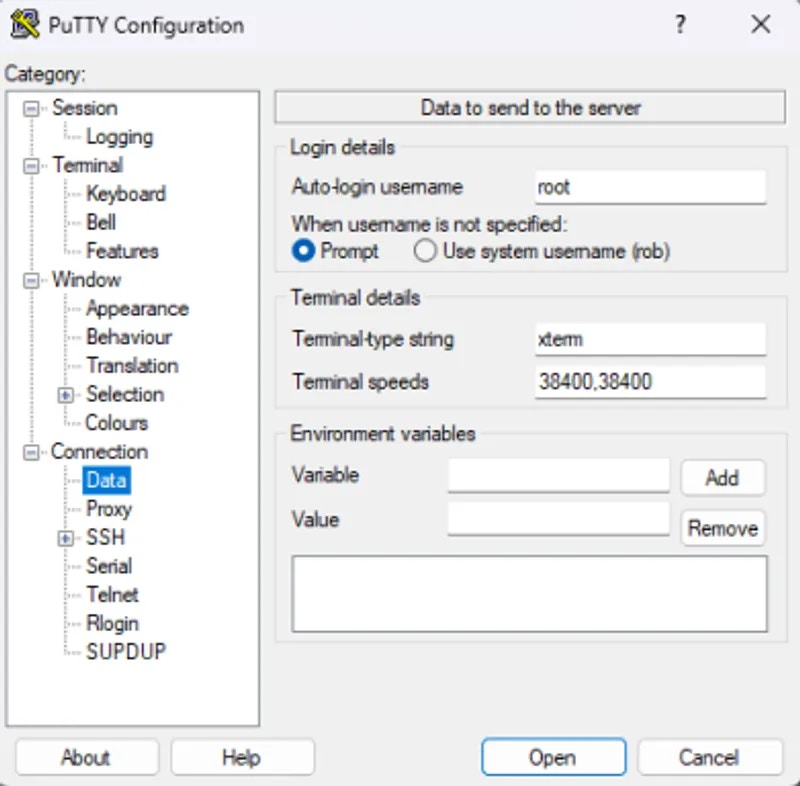
Connection data tab
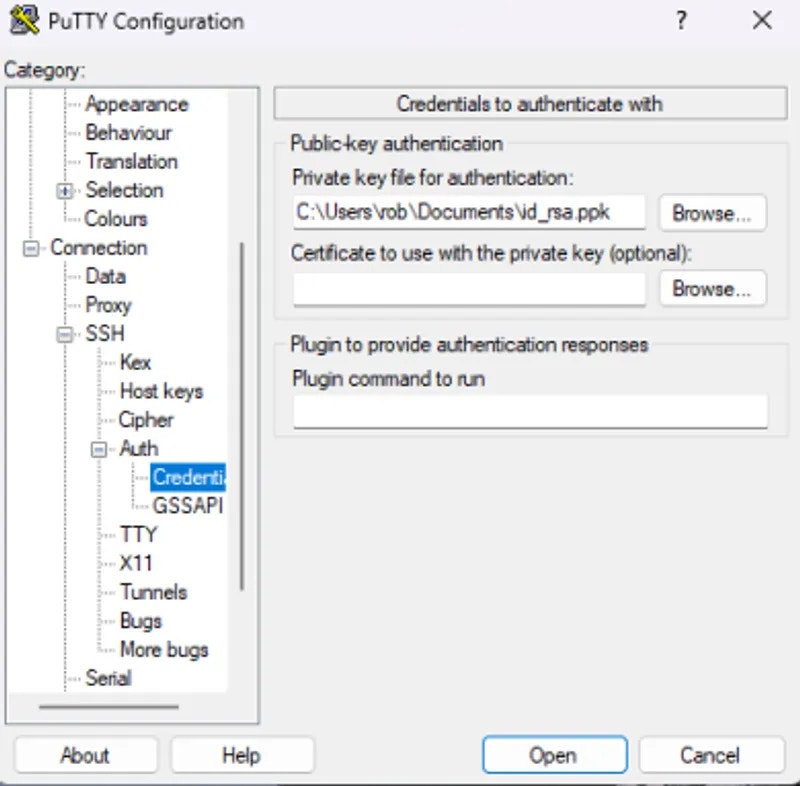
SSH credentials tab
Save connection
MobaXterm
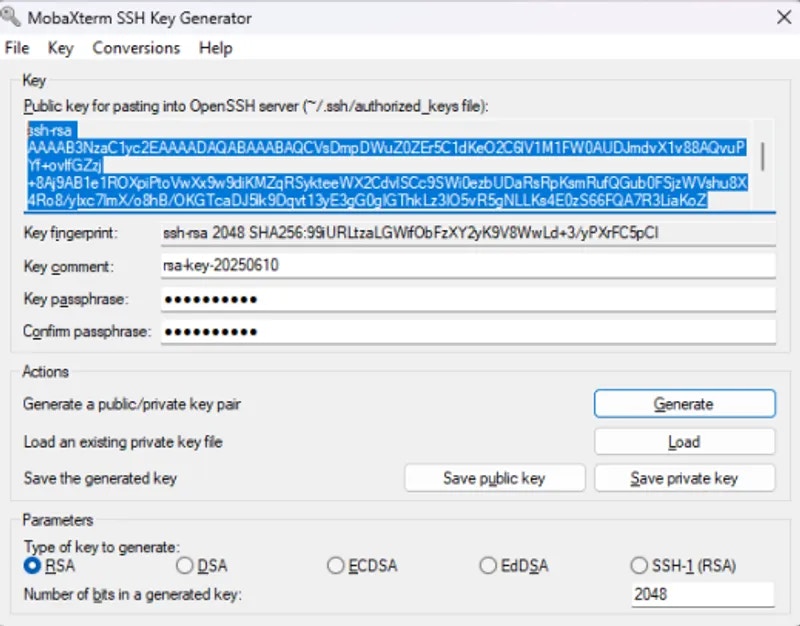
First, we need to create a public and private key pair. MobaXterm uses puTTY style.ppk keys.
Open the application and navigate to Tools -> MobaKeyGen (SSH Key Generator)
Glick the ‘Generate’ button. You will be asked to move your mouse around until the green bar is full.
Generate Key
Save Keys
Create a Session
- Remote Host
- Specify Username (root)
- Port
- Use private key
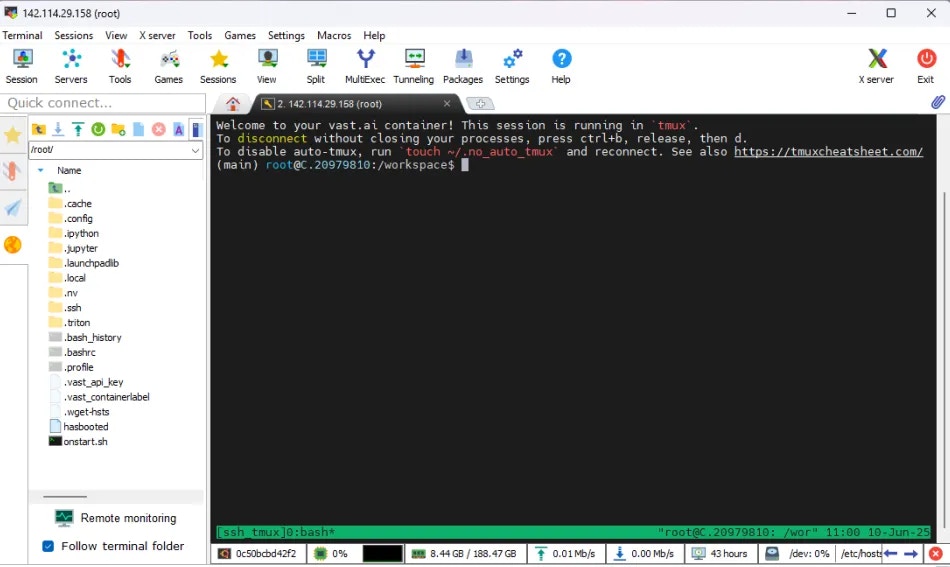
Successful Connection
Other GUI Clients
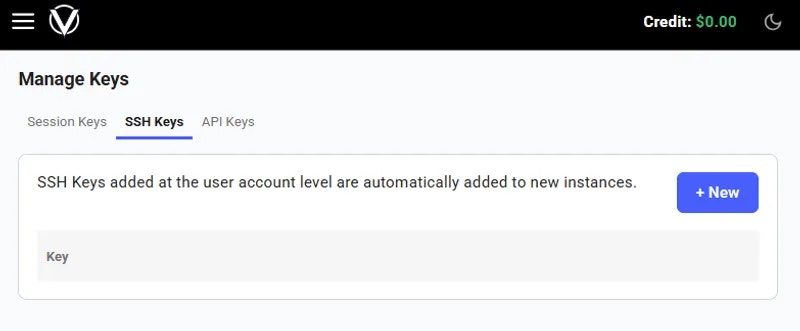
Many GUI clients are available for Windows and other operating systems, and although it is not possible to cover all of these here, the key things to remember when setting up are:- Create a public and private key pair
- Add the public key to your vast account and any running instances
- Keep the private key safe
- Ensure you are connecting to the correct IP address and port as user
root