Video Generation Guide: Using ComfyUI on Vast.ai
This guide will walk you through setting up and using ComfyUI for video generation on Vast.ai. ComfyUI provides a powerful node-based interface for creating advanced stable diffusion pipelines, making it ideal for video generation workflows.Prerequisites
- A Vast.ai account
- Basic familiarity with image or video generation models
- (Optional) Read Jupyter guide
- (Optional) SSH client installed on your local machine and SSH public key added in Account tab at cloud.vast.ai
Setting Up Your Instance
1. Select the Right Template
Navigate to the Templates tab to view available templates. For video generation, we recommend searching for “ComfyUI” among the recommended templates. The ComfyUI template provides a powerful and modular stable diffusion GUI for designing and executing advanced pipelines using a graph/nodes/flowchart based interface. Template Features:- Access through both Jupyter and SSH
- Instance Portal
- Token-based authentication enabled by default
- Built-in provisioning script for models and custom nodes
2. Edit your Template Configuration
Add/update these environment variables as needed:Bash
- Default script includes popular image models and custom nodes
- Fully customizable - Create your own script for a custom instance
- Must be Bash-compatible and start with
#!/bin/bash - Upload modified script to a GitHub Gist or respository and update the PROVISIONING_SCRIPT variable to point to the raw file
3. Create Your Instance
- In the Search interface, look for machines that have sufficient VRAM to handle your chosen video model. ⚠All models are different so check the model requirements carefully.
- Click RENT to create an instance on the machine with the GPU of your choice
3. Connect to Your Instance
- Go to Instances tab to see your instance loading
- When the blue button says “OPEN”, click this button to access the Instance Portal which will provide access to ComfyUI and other useful applications.
- Click the direct link or cloudflare quick tunnel link to access ComfyUI. Here’s a beginner’s guide to using ComfyUI.
4. Select a Video Workflow
ComfyUI has a workflow browser, so for a quick start you can choose on of their templates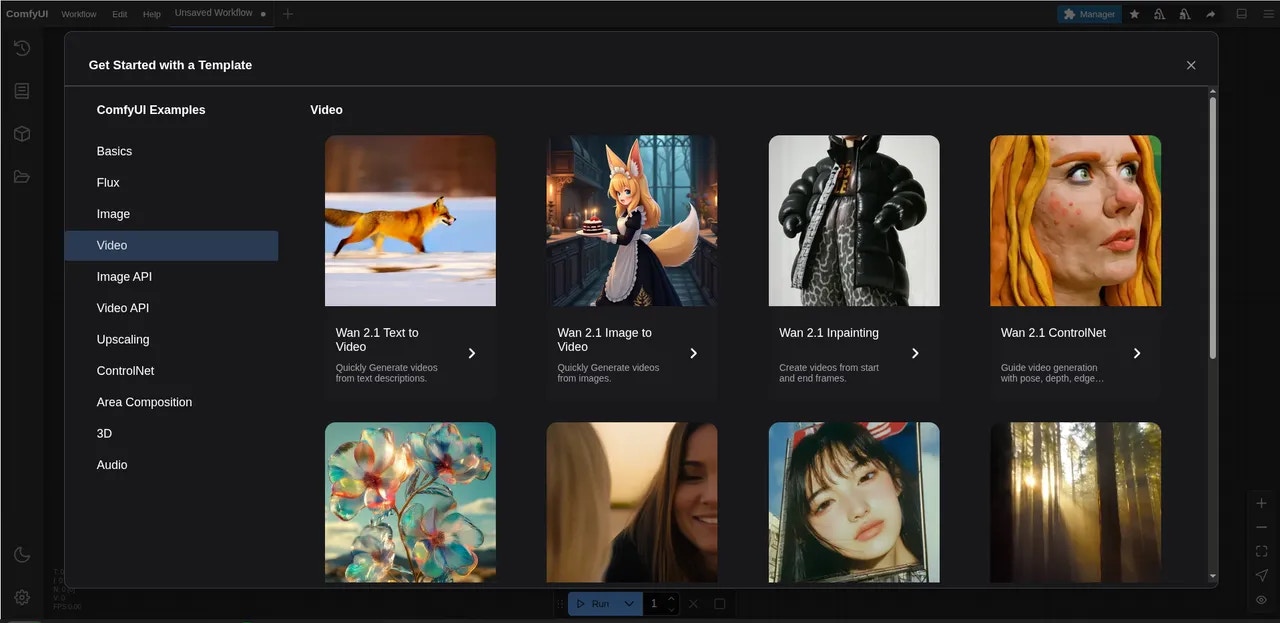
ComfyUI Workflows
5. Download Missing Files
Your new instance will not yet have the required models, but fortunately ComfyUI will alert us to this and offer the models for download.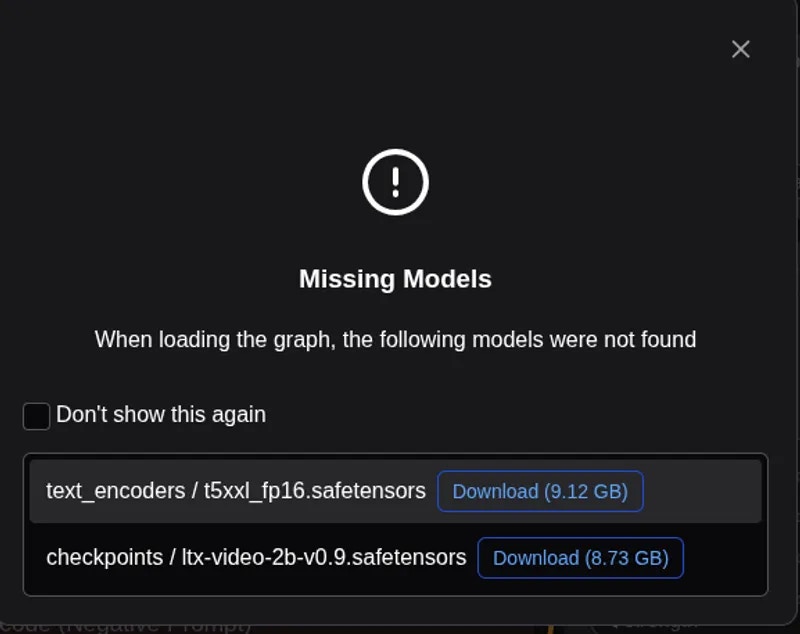
- Download the models to your computer and then upload them to the instance
- SSH to the instance and use
curlorwgetto directly download the models to their correct locations
Bash
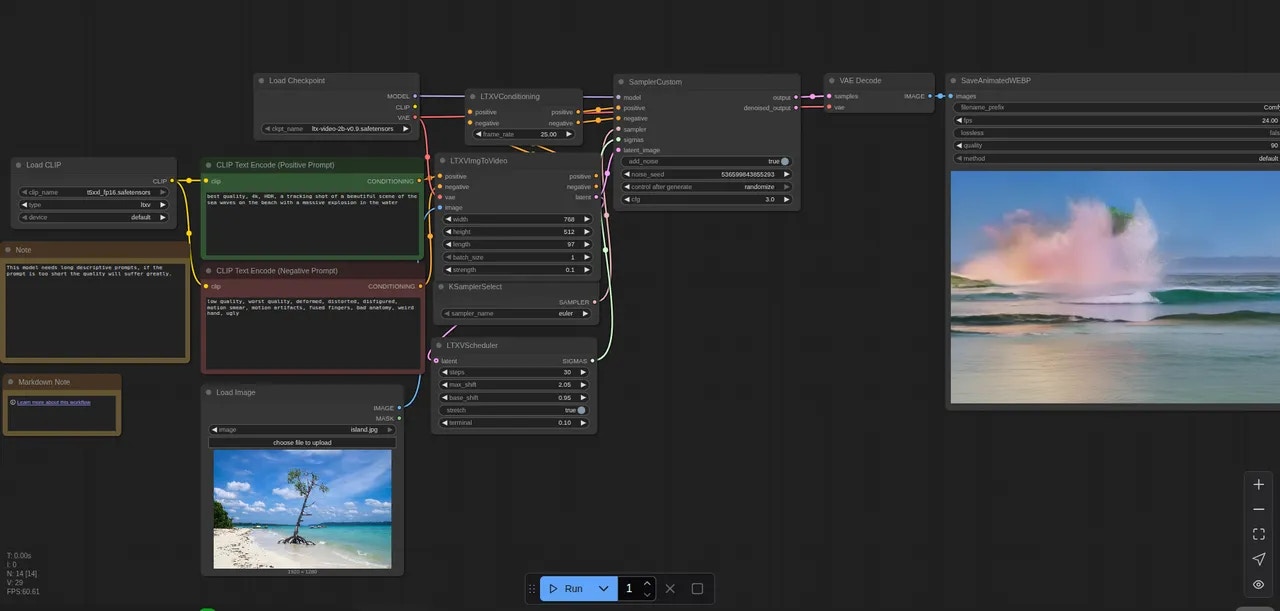
6. Run the Workflow
Finally, click the Run button to process the workflow.