What is the Instance Portal?
The Instance Portal is the first application you will see after clicking the ‘Open’ button to access an instance that has been loaded with a Vast.ai Docker image. Many of our recommended templates include the Instance Portal.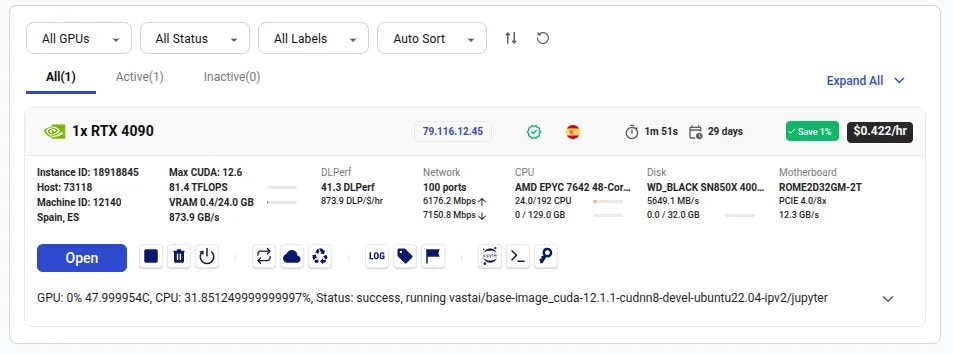
Instance card interface shows the open button
Loading Process
Upon opening the Instance Portal you will see a loading indicator for a short time.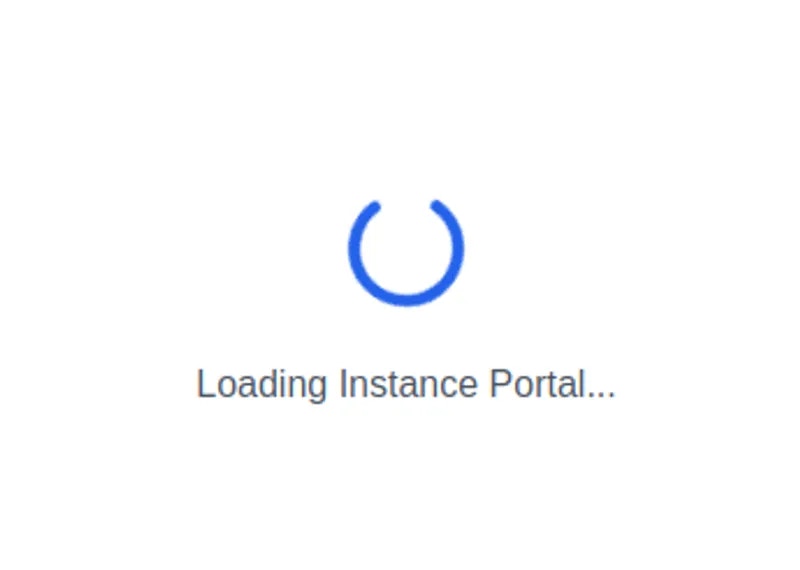
Loading Indicator
1111 becomes accessible, the instance Portal will redirect to this link before revealing the full interface.
If it is taking too long for the tunnels to be ready, you will see the Instance Portal interface revealed at http://ip_address:port_1111
If you would like the default application URLs to be https:// rather than http:// you can add the following environment variable to your account level environment variables:
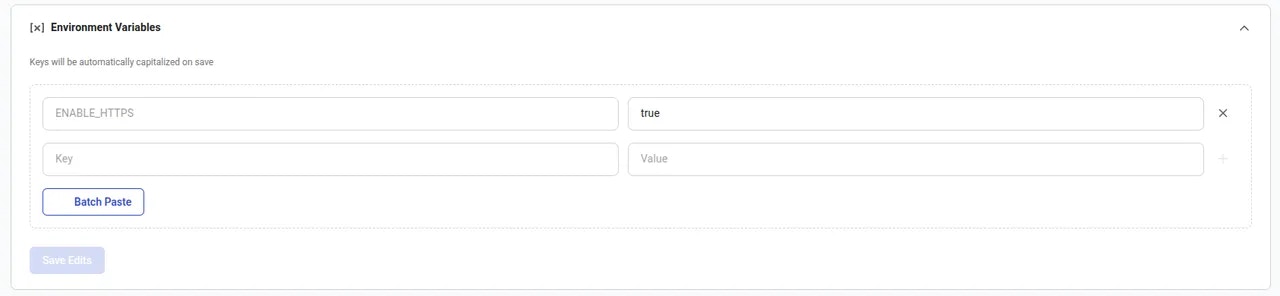
Enable HTTPS Variable
Landing Page
The instance Portal has a simple interface to help you access other web applications that may be running in the instance. See the configuration section of this document for further details on application startup.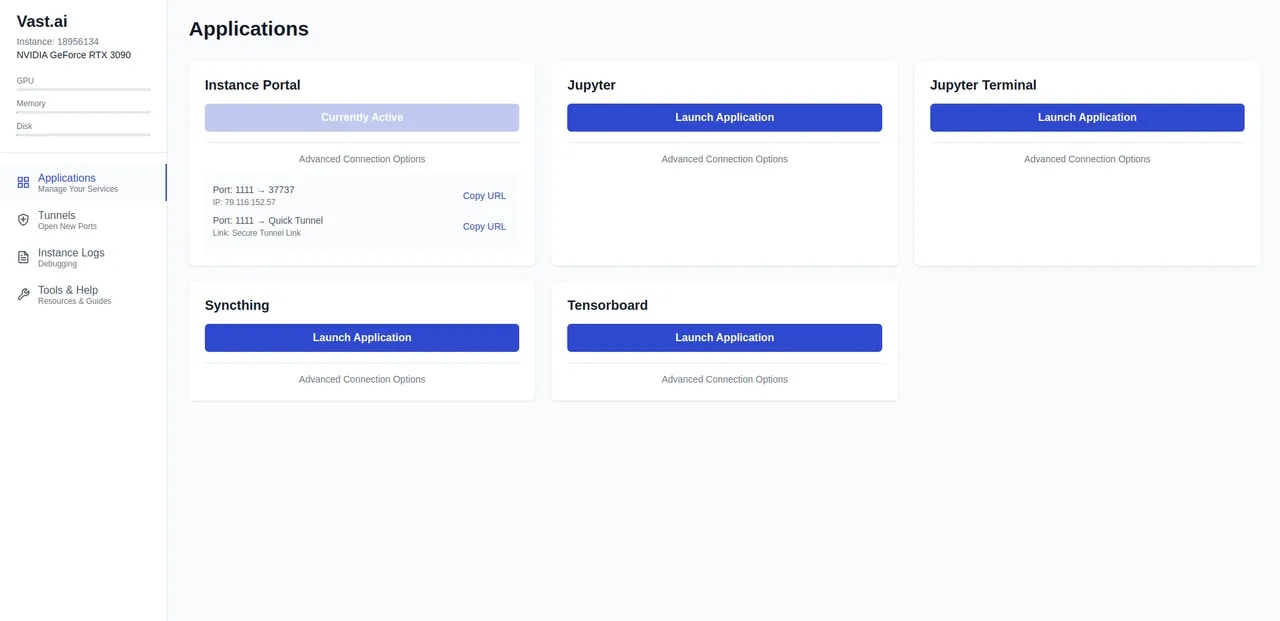
Landing Page
Tunnels Page
Use this page to manage existing secure tunnels and add new tunnels to get access to ports that have not directly been opened in the instance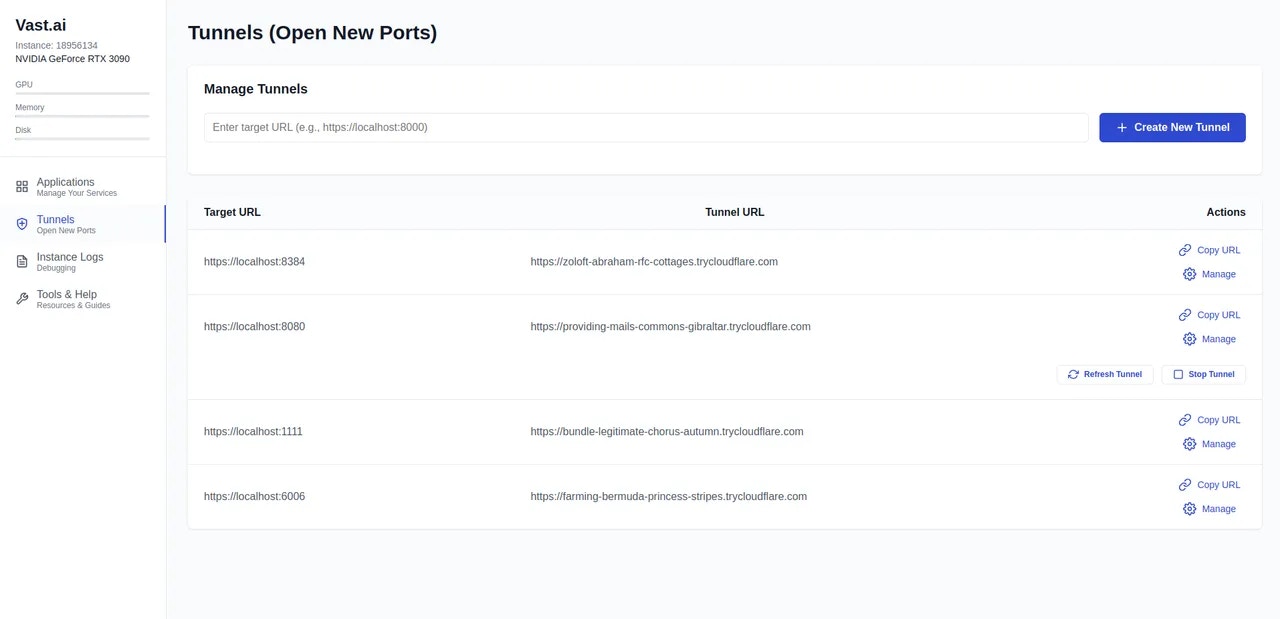
Tunnels Page
7860, it will not be available directly if you did not configure the port when creating or editing the template.
Simply enter http://localhost:7860 in the top input box and click the blue ‘Create New Tunnel’ button. A tunnel will be created for this port. It may take a moment to be available after creation.
You can use the ‘Manage’ buttons to stop existing tunnels or to refresh them if you want a new URL.
If you would like to link your own domain name to the instance then please see ‘Named Tunnels’ in the configuration section of this document.
Instance Logs Page
The logs page will show a live stream of entries added to any.log files in the /var/log/portal/ directory.
Use the ‘Copy Logs’ button to copy the currently displayed logging output to your clipboard. You can also use the ‘Download Logs’ button to download a zip file containing all files and directories in the /var/log/ directory of your instance.
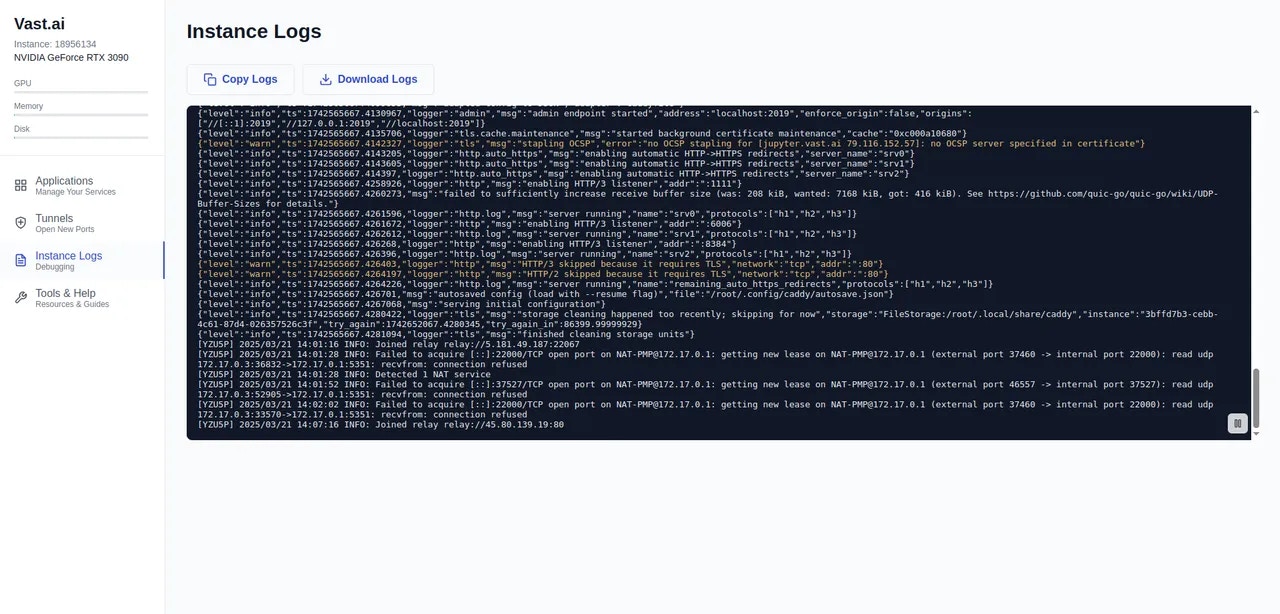
Instance Portal logs interface
Tools & Help Page
This page links to useful pages in the Vast.ai documentation to help you get the most from your instance.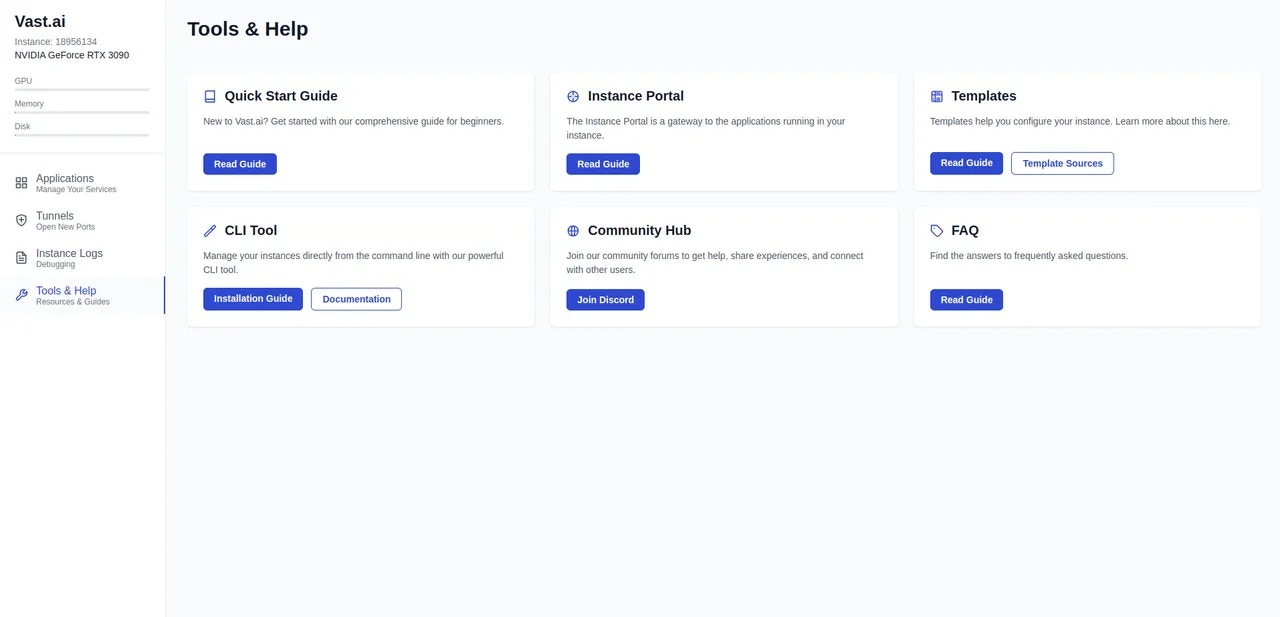
Instance Portal tools and help page
Configuration
Initial configuration of the Instance Portal is via thePORTAL_CONFIG enviroment variable. The default value looks like this:
Bash
|) character, and each application option is separated by a colon (:)
For each application, we provide the following configuration options
- Interface to bind the application (currently always
localhost) - External port to proxy the application. This must have been added to the template. Eg.
-p 1111:1111) - Internal port where the running application will be bound
- URL path for links to open (often
/) - Application Name
In Place Configuration
On first boot the configuration variable will be processed and is used to create the configuration file/etc/portal.yaml
You can edit this file in a running instance to add or remove applications from the interface.
Any applications you have added after the instance has started will not initially be reachable so you will need to reboot the instance.
Disable Default Applictions
The startup scripts we use for the default applications we provide will read this configuration and will not start if they are not specified in the configuration file.Named Tunnels
While the default behavior of the Instance Portal is to create ‘quick’ tunnels with a randomly assigned subdomain of ‘trycloudflare.com’, it is also possible to assign a pre-configured subdomain of your own domain name. To do this you will need a free Cloudflare Zero Trust account and a domain name linked to that account. Here’s an example of how your tunnel configuration might look in the Cloudflare dashboard: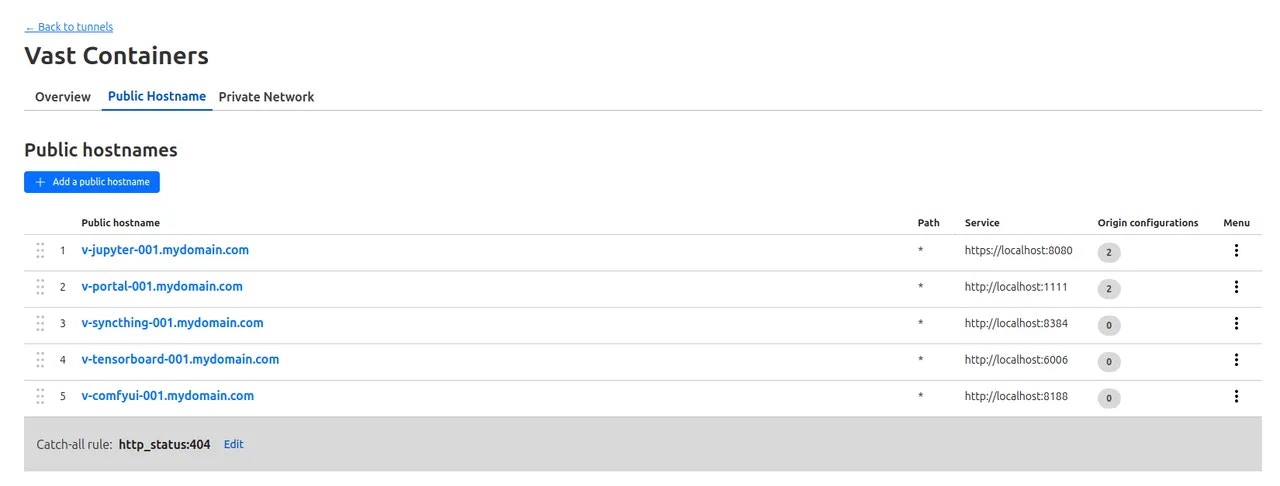
CF_TUNNEL_TOKEN. You can save this in the ‘Environment Variables’ section in your account settings or directly in the template if you are saving it privately.
If the instance is already running you can provide then token in the /etc/environment file and reboot the instance.
Named tunnels are generally more reliable than quick tunnels and will provide consistent URLs you can use to access applications running in an instance.
When named tunnels are configured, the ‘Launch Application’ button will direct to the named tunnel rather than the quick tunnel.
Important: Using the same tunnel token for multiple running instances is not possible and will cause broken links. If you need several instances then you will need a separate tunnel token for each of them.