Prerequisites
Before you begin, make sure you have:Vast.ai Account
Sign up at cloud.vast.ai and add credits to your account
API Key
Generate an API key from your account settings
HuggingFace Token
Create a HuggingFace account and generate a read-access token for gated models
Configuration
Install the Vast SDK
Install the SDK that you’ll use to interact with your serverless endpoints:The SDK provides an async Python interface for making requests to your endpoints. You’ll use this after setting up your infrastructure.
API Key Setup
Set your Vast.ai API key as an environment variable:HuggingFace Token Setup
Many popular models like Llama and Mistral require authentication to download. Configure your HuggingFace token once at the account level:- Navigate to your Account Settings
- Expand the “Environment Variables” section
- Add a new variable:
- Key:
HF_TOKEN - Value: Your HuggingFace read-access token
- Key:
- Click the ”+” button, then “Save Edits”
This token will be securely available to all your serverless workers. You only need to set it once for your account.
Deploy Your First Endpoint
Open the Serverless Dashboard
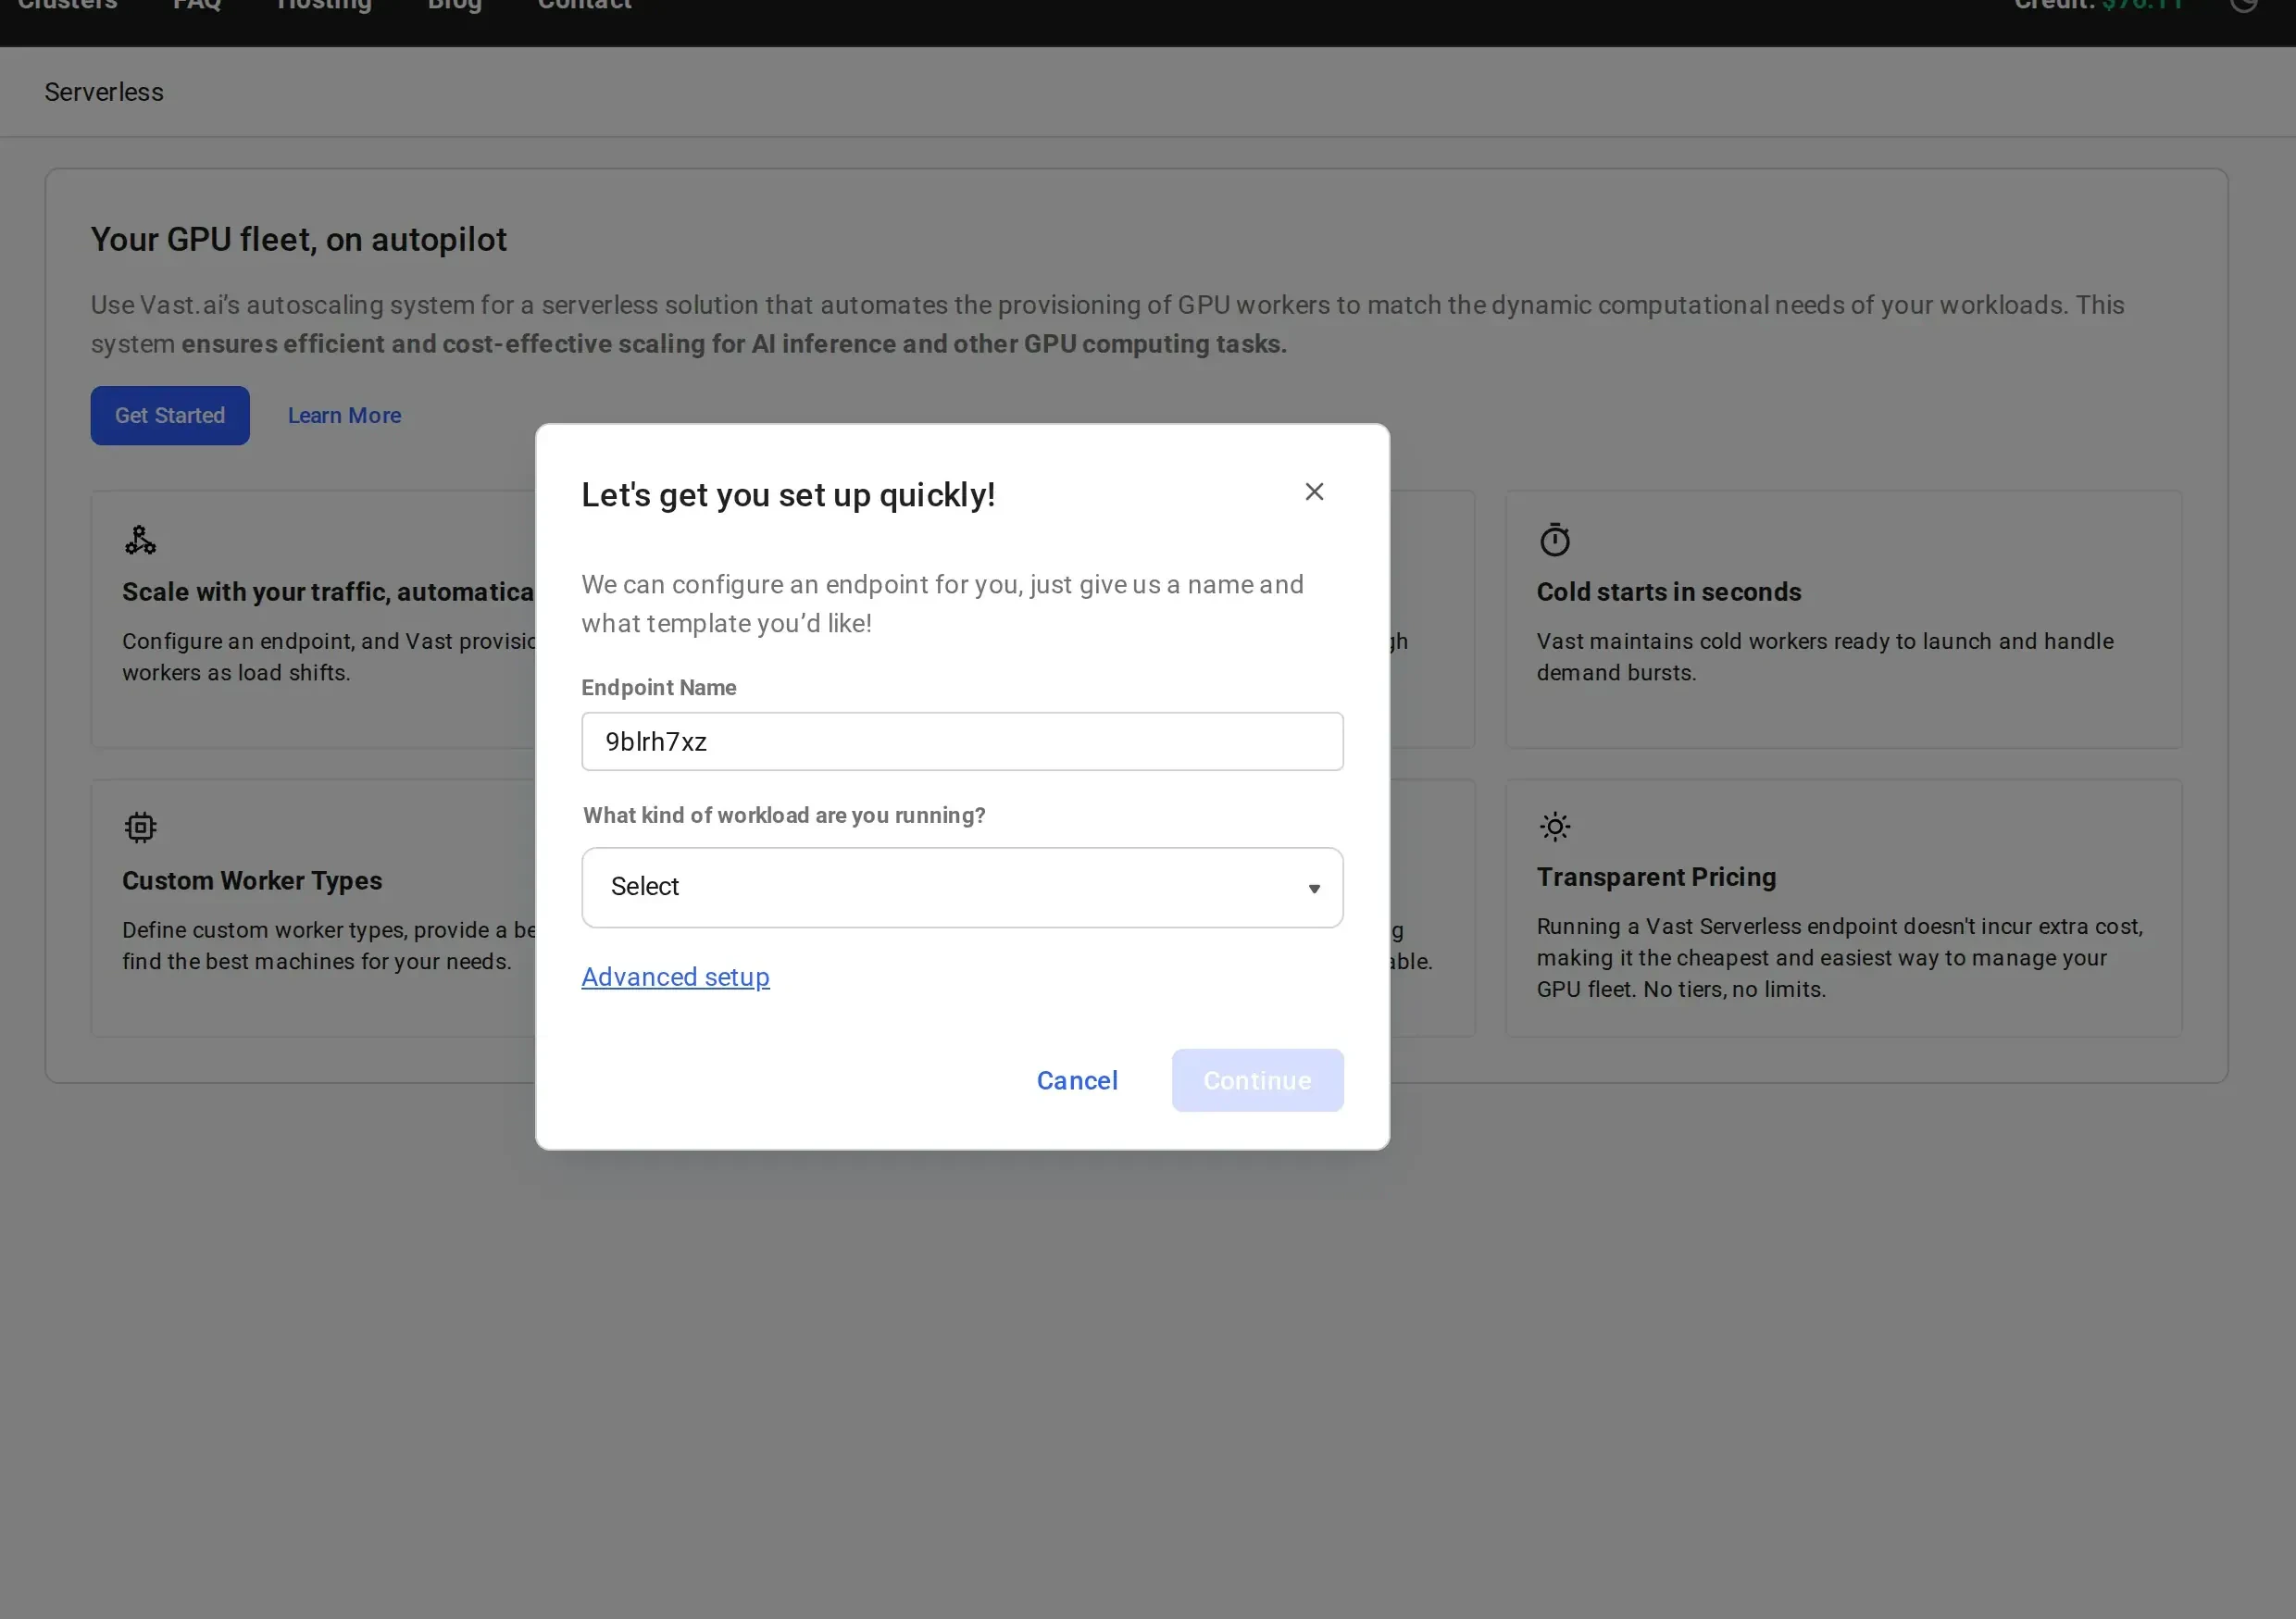
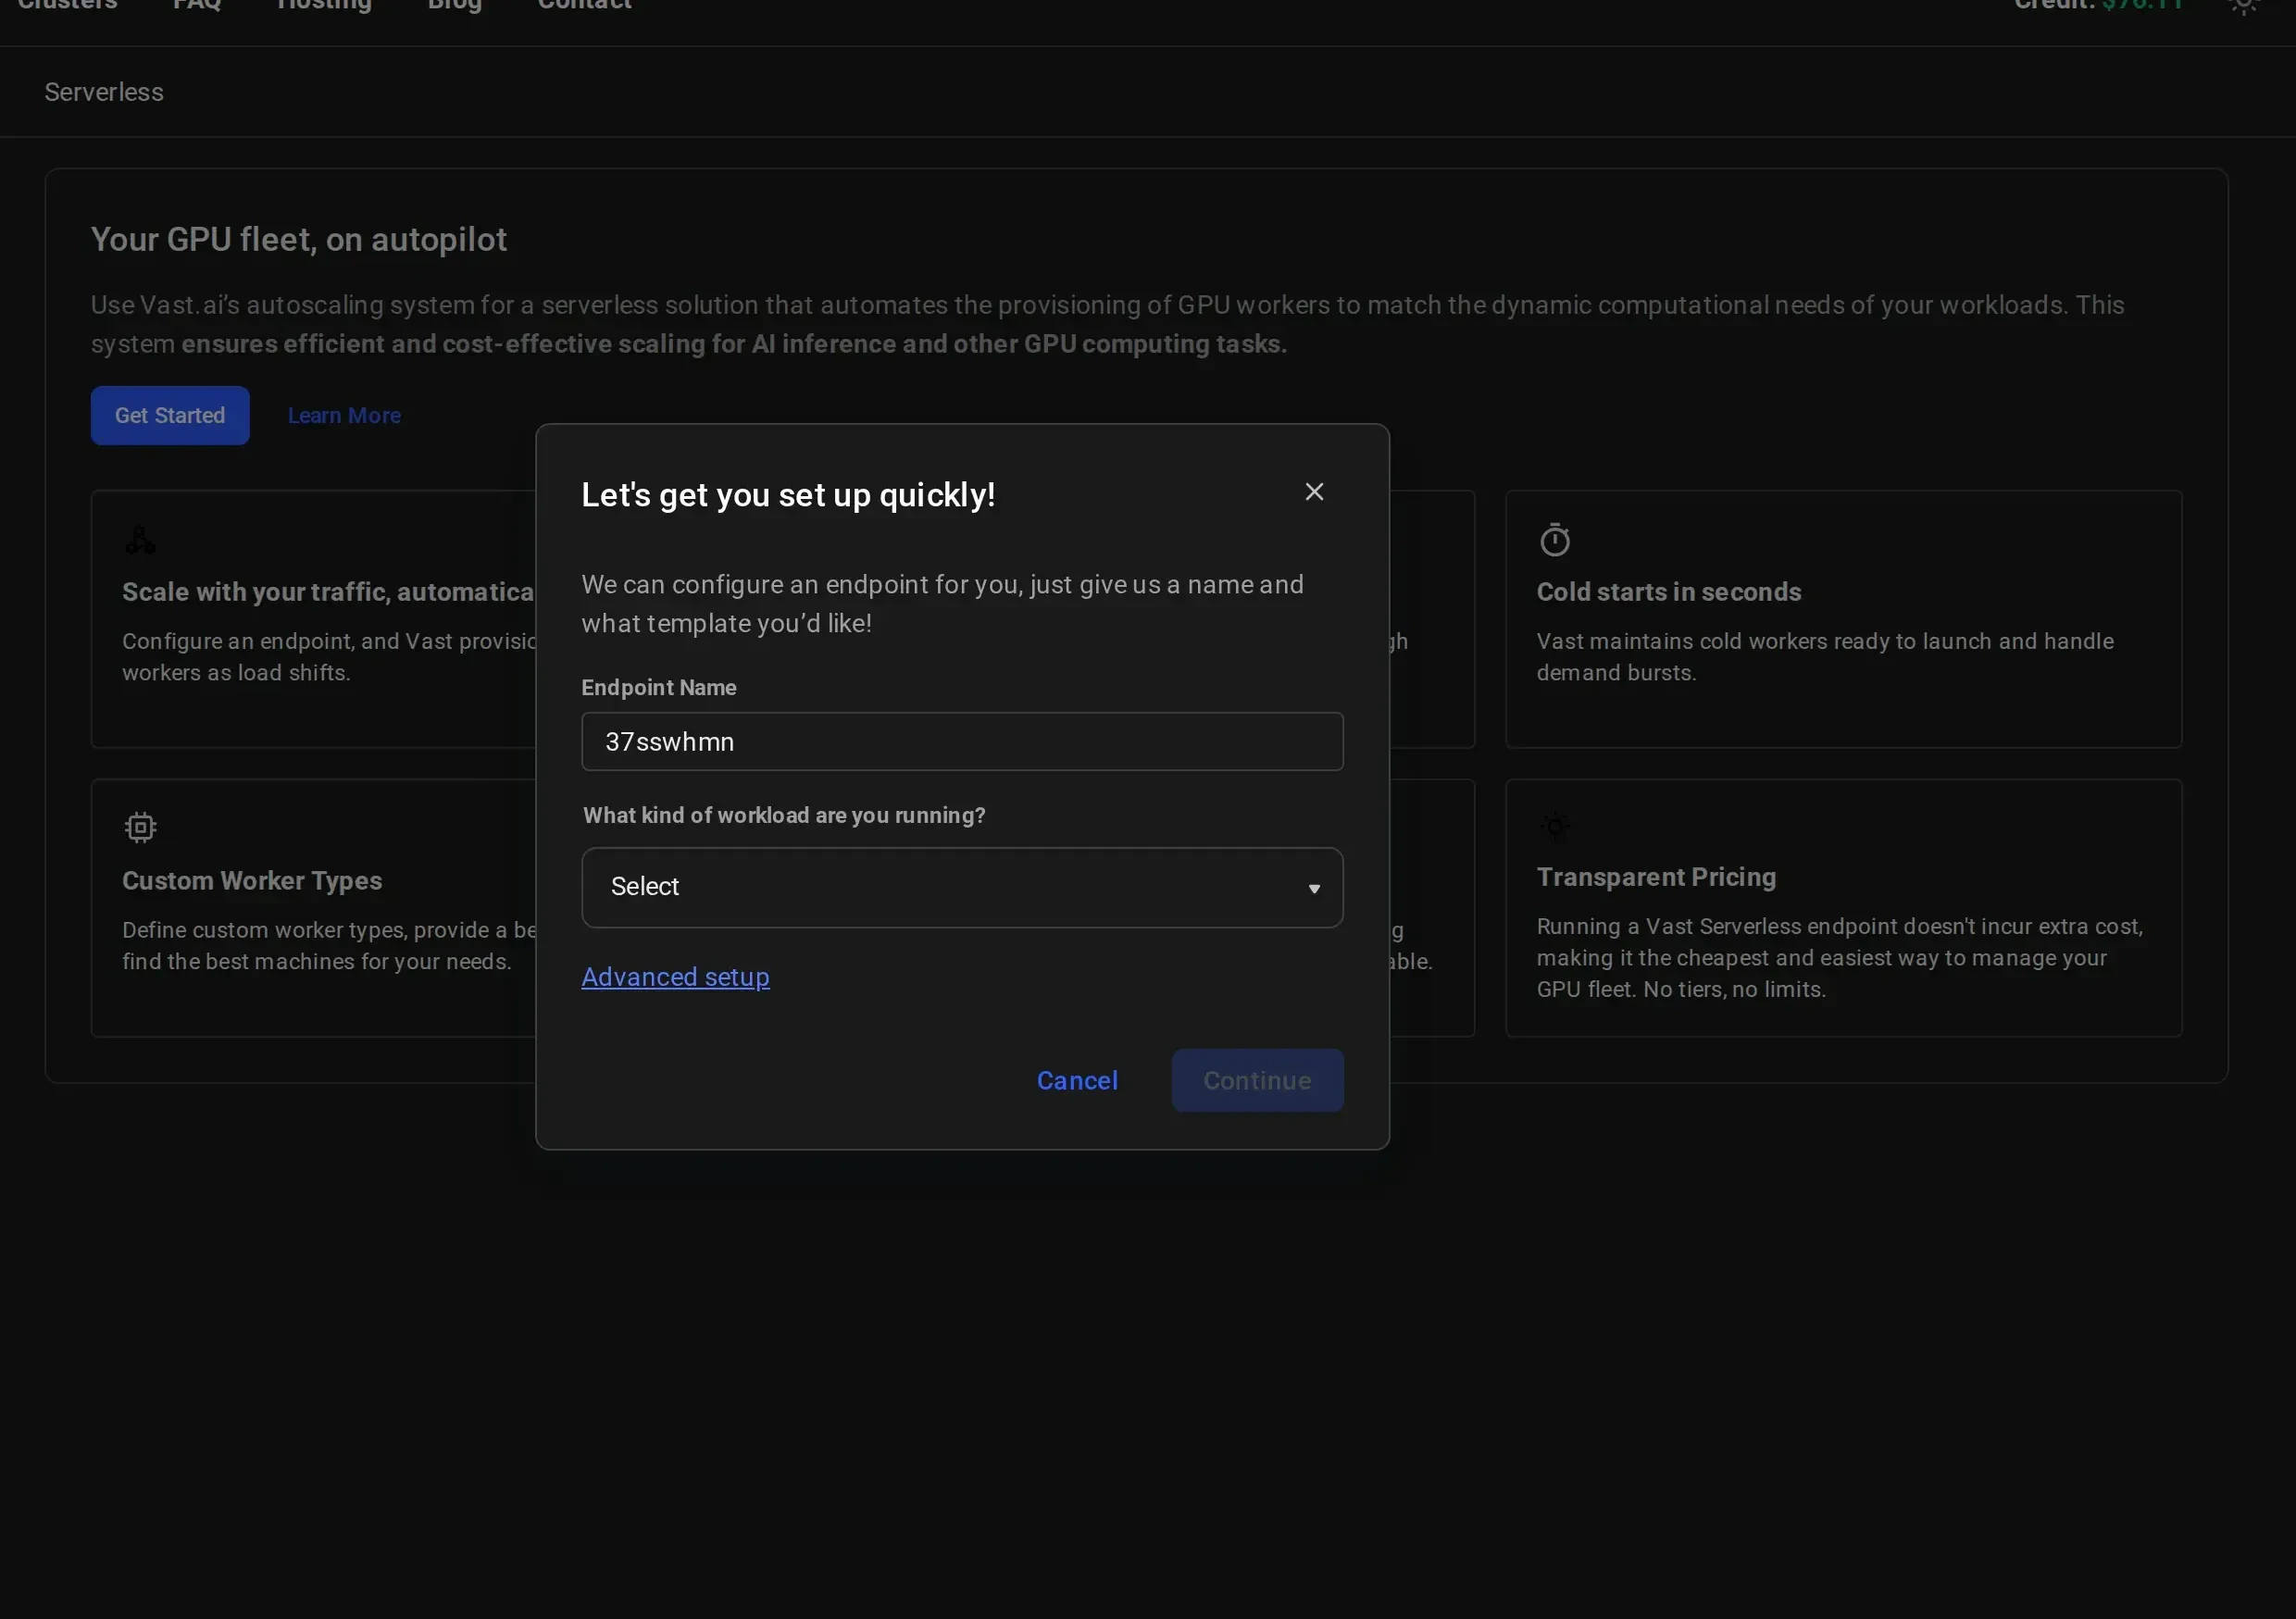
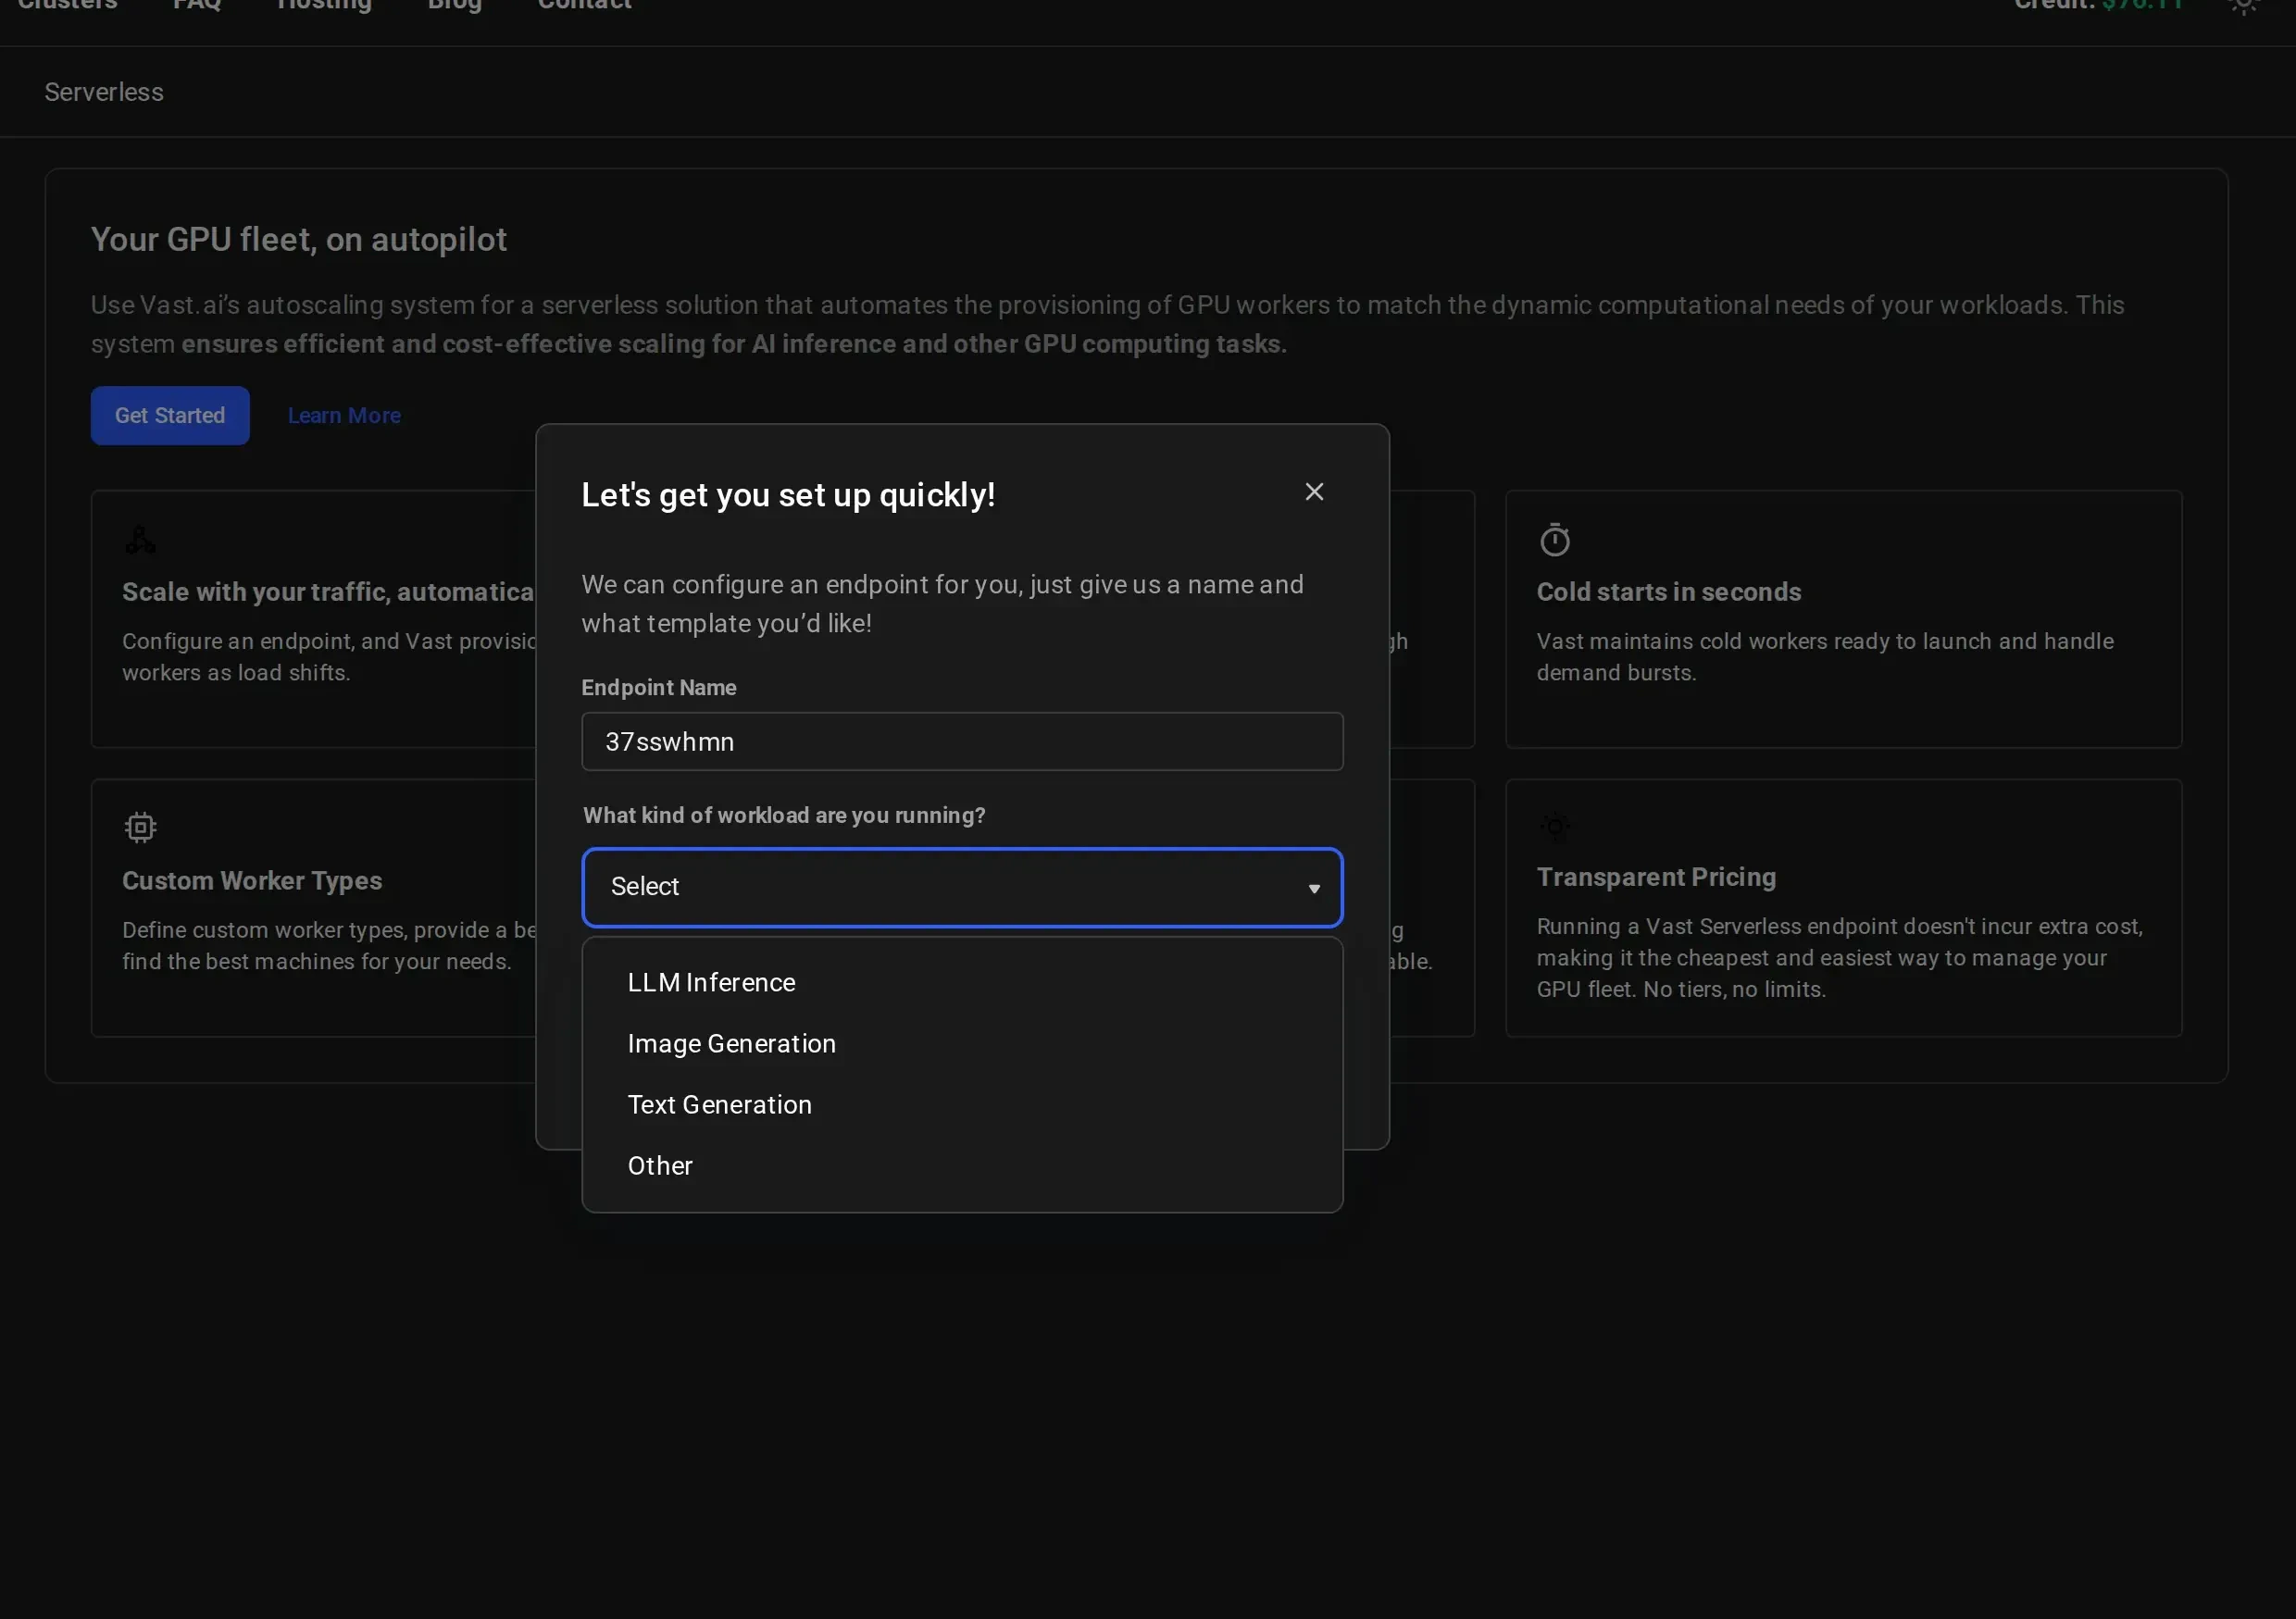
Name Your Endpoint and Select a Workload
Give your endpoint a descriptive name (e.g., 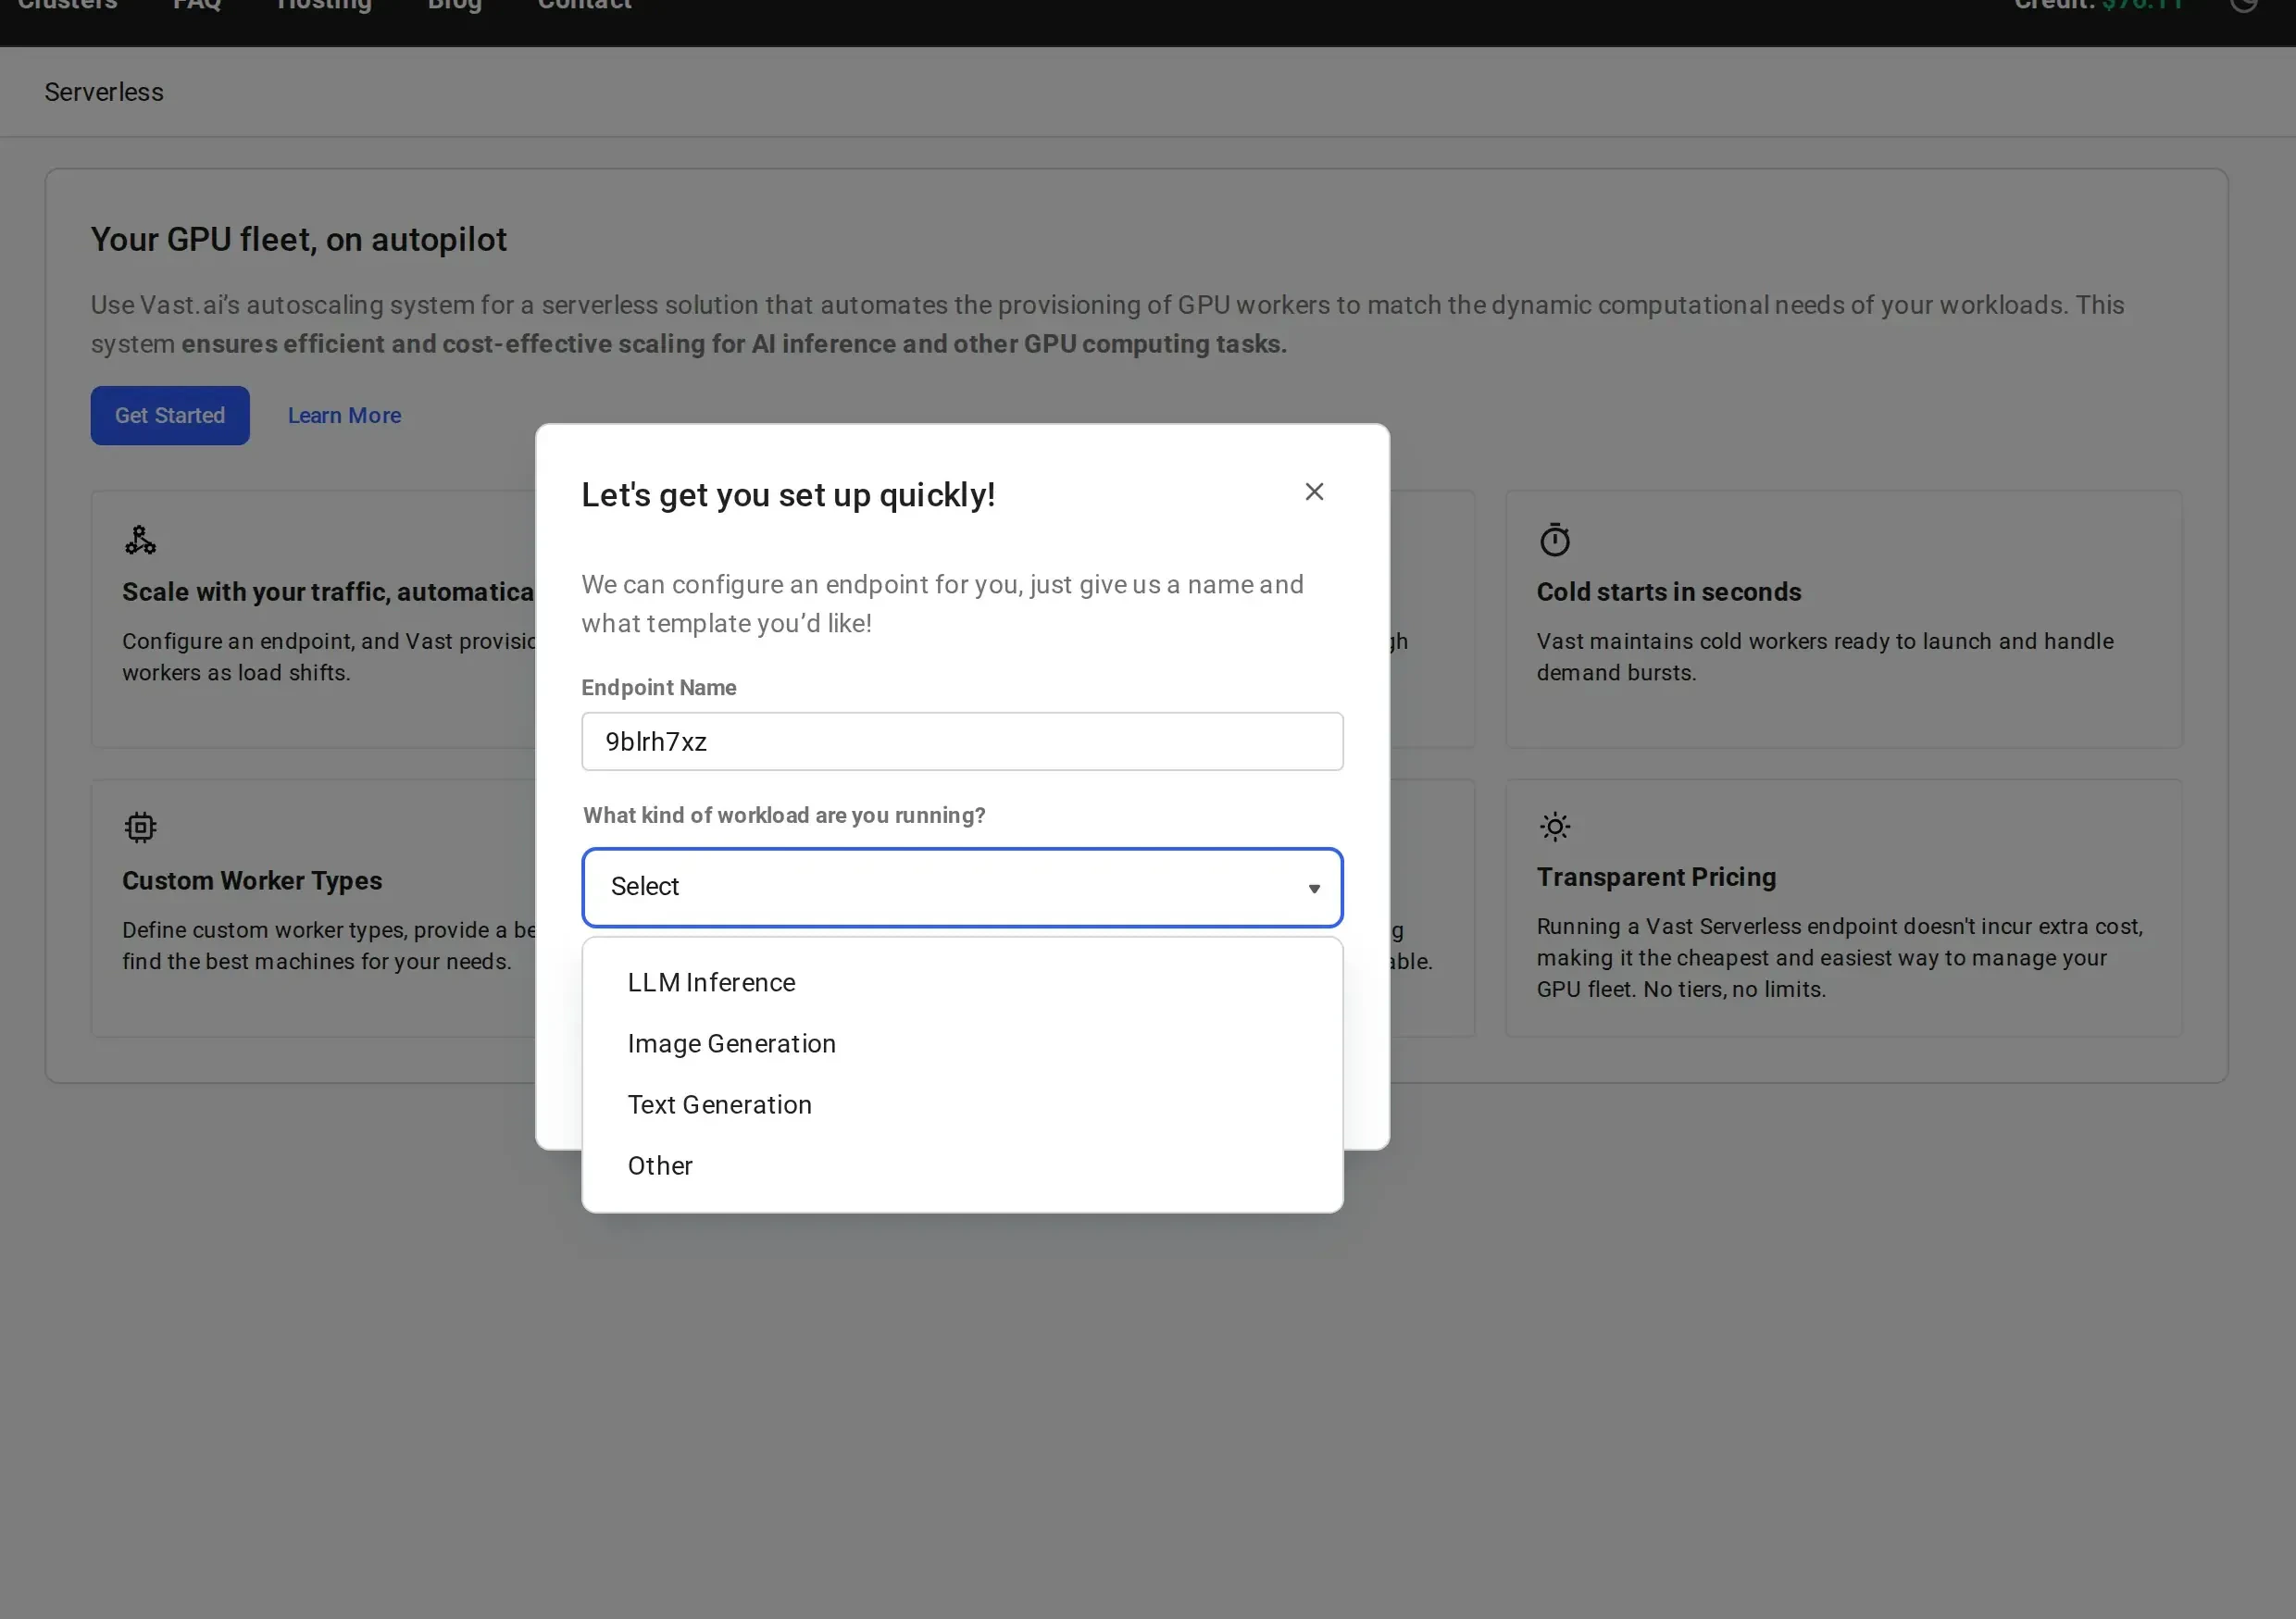
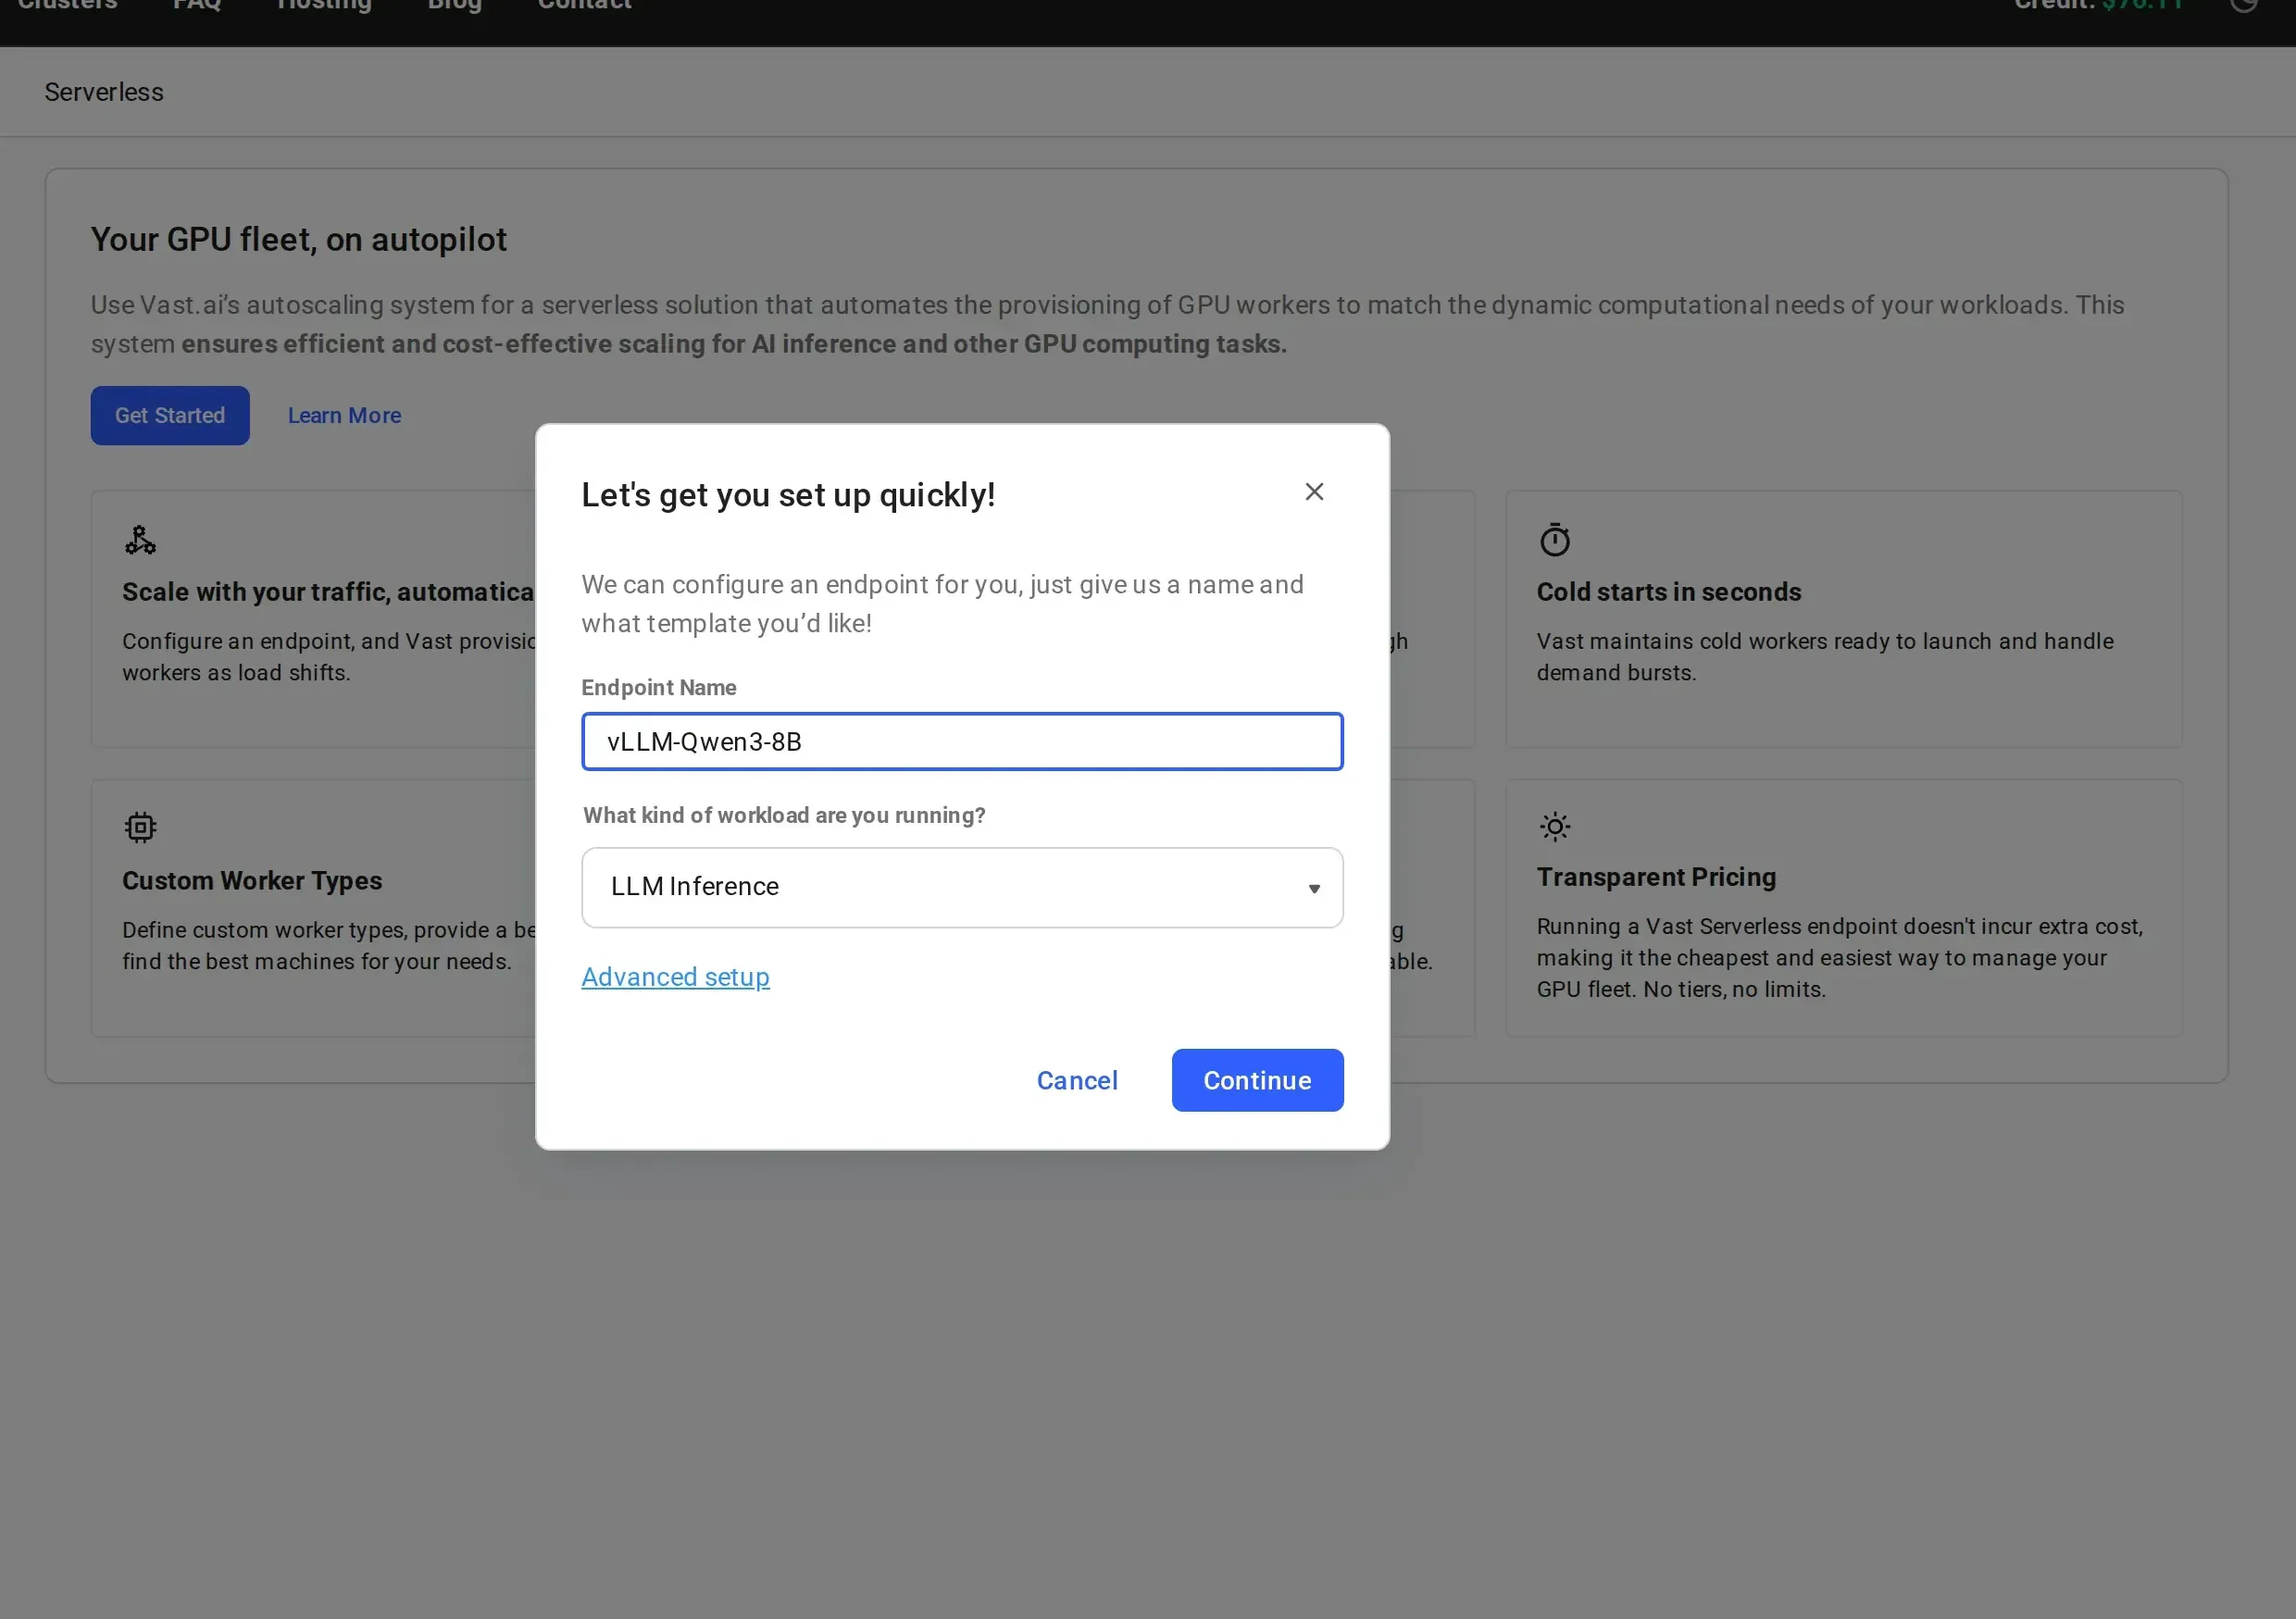
vLLM-Qwen3-8B) and select a workload type from the dropdown:- LLM Inference: for large language model serving (vLLM, TGI)
- Image Generation: for image generation workloads (Stable Diffusion, Flux)
- Text Generation: for text generation tasks
- Other: for custom workloads
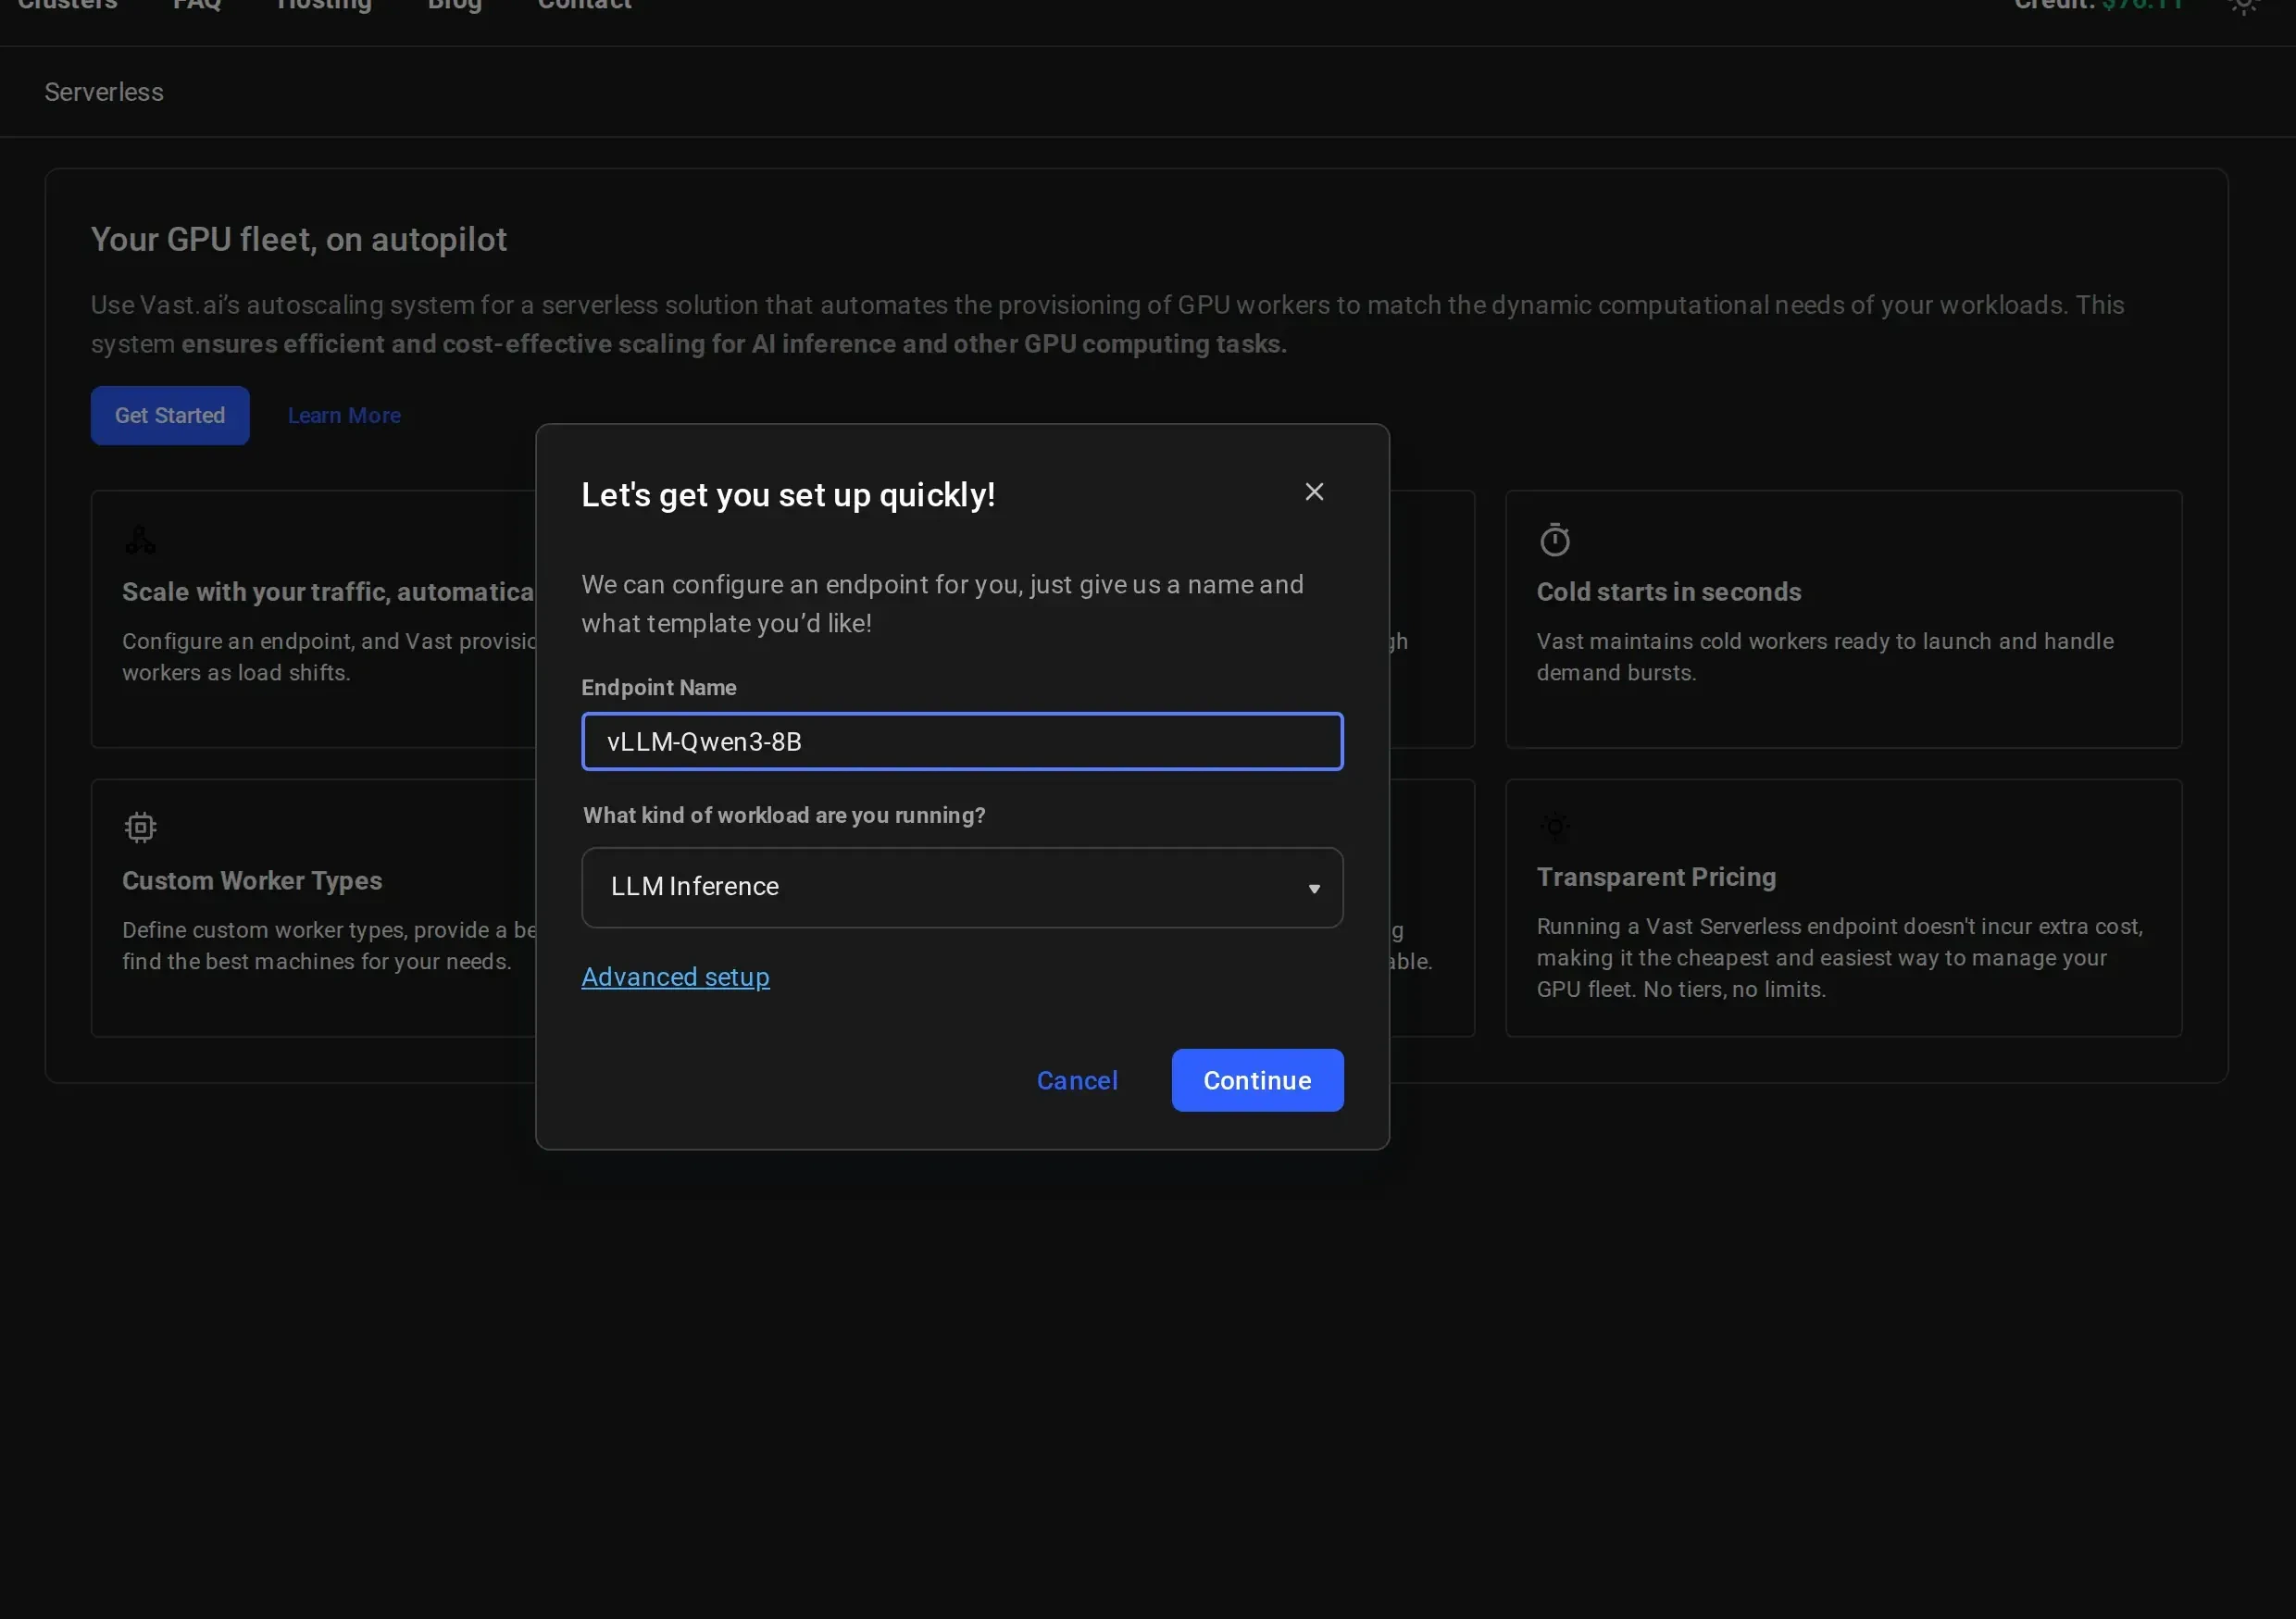
For more control over endpoint parameters and workergroup configuration, click “Advanced setup” instead. See Setting Up Endpoints for details.
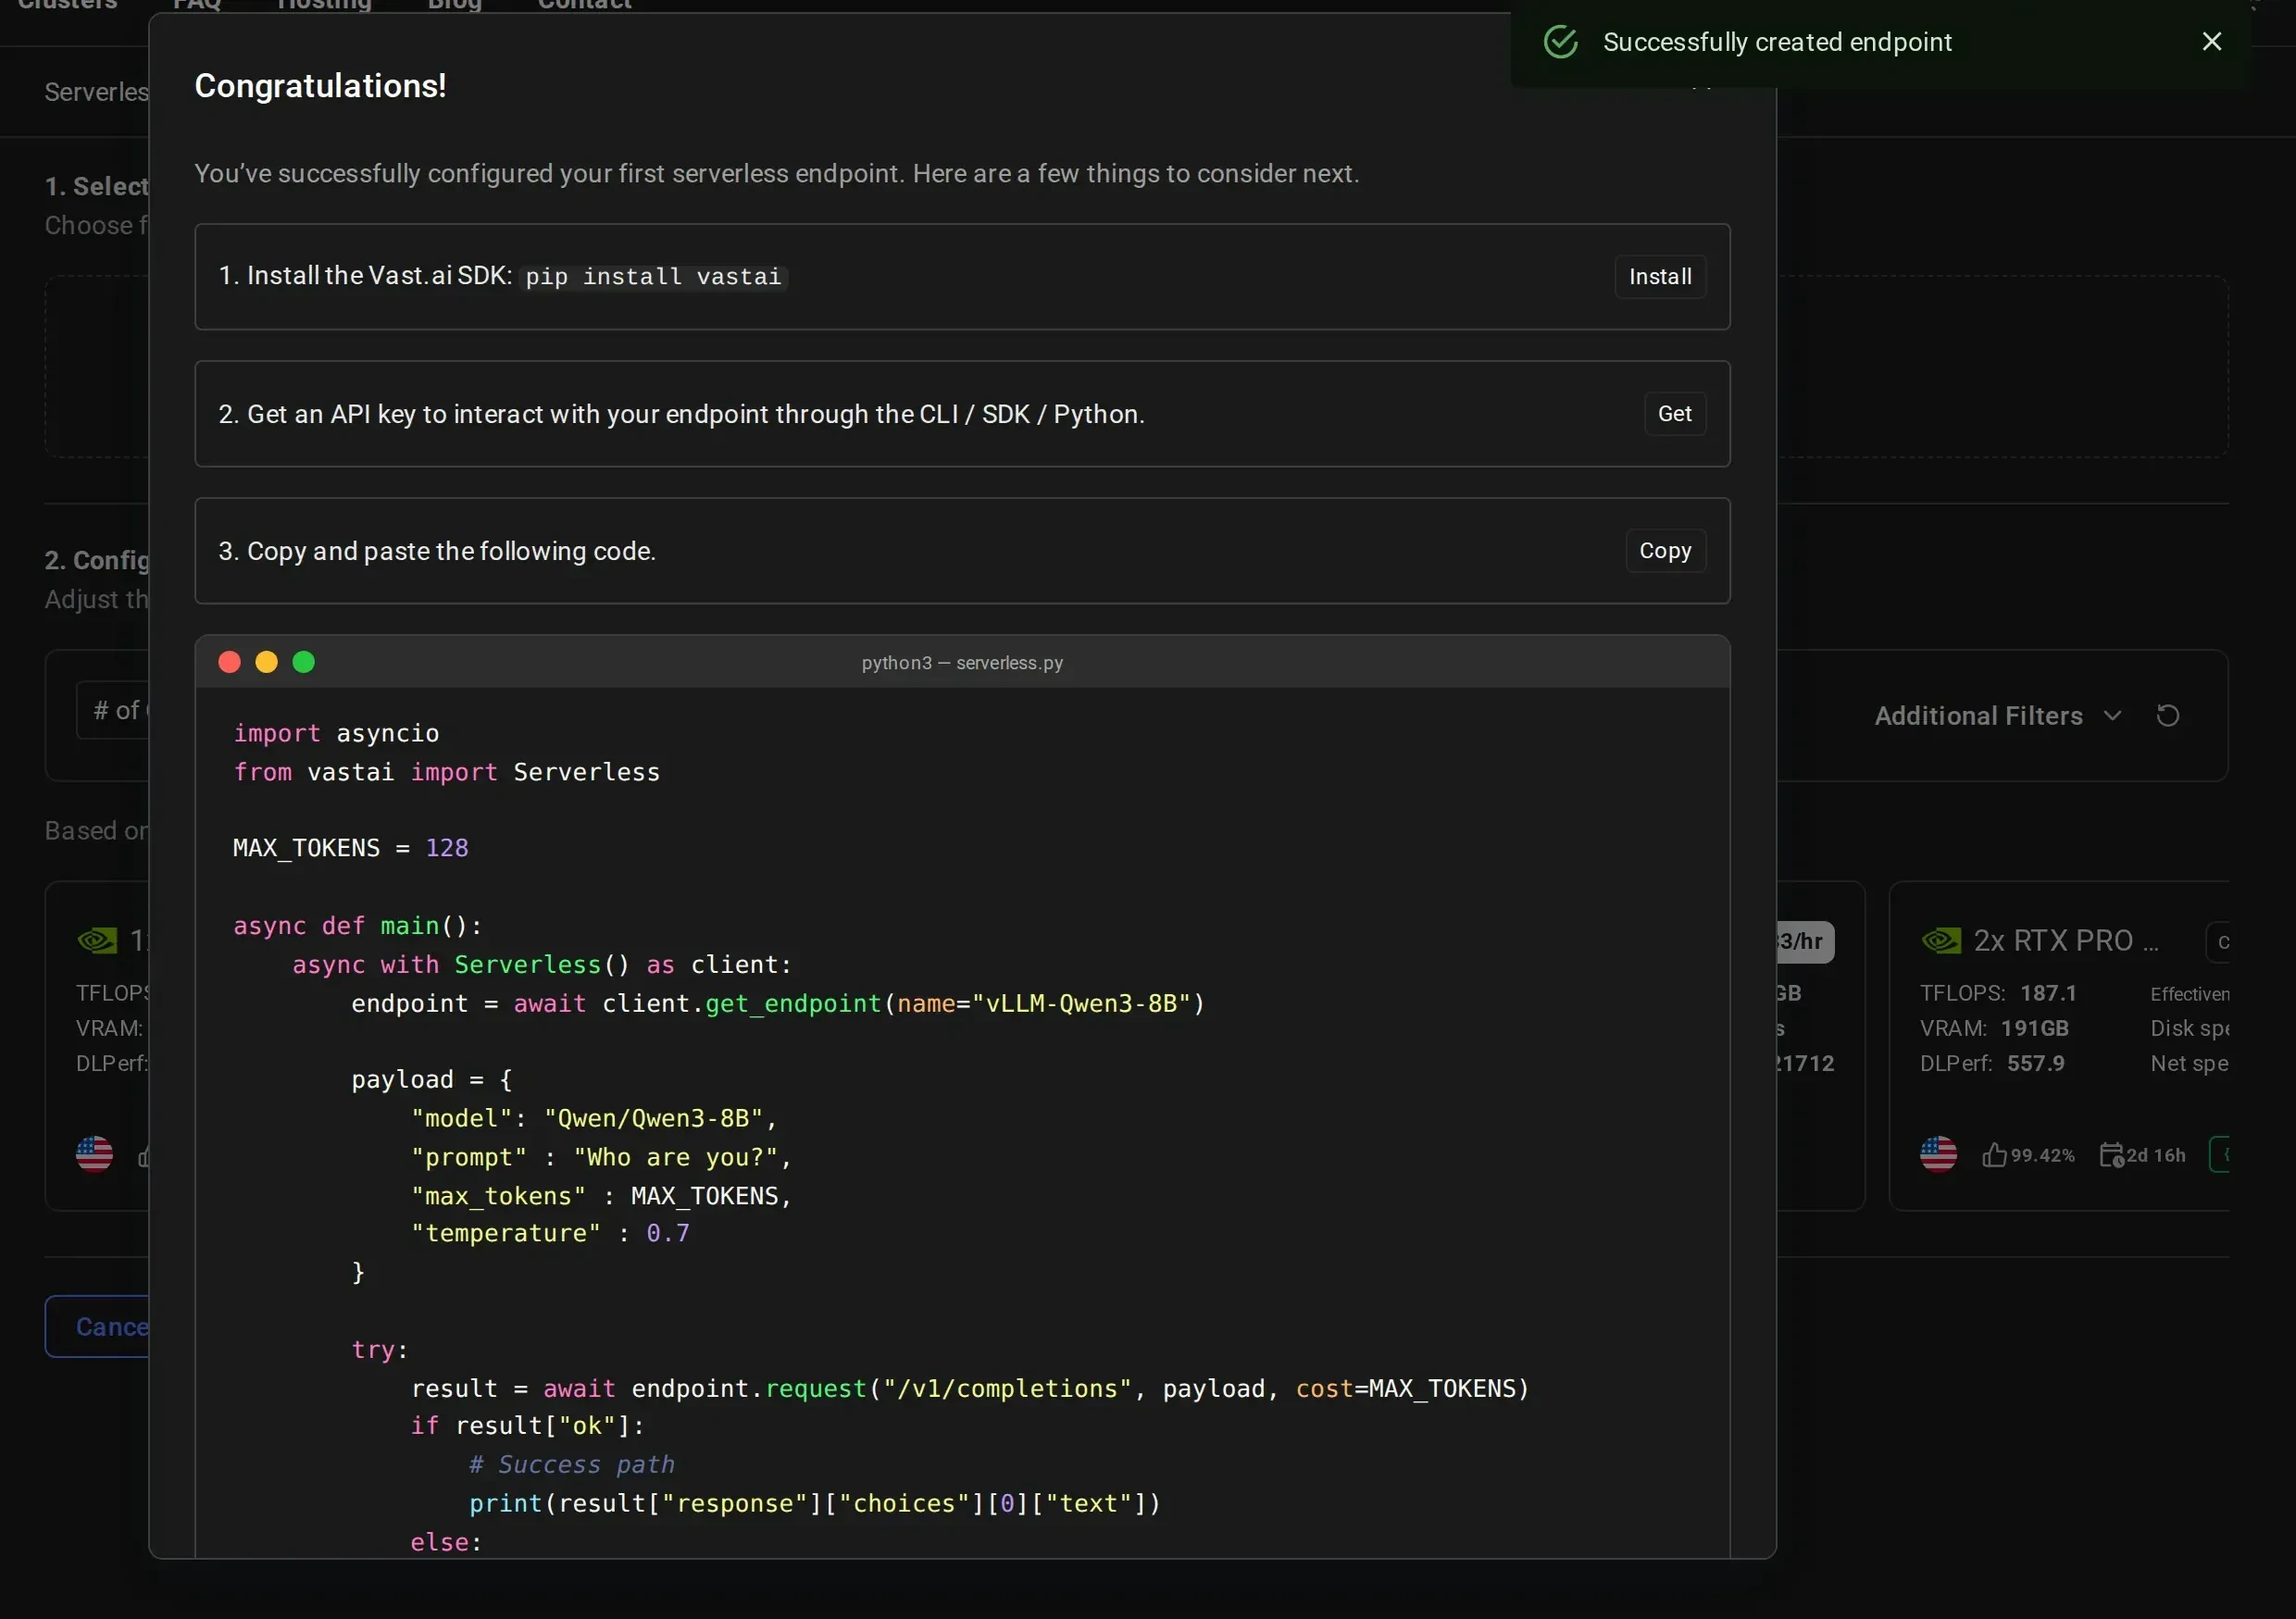
Start Making Requests
After creation, you’ll see a Congratulations page with next steps: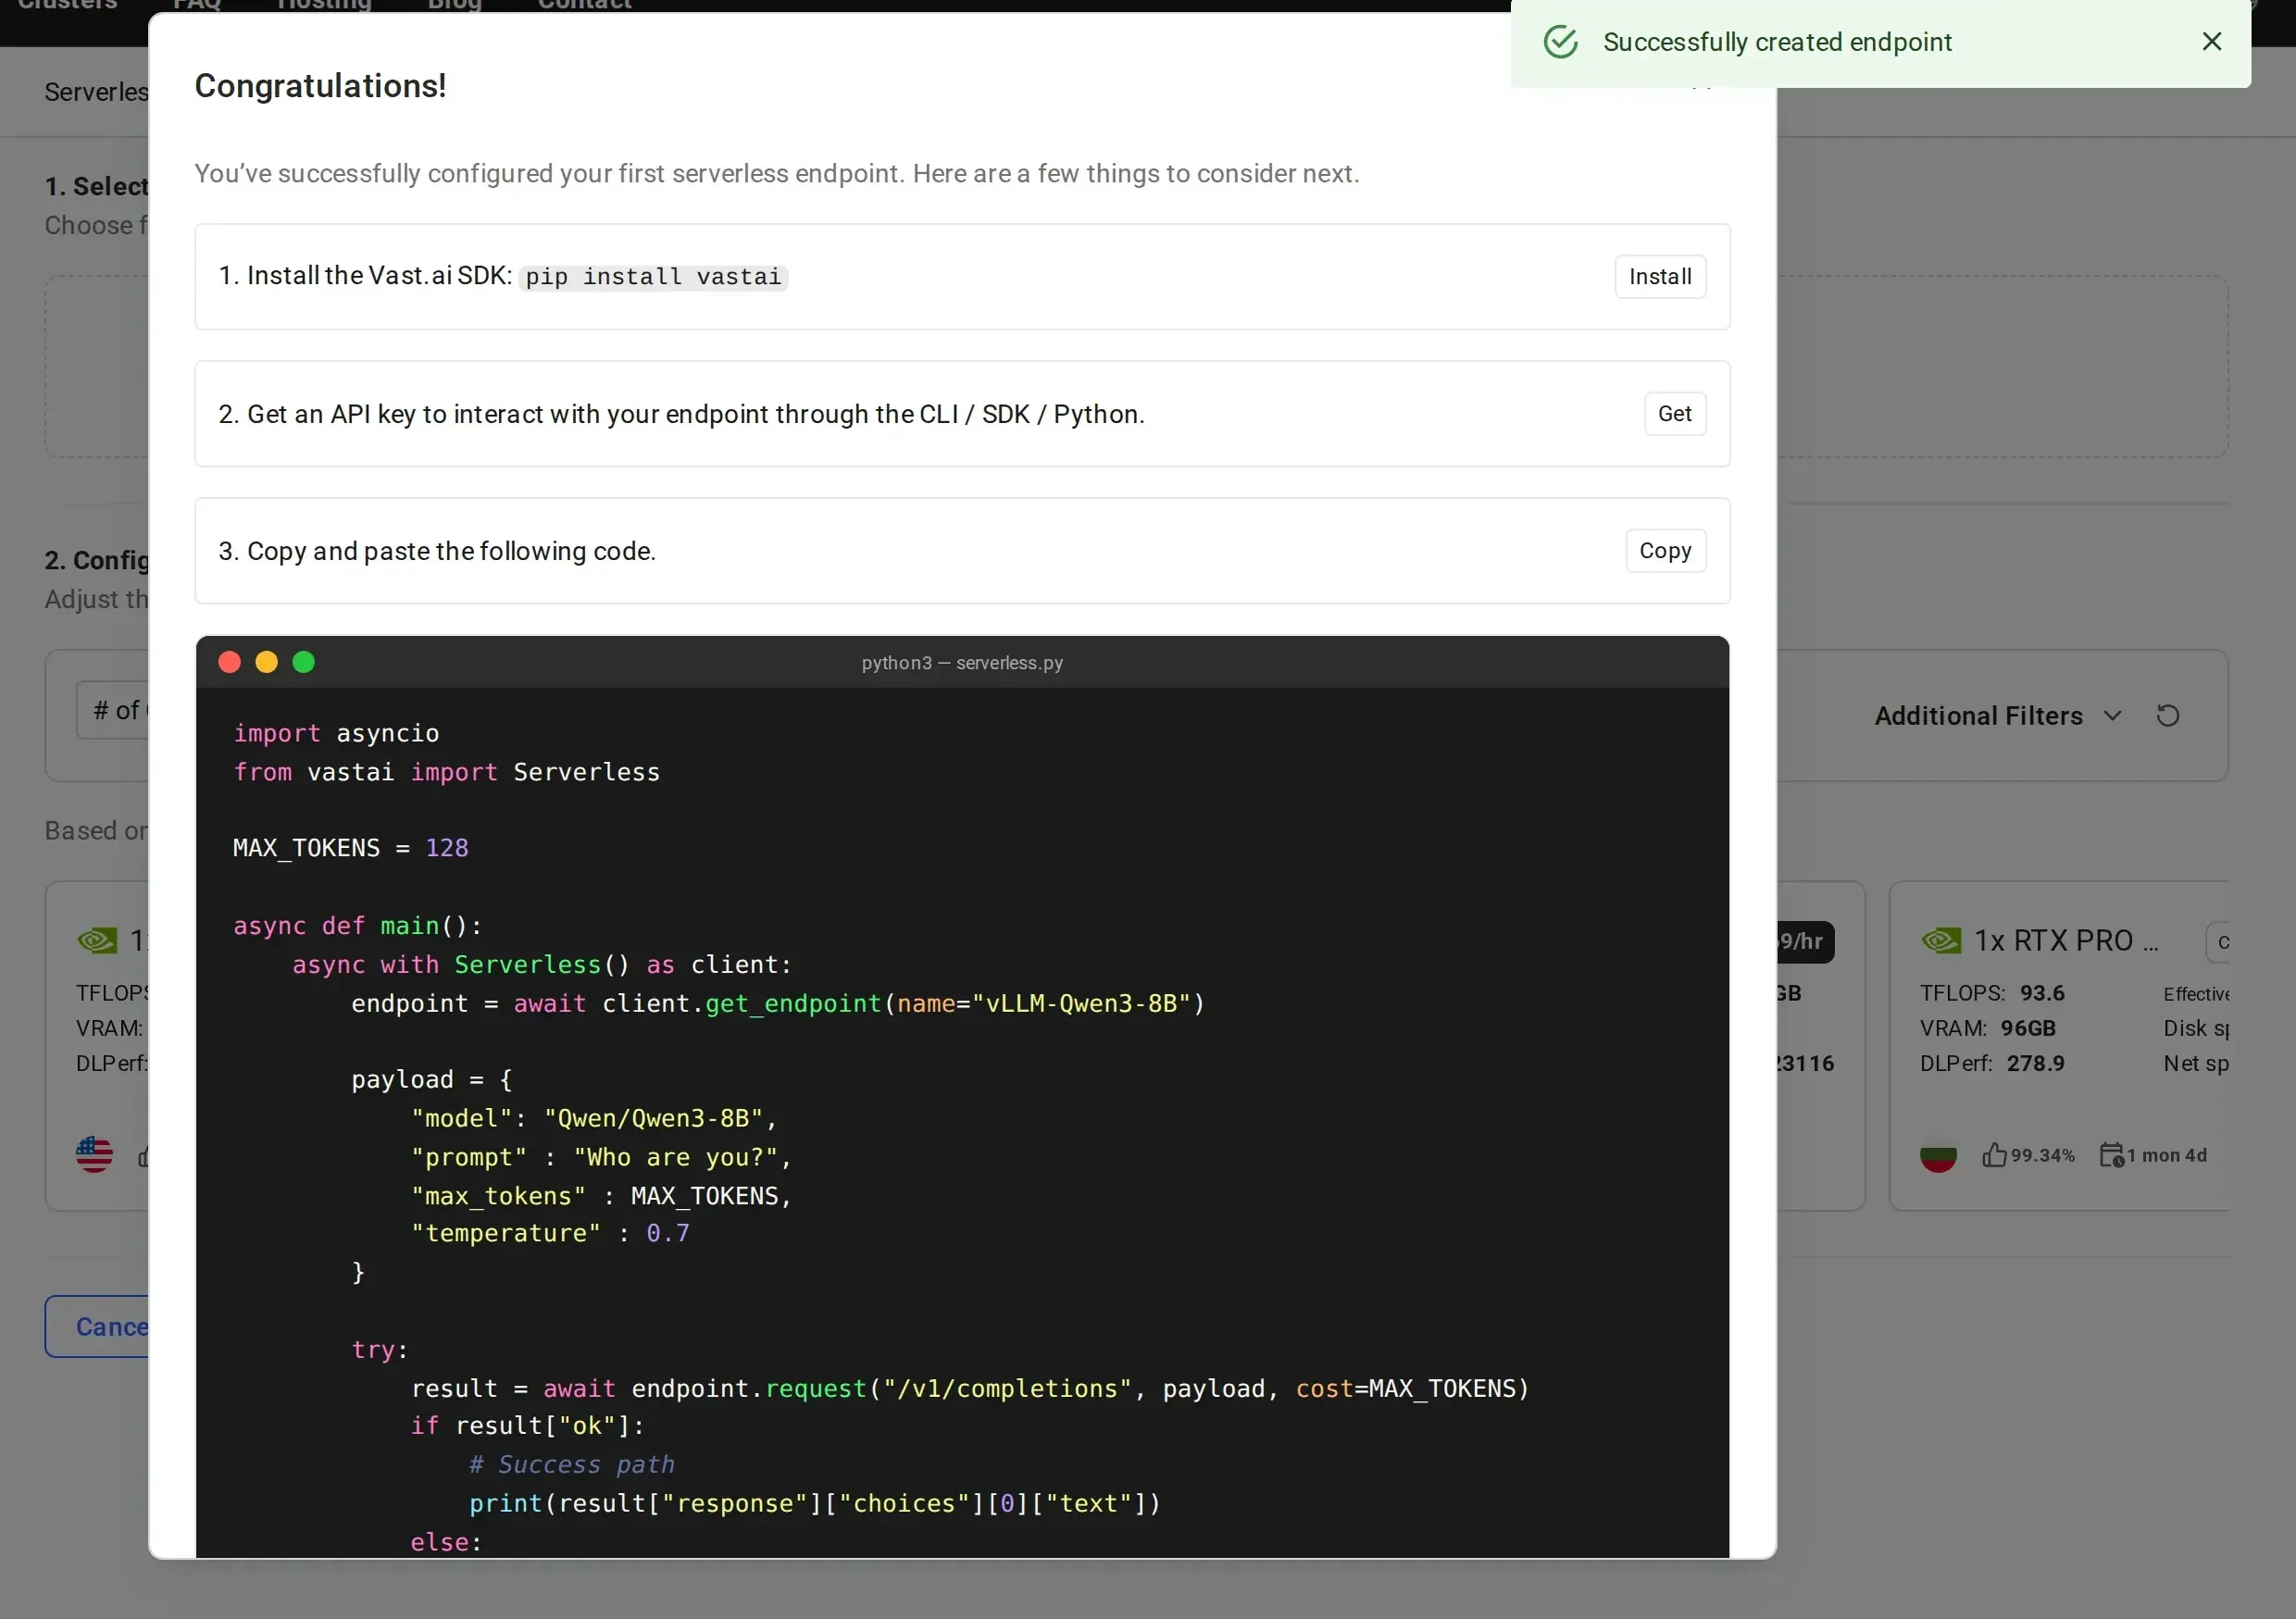
- Install the Vast.ai SDK:
pip install vastai - Get an API key to interact with your endpoint
- Copy the provided sample code
Wait for Workers to Initialize
Your serverless infrastructure is now being provisioned. This process takes time as workers need to:
- Start up the GPU instances
- Download the model (8GB for Qwen3-8B)
- Load the model into GPU memory
- Complete health checks
- Stopped: Worker has the model loaded and is ready to activate on-demand (cold worker)
- Loading: Worker is starting up and loading the model into GPU memory
- Ready: Worker is active and ready to handle requests
The SDK automatically holds and retries requests until workers are ready. However, for best performance, wait for at least one worker to show “Ready” or “Stopped” status before making your first call.
Make Your First API Call
Basic Usage
With the SDK installed, here’s how to make your first API call:The SDK handles all the routing, worker assignment, and authentication automatically. You just need to specify your endpoint name and make requests.
Troubleshooting
Workers stuck in 'Loading' state
Workers stuck in 'Loading' state
- Check if the GPU has enough VRAM for your model
- Verify your model name is correct
- Check worker logs in the dashboard by clicking on the worker
- Ensure your HF_TOKEN is properly configured for gated models
'No workers available' error
'No workers available' error
- The SDK automatically retries requests until workers are ready
- If this persists, check endpoint status in the Serverless Dashboard
- Verify workers are not stuck in “Loading” state (see troubleshooting above)
Slow response times
Slow response times
- First request may take longer as workers activate from cold state
- Increase
max_workersif all workers are full with requests - Increase
min_loadif there aren’t enough workers immediately available when multiple requests are sent - If there are large spikes of requests, increase
cold_workersor decrease target utilization - Consider worker region placement relative to your users
Need help? Join our Discord community or check the detailed documentation for advanced configurations.