Account
On this page you can view and edit important information about your customer account.
Turning the switch on and off will enable and disable dark mode.

You can also toggle this setting in the navigation bar with the moon and sun icons.


In the Account Security section, you can set up two-factor authetication, resend a verification email, change your email, or reset your password.

You can set up two-factor authentication (2FA) for your Vast account. This can be used to help protect your account from unauthorized access. You’ll be required to enter a security code each time you sign in.

Select the "Resend" button to receive a new verification email in your inbox.

You can view the current email connected to your account and change your email at any time by pressing the 'Change' button.

When you change your email using this feature you will not be required to re-verify your email address. All emails that would normally be sent to the old e-mail will be now be directed towards your new email.
You can change your password by selecting the "Reset" button, and you will get a link to reset your password via email.

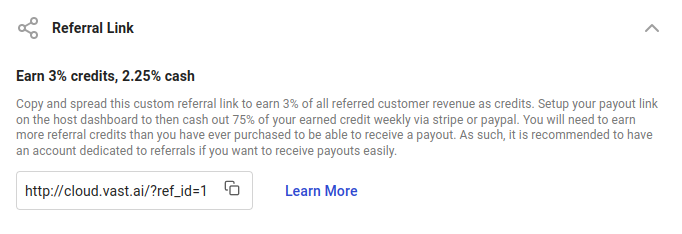
You can access your referral link in the Referral Link section of the account page.

When users create an account through your referral link and use Vast services, you'll earn credits and receive payouts for your referrals.
You can add, edit, or remove your ssh keys in the SSH Keys Section.

Add a new ssh key by selecting the "Add New" button. Copy and paste your key into the input in order for it to be attached to your account. You can use this ssh key to log into instances remotely.
Edit an existing ssh key by clicking into the input field and changing the text.
Delete an existing ssh key by selecting the "X" button.

These ssh keys will be used primarily when accessing an instance. You must switch out your ssh keys on this page if you wish to connect easily via multiple machines. Note: any changes to your ssh keys will propagate to existing instances.
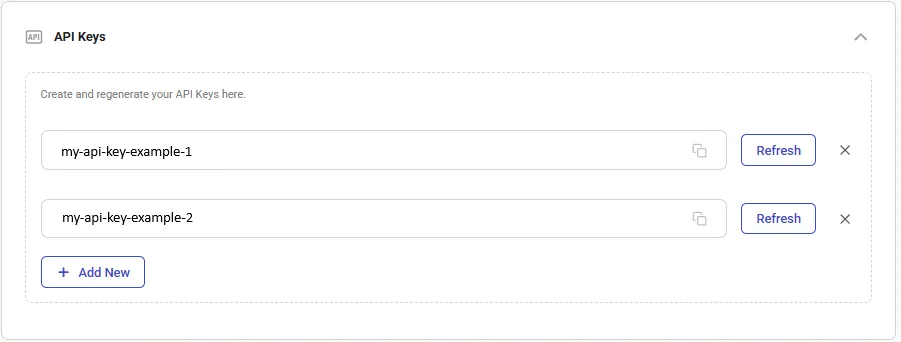
You can view, copy, edit, and update your API keys in the API Keys section. You will need a key to access the Command Line Interface and the REST API.

To create an API key click on the "+ Add New" button.
If you want a different API Key you can reset your API Key here with the "Refresh" button.
You can remove any key with the "X" button.
You can add, edit, and delete the environment variables stored on your account in the Environment Variables section.

When adding individually, input the env key into the key field and value into the value field, then select the "+" button to save your environment variable.
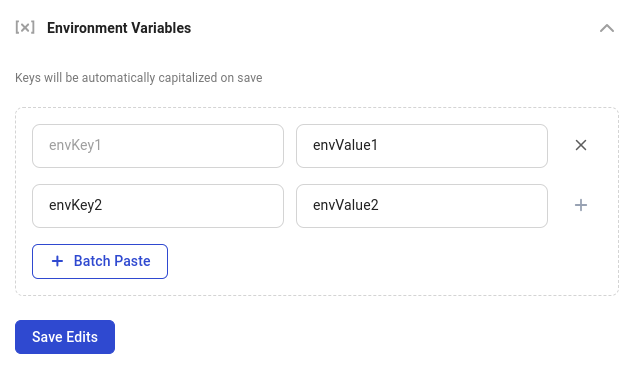
To add multiple at once, select the "Batch Paste" option and paste your environment variables into that input, according to the format below.
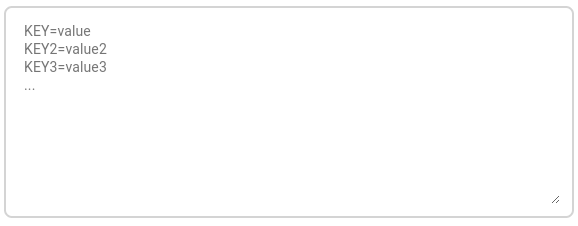
Within the batch paste mode, you can save your changes by selecting the "Save" button or erase them with the "Cancel" button.
When you are finished editing your environment variables, make sure you select the "Save Edits" button to save all of your changes.
You can subscribe or unsubscribe from our email newsletter by selecting or unselecting this checkbox in the Notification Settings section.

In this section, you can integrate and connect with cloud providers such as Amazon S3, Backblaze, and Dropbox.

This integration process is very straightforward. If you need assistance in setting up these integrations you can read our guides here.
One of the benefits of these integrations is the ability to sync data even while instances are inactive.

You can access this feature via the 'Cloud Copy' button on the Instances page.
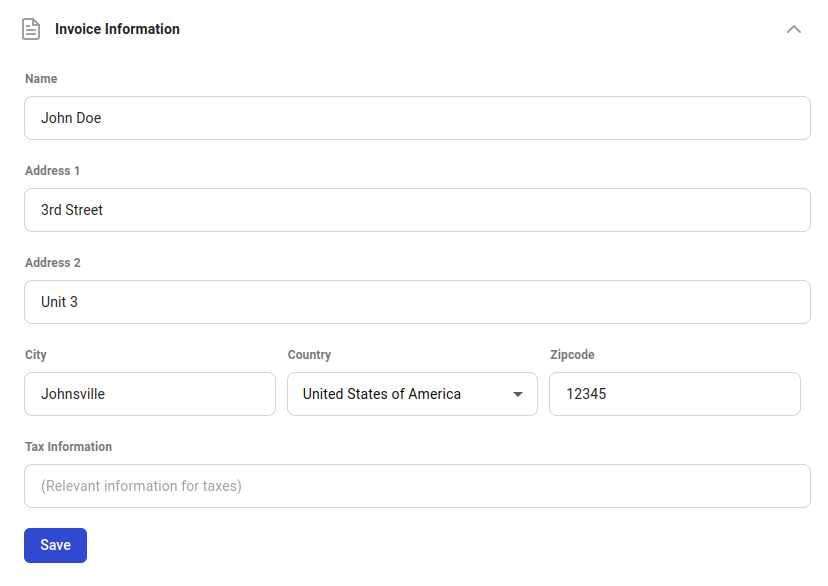
In the Invoice Information section, you can set personal information for your invoices.

Click into any input field to edit it, and select the "Save" button to save your changes.
We aren't able to delete accounts at the moment, but an effective equivalent is to change all identifying information like your email, invoice address, and password, as well as remove any ssh keys, reset API keys, and remove your credit card.
There is a spend rate limit for new users. Make sure you have verified your email; otherwise, your limit is near zero. Once you have verified your email, your spend rate limit increases automatically over time. If you are an enterprise user, email us at [email protected] to request a larger rate limit increase. Users paying with crypto are also eligible for rate increases.