Example 2 - How to Create Template for GROBID
You can use this link to follow along: https://hub.docker.com/r/grobid/grobid
I searched for "grobid dockerhub image" in Google.
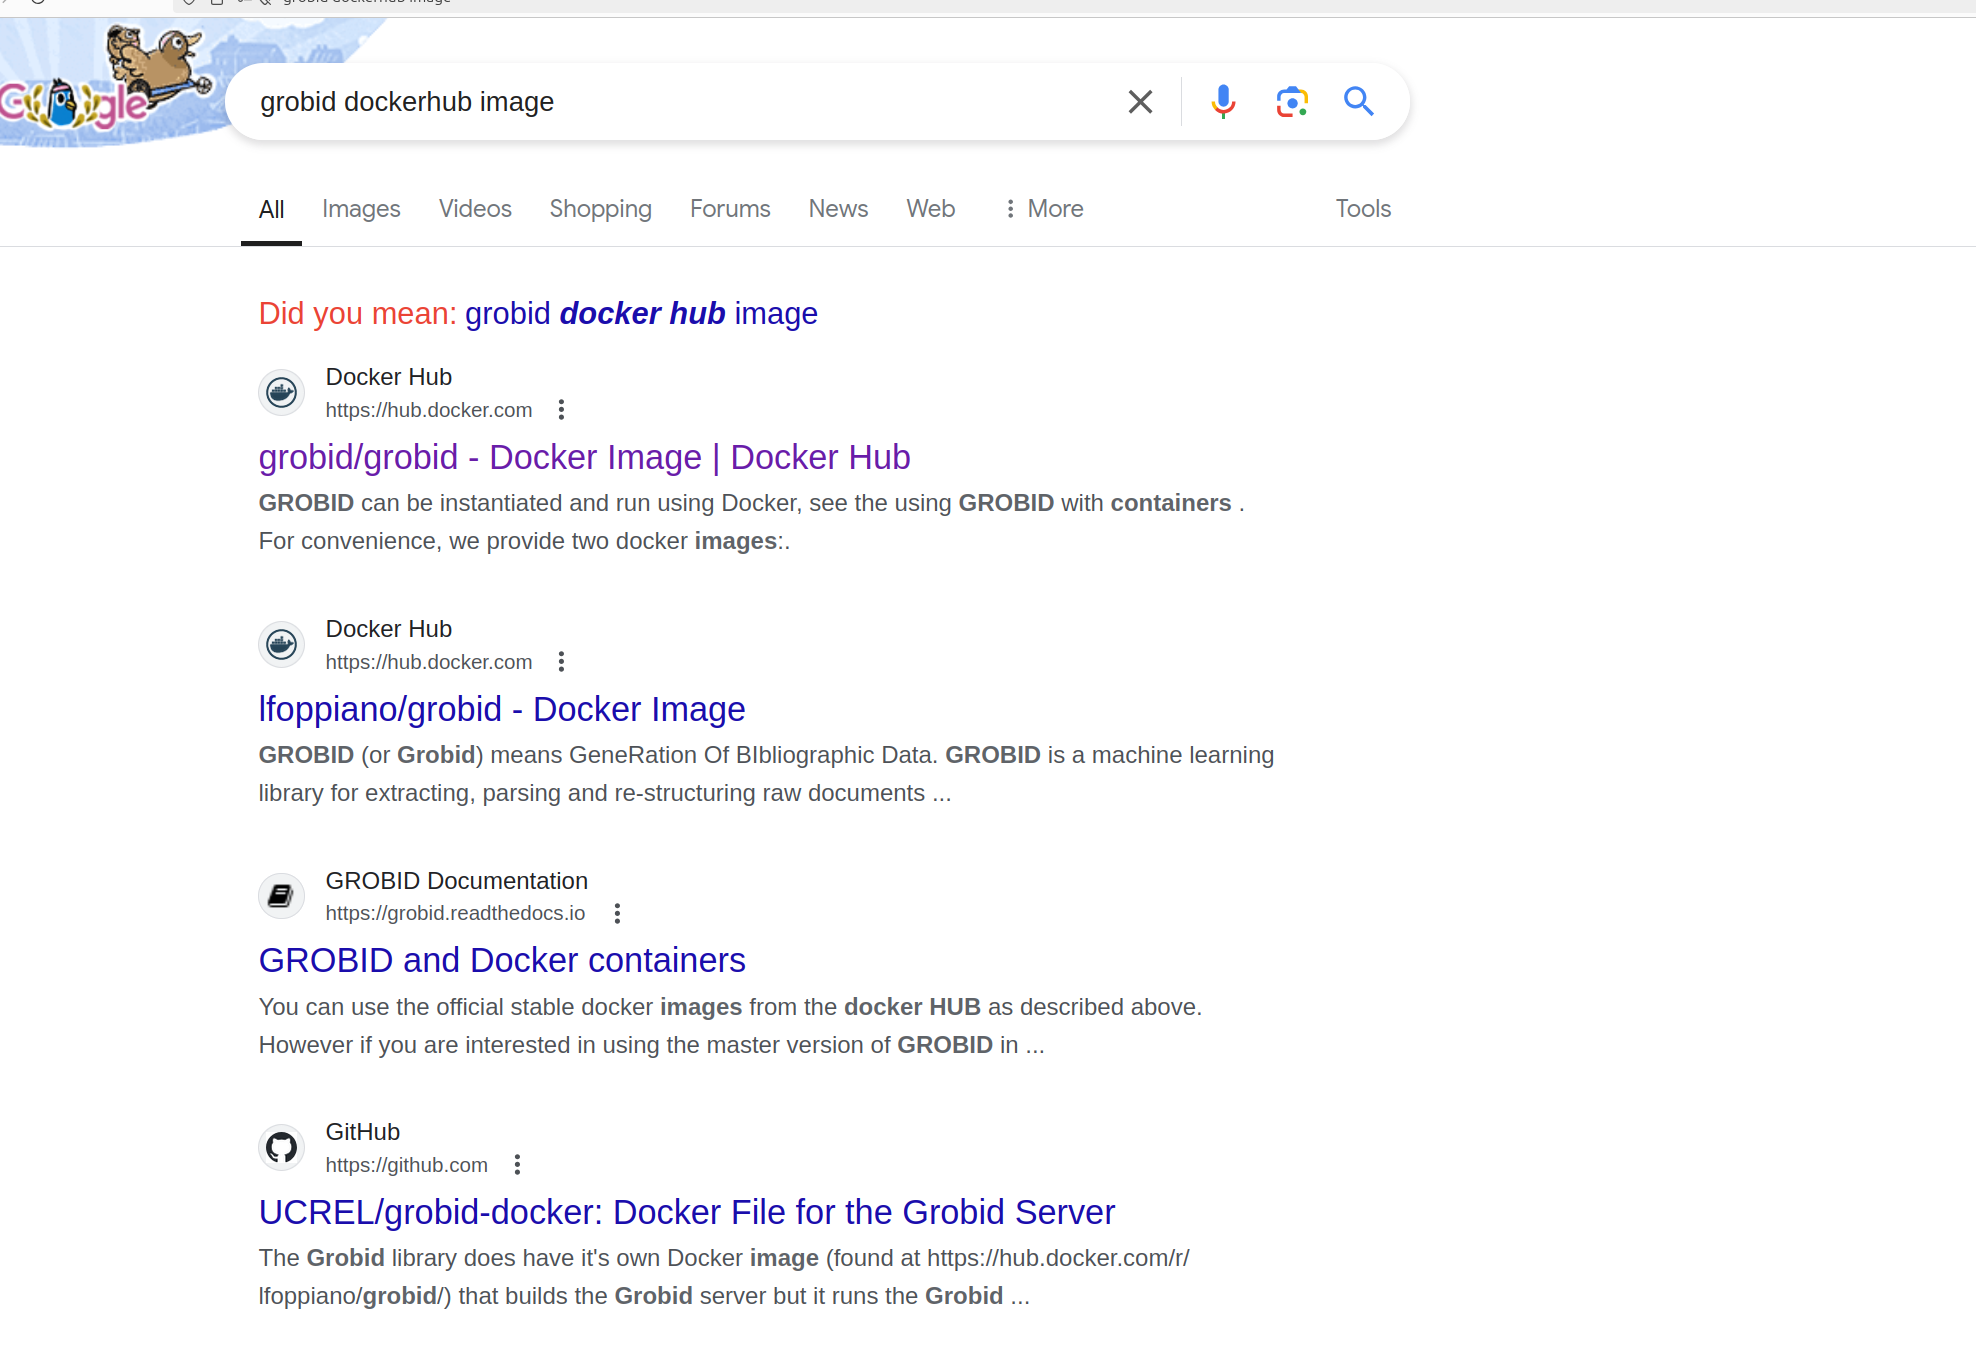
There are multiple GROBID images in dockerhub but this image seems like it will be the most legitimate because it's from GROBID itself.
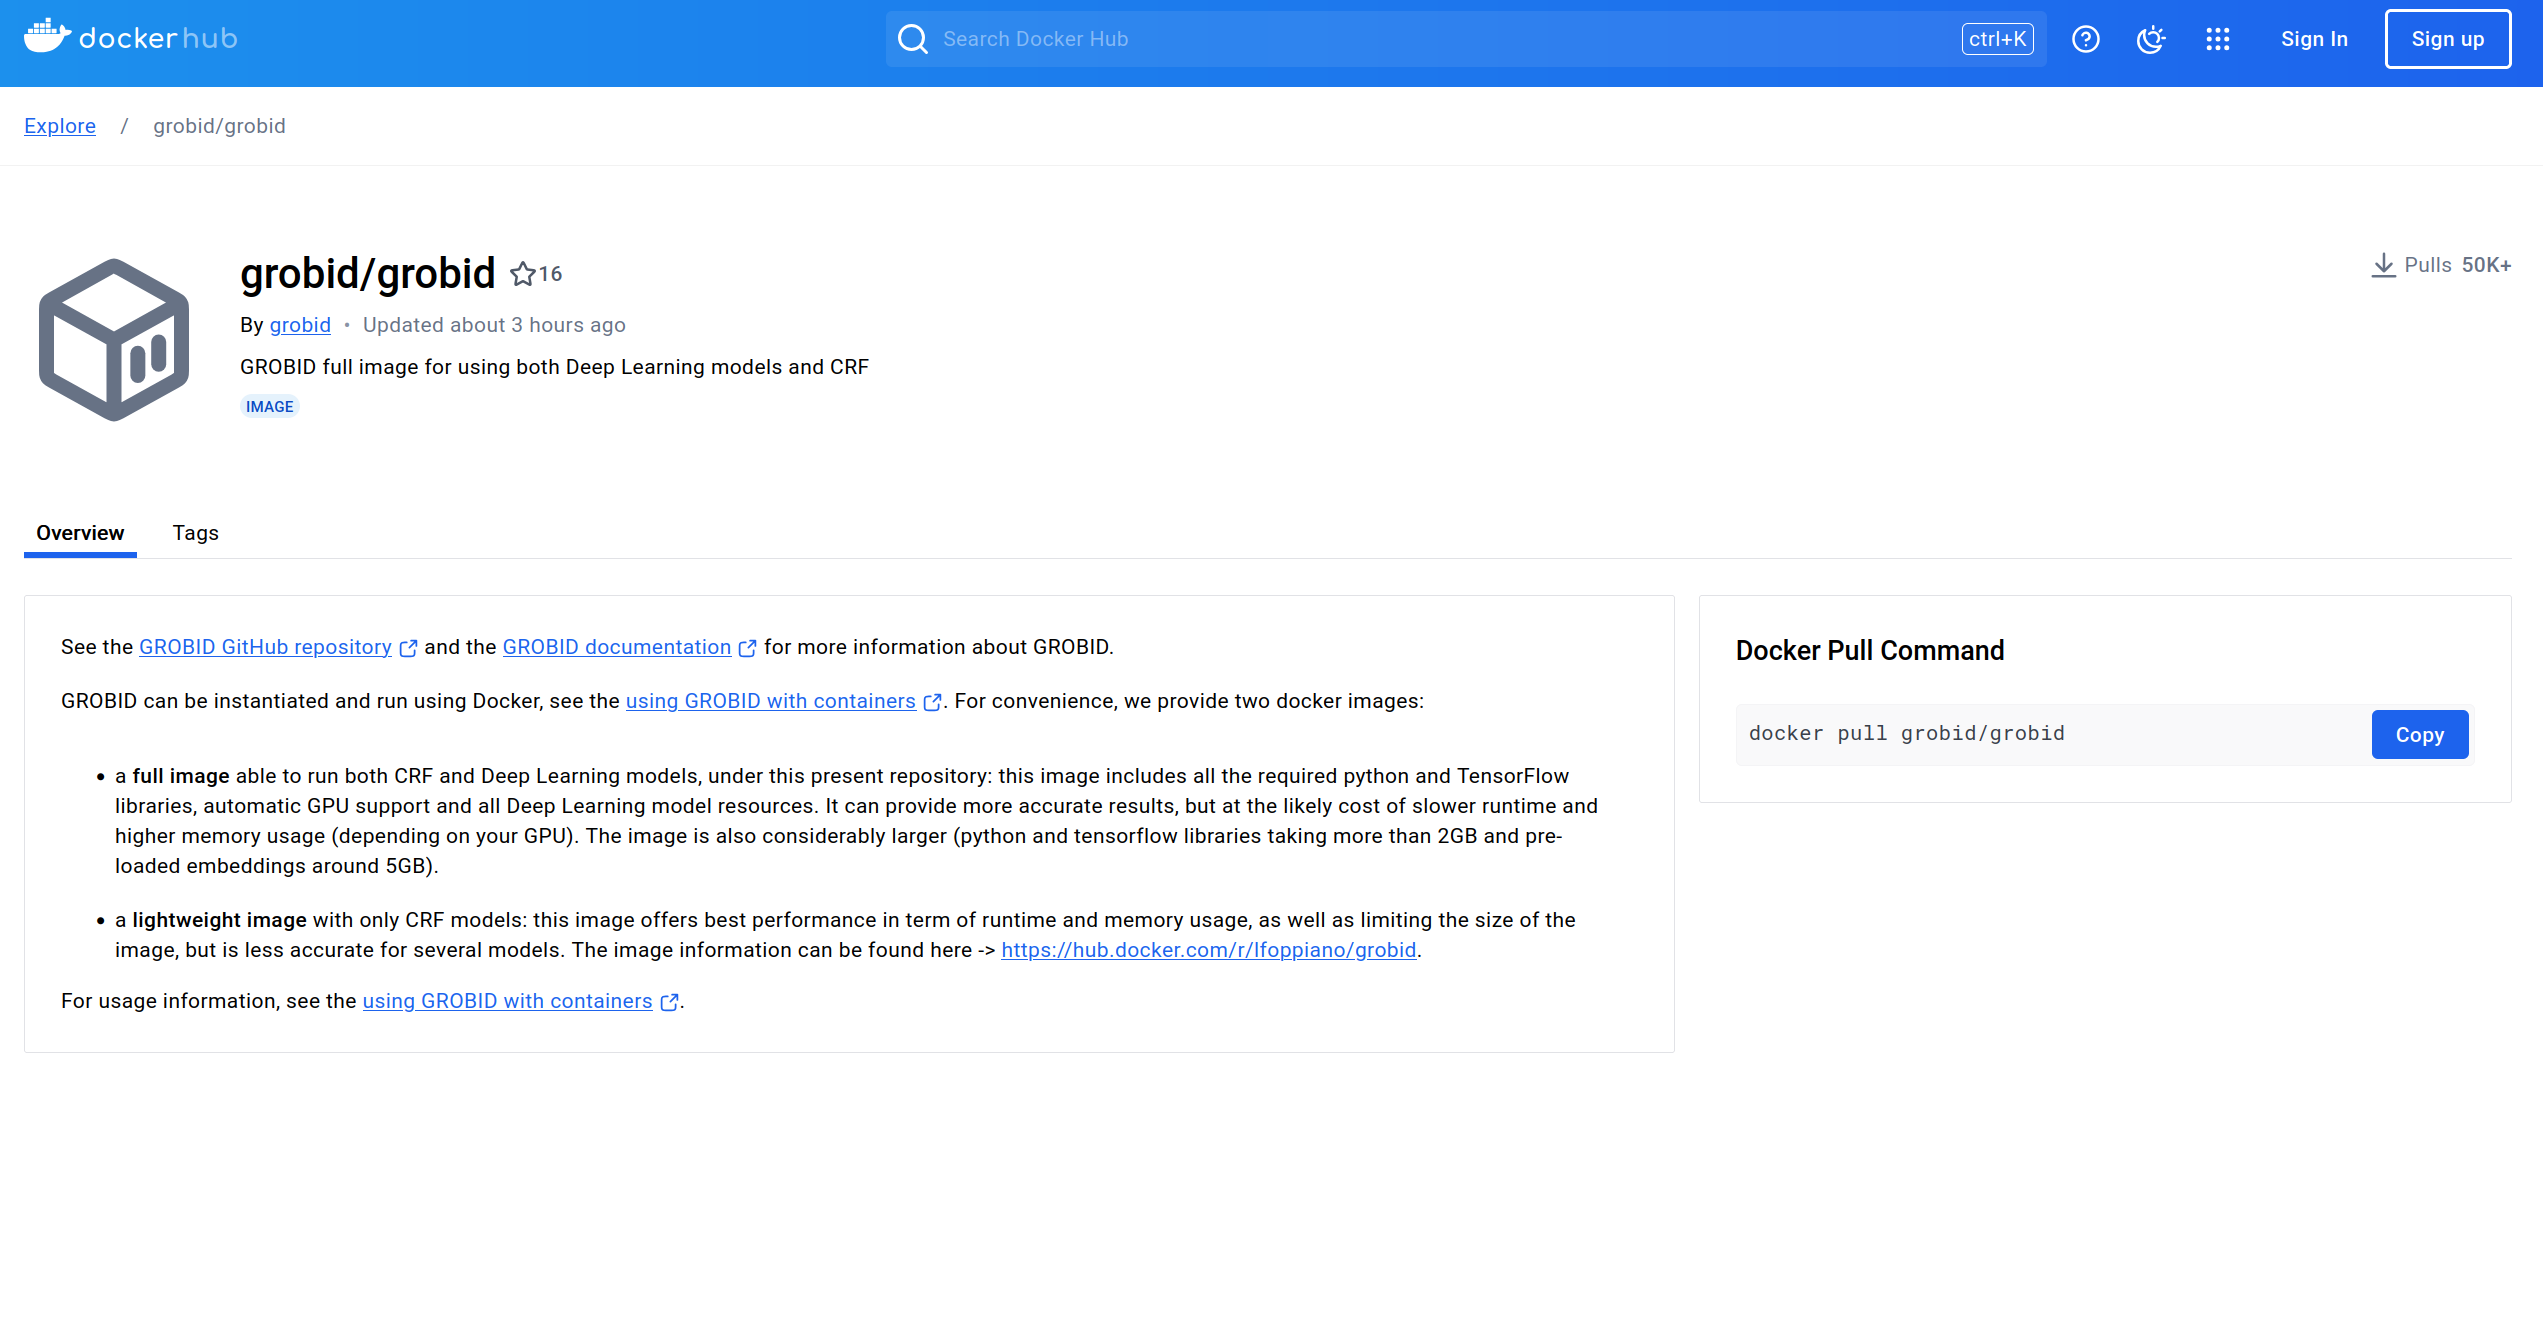
The overview page above doesn't have as much information as the Blender image but it has a link about using GROBID with containers, which ledd me to this page.
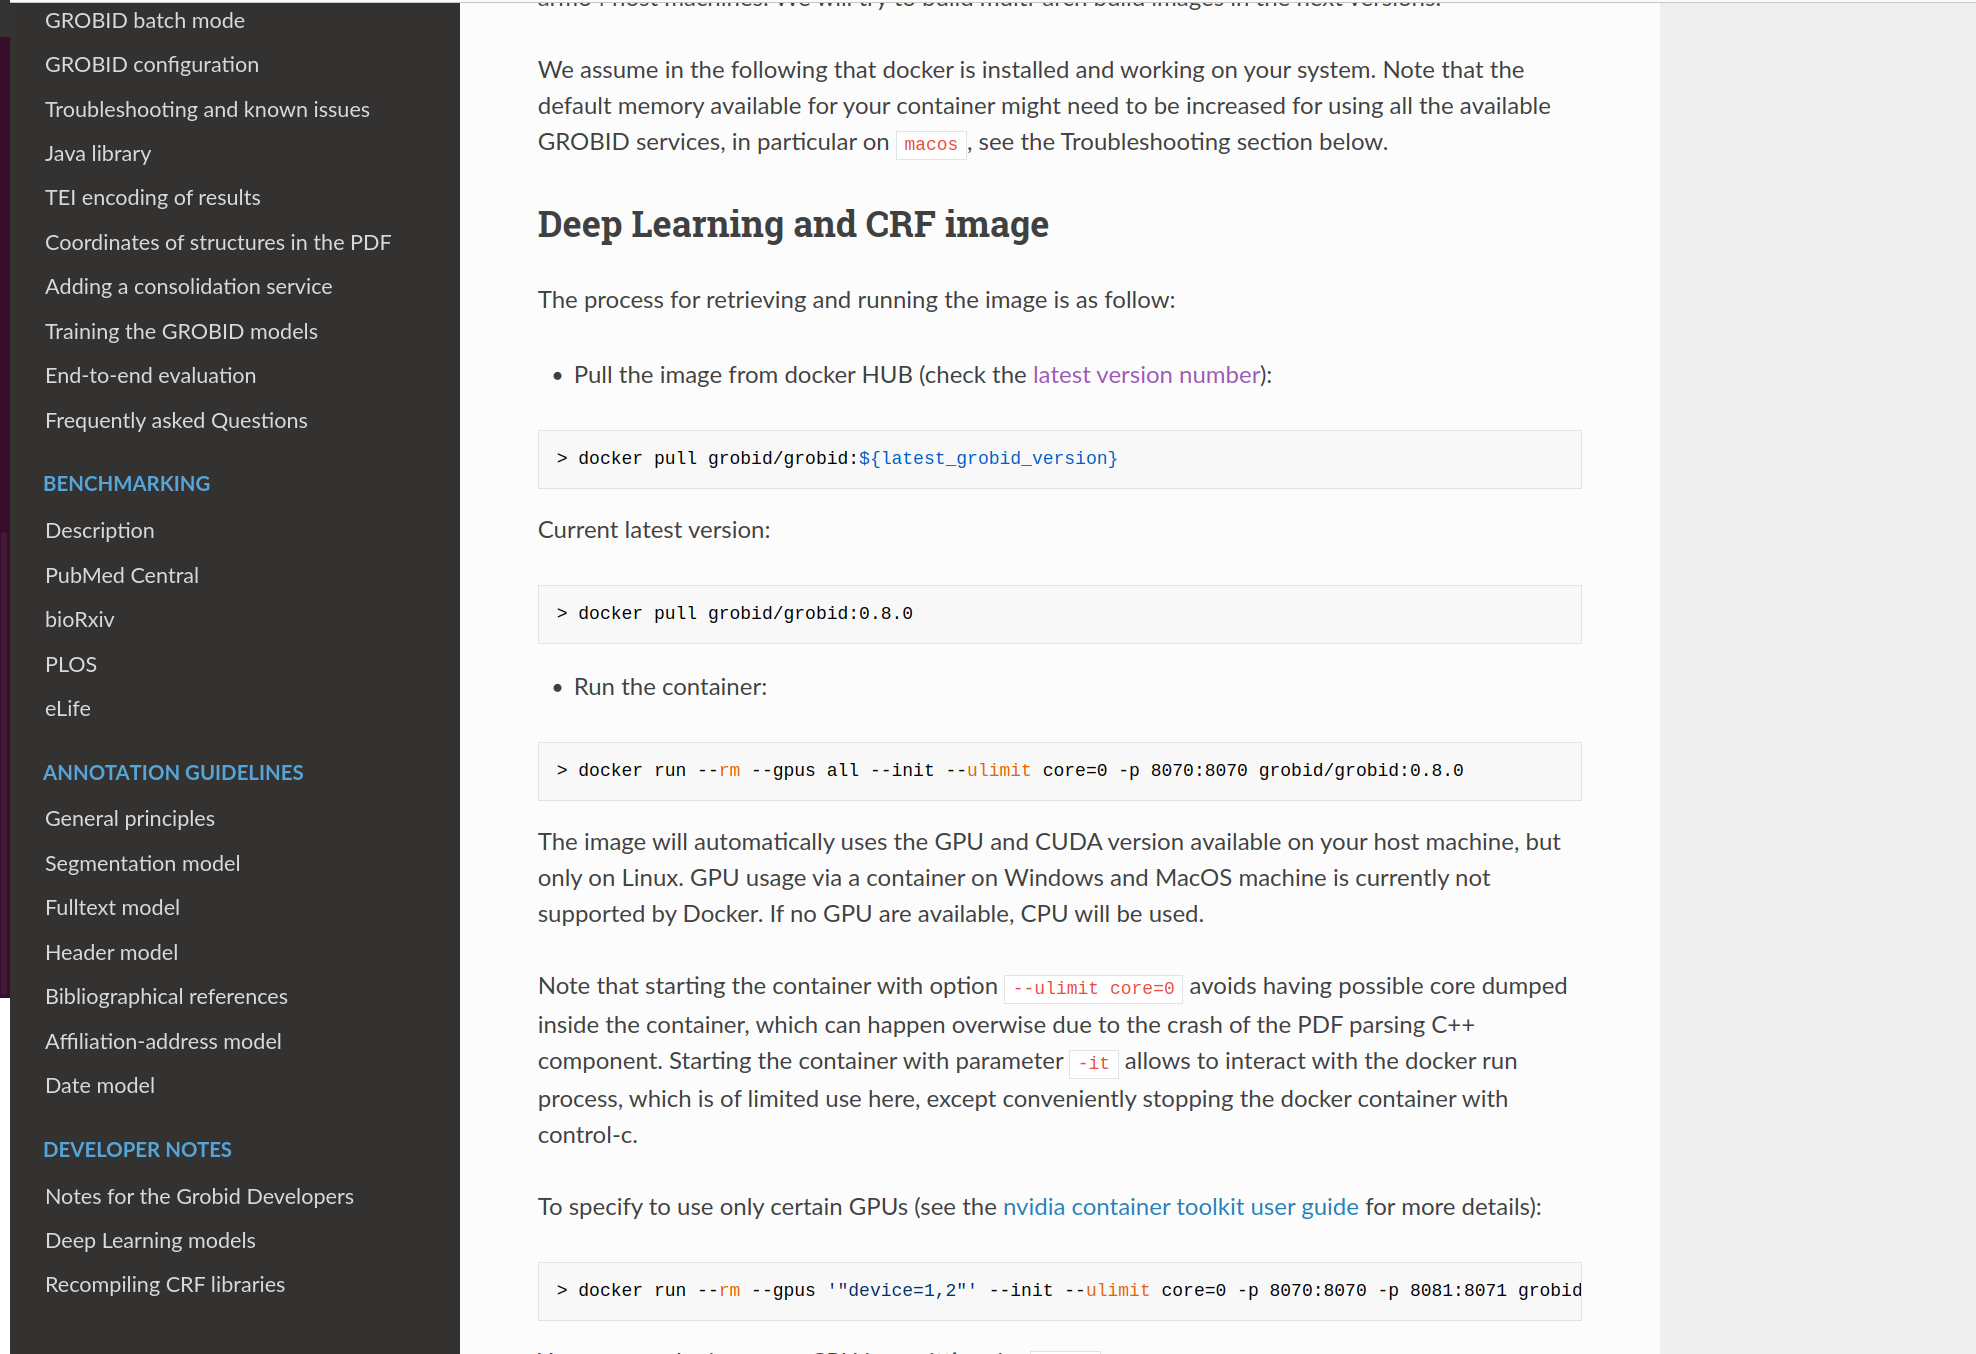
I wasn't sure which tag to select but there is a hyperlink to check the latest version number.
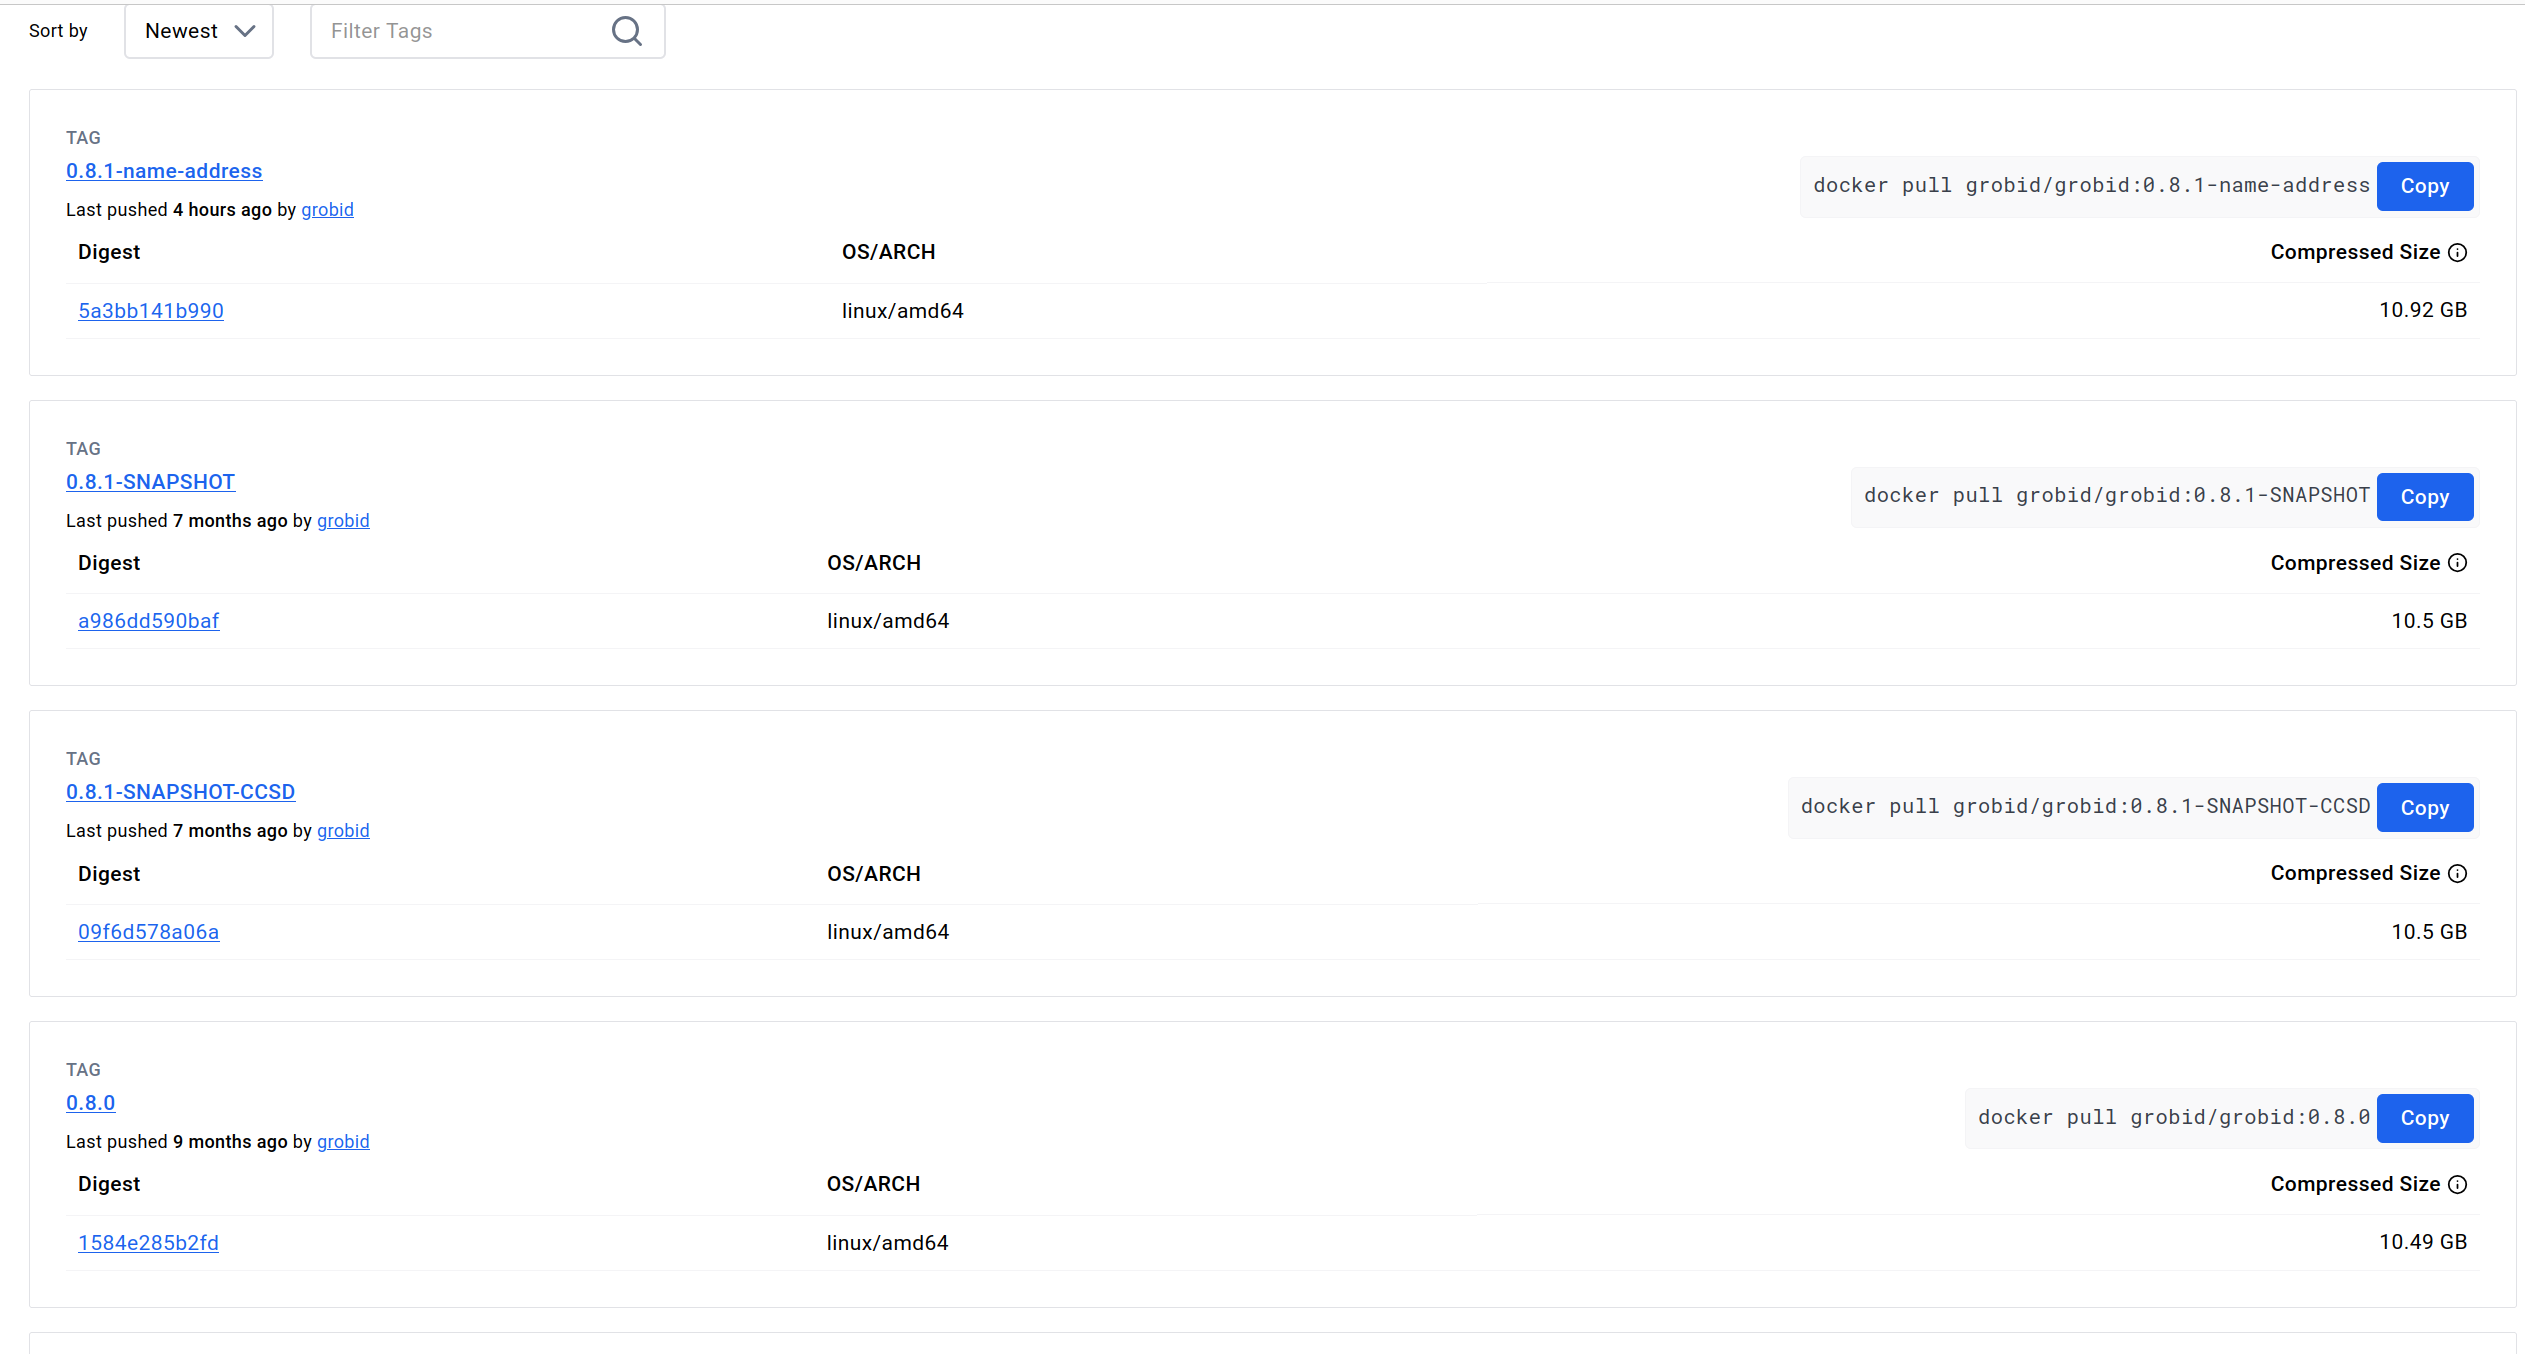
I decided on going with tag 0.8.0 because it seems like the most recent stable version.

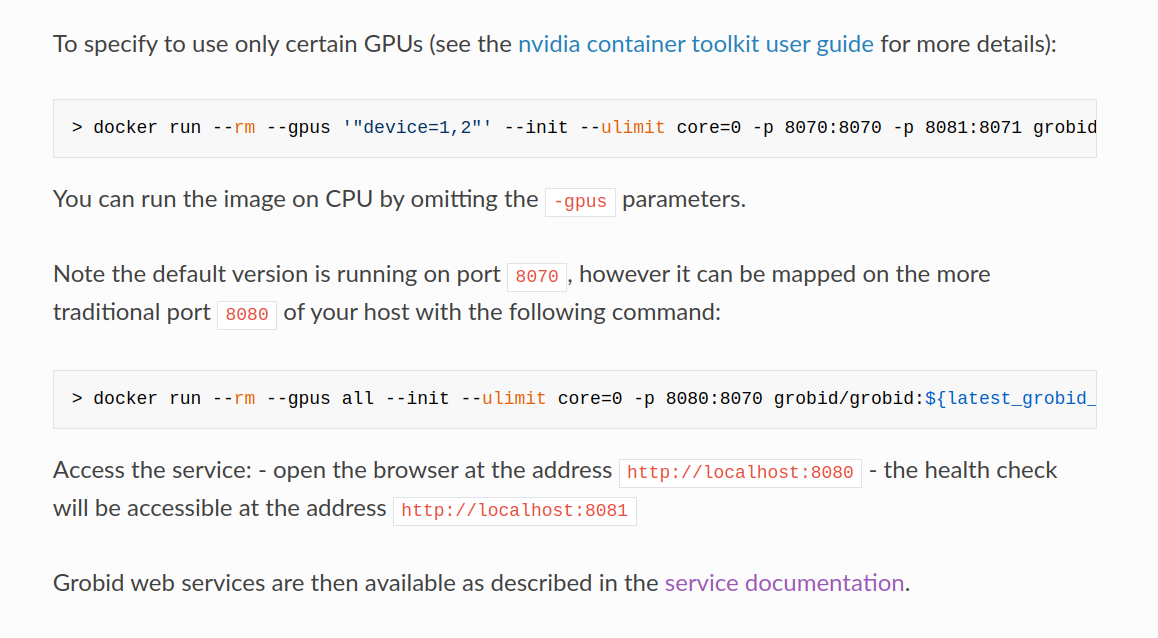
I mapped container's port 8070 to host machine's port 8070 since -p 8070:8070 is one of the docker run options in one of their documentation: https://grobid.readthedocs.io/en/latest/Grobid-docker/#crf-and-deep-learning-image. I didn't add the other options because Vast basically only allows -e and -p docker run options to set environment variables and expose ports.


I selected ssh launch mode.

I found the tag 0.8.0 in the Tags tab of that image's page in Dockerhub and clicked on "0.8.0" highlighted in blue.
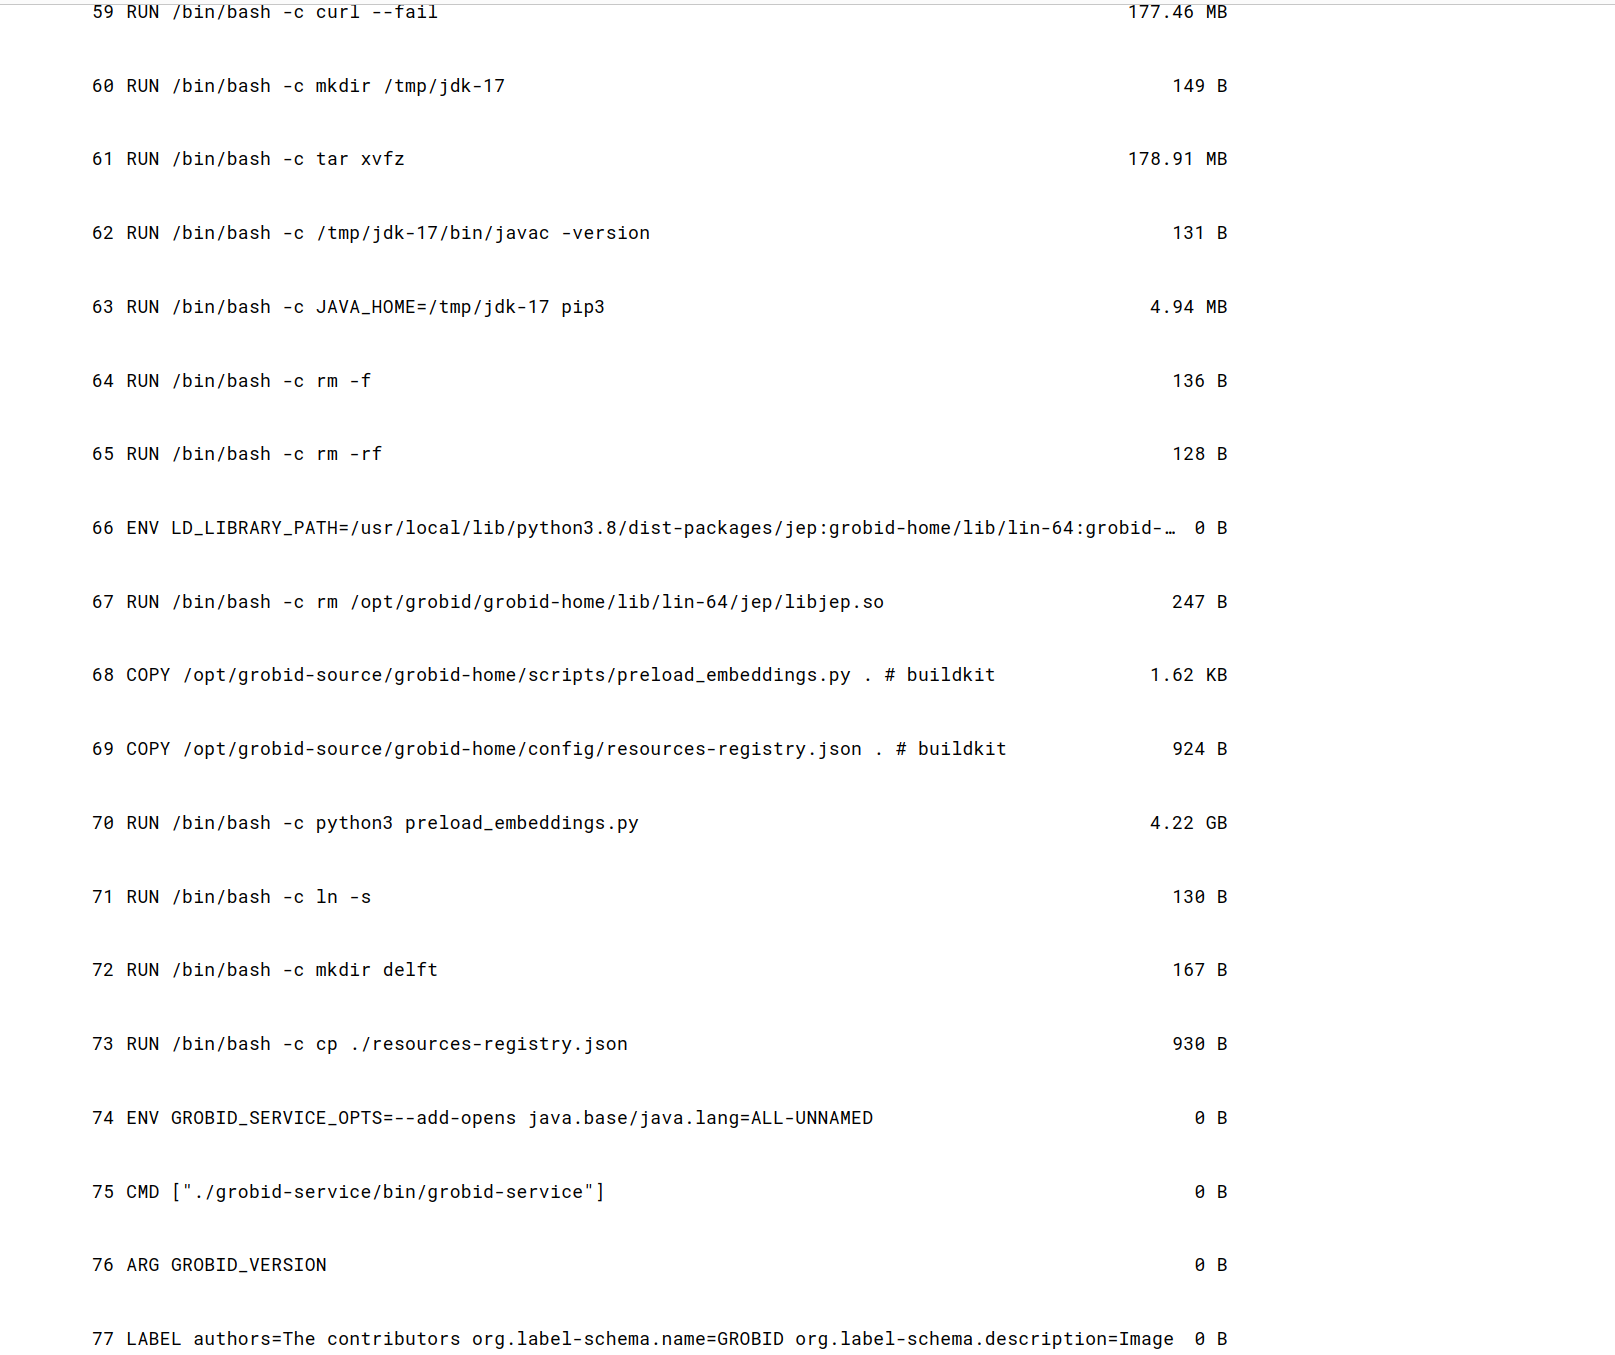
I scrolled down and found the CMD command.
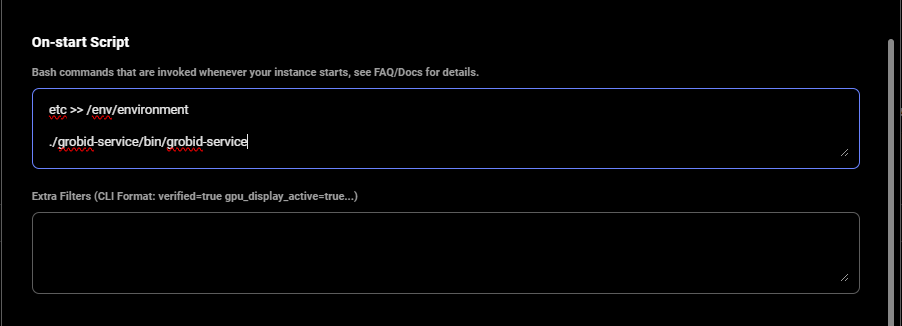
I added that contents of the CMD command to the end of the on-start section.
I also appended environment variables to /etc/environment file in our on-start section.
This makes environment variables available to all users and processes and ensures they are persisted even if our instance/docker container is rebooted. We suggest doing the same for your templates.
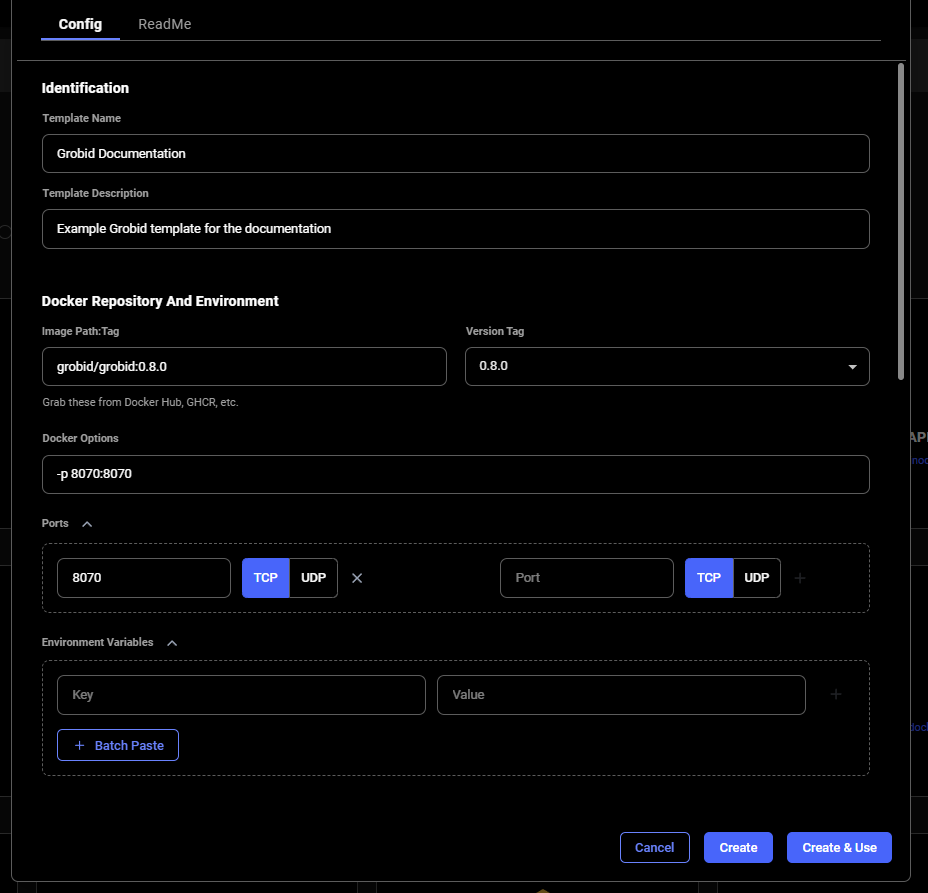
We finished creating this template by specifying the template name and description.
You can select and save to go to a screen to select a GPU instance and save your template.

I went to the instances tab and found my instance.
When it showed the "Connect" or "Open" state on the blue button, I found the ip range button and clicked it. In this case, that button had "47.186.63.233:53457-53578" on it.
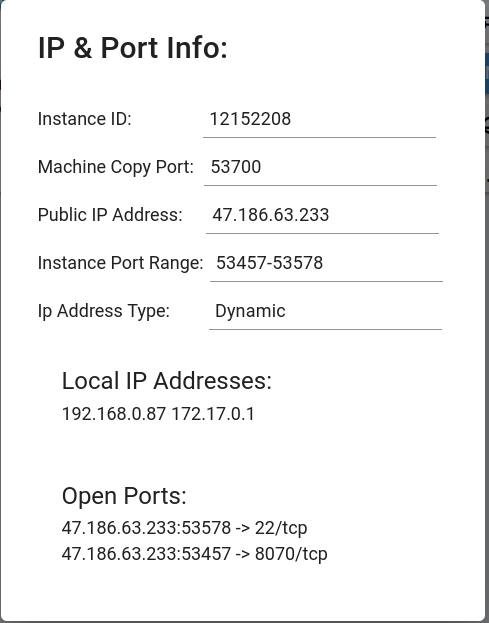
I got the ip address mapped to port 8070 and pasted it in a different browser tab. In this case, it was "47.186.63.233:53457".

Then, I saw GROBID.