Running PyTorch on Vast.ai: A Complete Guide
Introduction
This guide walks you through setting up and running PyTorch workloads on Vast.ai, a marketplace for renting GPU compute power. Whether you’re training large models or running inference, this guide will help you get started efficiently.Prerequisites
- A Vast.ai account
- Basic familiarity with PyTorch
- Install TLS Certificate for Jupyter
- (Optional) SSH client installed on your local machine and SSH public key added in Account tab at cloud.vast.ai
- (Optional) Install and use vast-cli
- (Optional) Docker knowledge for custom environments
Setting Up Your Environment
1. Selecting PyTorch Template
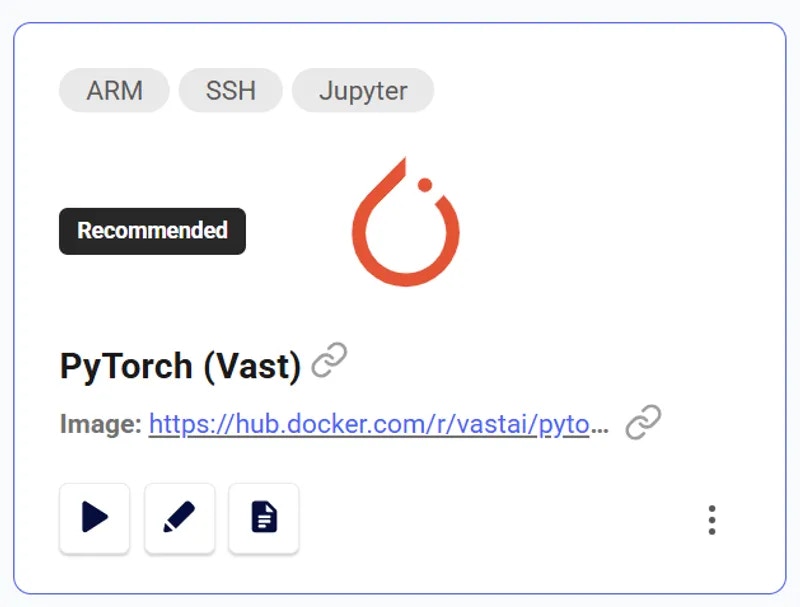
Navigate to the Templates tab to view available templates. Before choosing a specific instance, you’ll need to select the appropriate PyTorch template for your needs:- Choose recommended PyTorch template:
- A container is built on the Vast.ai base image, inheriting its core functionality
- It provides a flexible development environment with pre-configured libraries
- PyTorch is pre-installed at
/venv/main/for immediate use - Supports for both AMD64 and ARM64(Grace) architectures, especially on CUDA 12.4+
- You can select specific PyTorch versions via the Version Tag selector
PyTorch
2. Choosing an Instance
Click the play button to select the template and see GPUs you can rent. For PyTorch workloads, consider:- GPU Memory: Minimum 8GB for most models
- CUDA Version: PyTorch 2.0+ works best with CUDA 11.7 or newer
- Disk Space: Minimum 50GB for datasets and checkpoints
- Internet Speed: Look for instances with >100 Mbps for dataset downloads
3. Connecting to Your Instance
Click blue button on instance card in Instances tab when it says “Open” to access Jupyter.Setting Up Your PyTorch Environment
1. Basic Environment Check
Open Python’s Interactive Shell in the jupyter terminal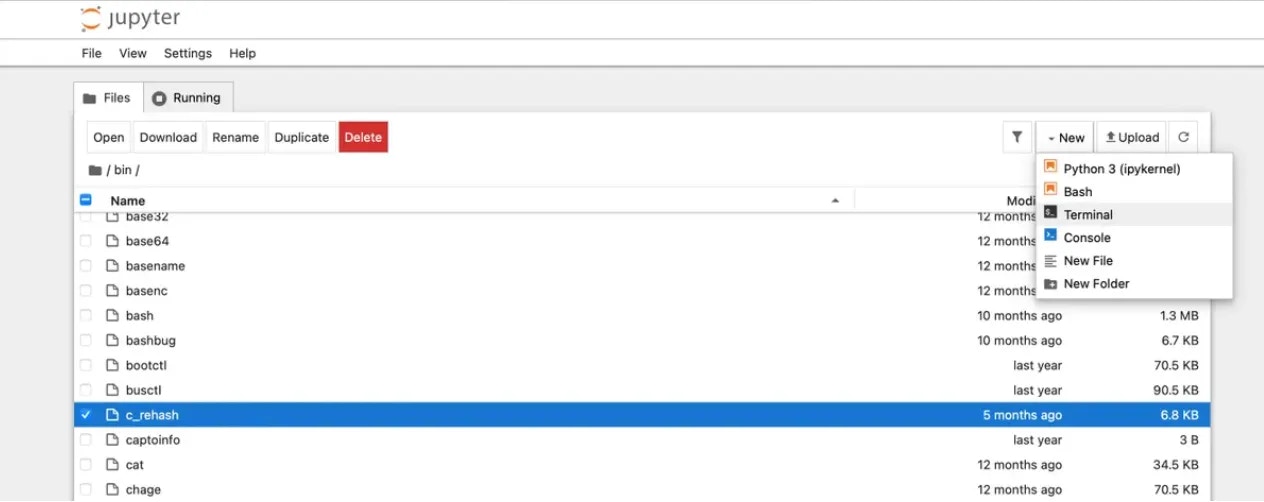

Python Python
2. Data Management
For efficient data handling: a) Fast local storage:Training Best Practices
Checkpoint Management
Always save checkpoints to prevent data loss:Python
Resource Monitoring
Monitor GPU usage:Python
Cost Optimization
Instance Selection
- Use vast cli search offers command to search for machines that fit your budget
- Monitor your spending in Vast.ai’s Billing tab
Resource Utilization
- Use appropriate batch sizes to maximize GPU utilization
- Enable gradient checkpointing for large models
- Implement early stopping to avoid unnecessary compute time
Troubleshooting
Common Issues and Solutions
- Out of Memory (OOM) Errors
- Reduce batch size
- Enable gradient checkpointing
- Use mixed precision training
Python
- Slow Training
- Check GPU utilization
- Verify data loading pipeline
- Consider using
torch.compile()for PyTorch 2.0+
Python
- Connection Issues
- Use
tmuxorscreenfor persistent sessions - Set up automatic reconnection in your SSH config
- Use
Best Practices
Environment Management
- Document your setup and requirements
- Keep track of software versions
Data Management
- Use data versioning tools
- Implement proper data validation
- Set up efficient data loading pipelines
Training Management
- Implement logging (e.g., WandB, TensorBoard)
- Set up experiment tracking
- Use configuration files for hyperparameters
Advanced Topics
Multi-GPU Training
For distributed training:Python
Mixed Precision Training
Enable AMP for faster training:Python