Overview
This guide covers advanced customization techniques available on the Vast.ai platform. These features allow you to extend and enhance your templates beyond basic configuration. For a complete reference of all template settings, see Template Settings. For a step-by-step tutorial on creating your first template, see Creating Templates.Customization Options
There are two main ways to customize templates on Vast.ai:-
Runtime customization with PROVISIONING_SCRIPT - Add a setup script that runs when the instance starts
- Works with any Docker image
- Simplest approach - no Docker build needed
- Perfect for installing packages, downloading models, configuring services
-
Build custom Docker images - Create your own Dockerfile with everything pre-installed
- Can start FROM Vast base images for built-in security features
- Or FROM any other base image
- Full control, faster instance startup
- Best for complex setups or frequently reused configurations
PROVISIONING_SCRIPT
Vast.ai templates support running a remote script on start to help configure the instance and download models and extensions that may not already be available in the Docker image. This is the simplest way to customize a template - you start with one of our recommended templates (likevastai/base-image or vastai/pytorch) and add custom setup via a provisioning script.
How to use
- Go to the Templates tab in Vast.ai interface
- Search for “base-image” or “Pytorch” depending on your needs:
vastai/base-imageis a general purpose imagevastai/pytorchis a base image for working with PyTorch-based applications on Vast
- Click “Edit” on your chosen template
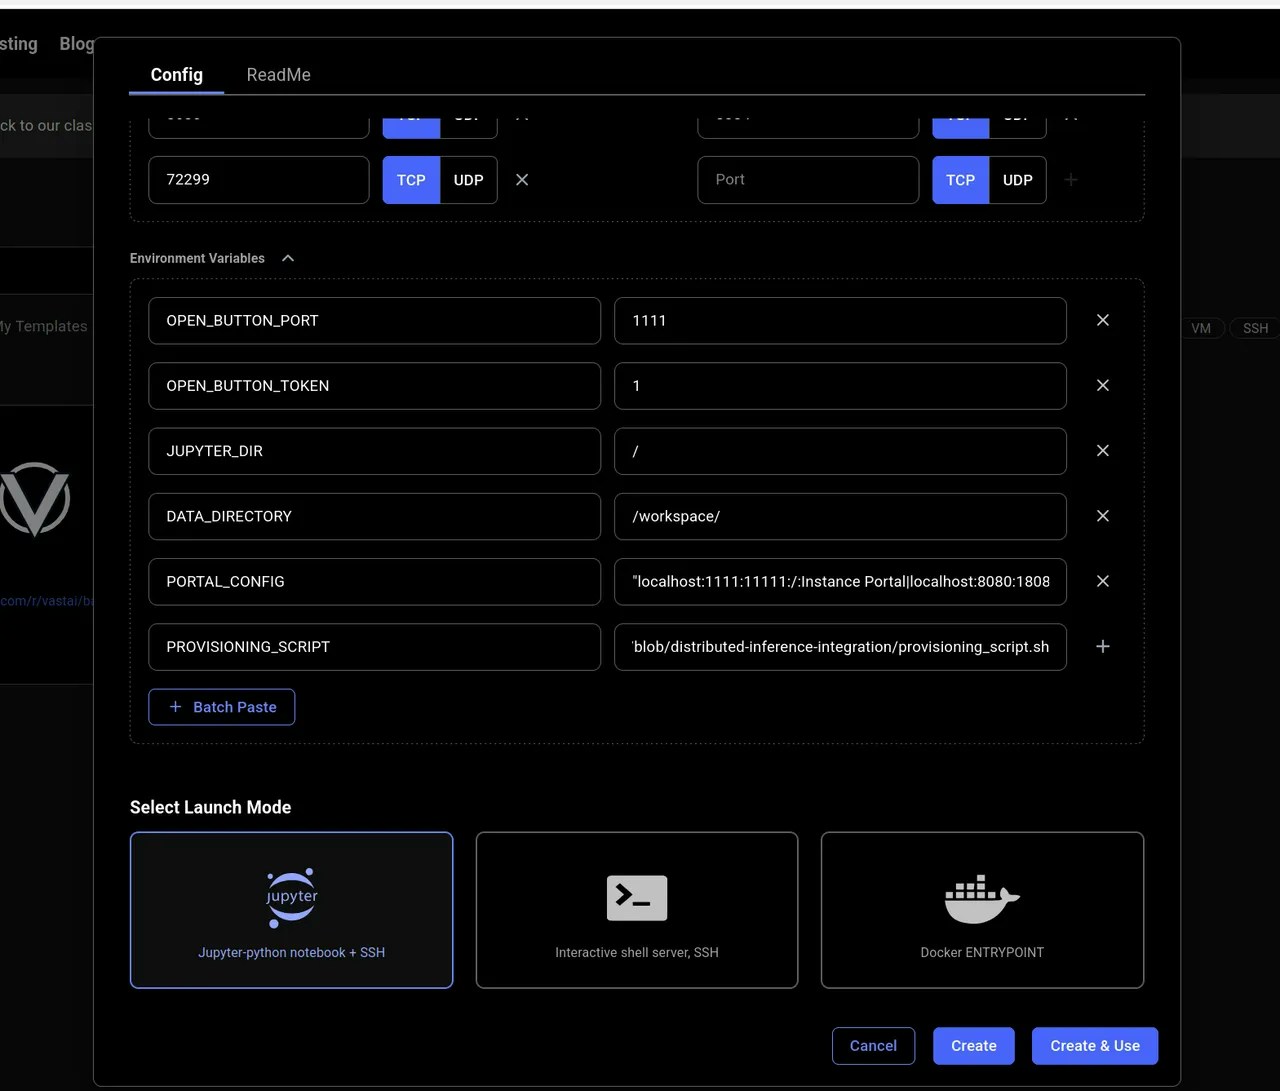
- Add the PROVISIONING_SCRIPT environment variable:
- In the Environment Variables section, add a new variable named “PROVISIONING_SCRIPT”
- The value should be a URL pointing to a shell script (from GitHub, Gist, etc.)
Example URL
- Make sure to click ”+” to add the environment variable
- Click Create and Use
Example PROVISIONING_SCRIPT
Bash
Configuring Application Access with PORTAL_CONFIG
The base-image template includes PORTAL_CONFIG for secure application access management. This environment variable controls how applications are exposed and accessed.PORTAL_CONFIG structure
- Each application is separated by the
|character - Each application parameter is separated by the
:character - Each application must specify
hostname:external_port:local_port:url_path:Application Name
Bash
localhost
Where the internal port and local port are not equal then Caddy will be configured to listen on 0.0.0.0:external_port acting as a reverse proxy for hostname:local_port
If the external_port and local_port are equal then Caddy will not act as a proxy but the Instance Portal UI will still create links. This is useful because it allows us to create links to Jupyter which is not controlled by Supervisor in Jupyter Launch mode.
url_path will be appended to the instance address and is generally set to / but can be used to create application deep links.
The caddy_manager script will write an equivalent config file at /etc/portal.yaml on boot if it does not already exist. This file can be edited in a running instance.
Important: When defining multiple links to a single application, only the first should have non equal ports - We cannot proxy one application multiple times.
Note: Instance Portal UI is not required and its own config declaration can be removed from PORTAL_CONFIG. This will not affect the authentication system.
Building Custom Docker Images
If you want to create your own custom Docker image, you can optionally start FROM one of our Vast.ai base images to get built-in security features and Instance Portal integration. See the Introduction for more details on why you might want to use Vast base images.Building FROM Vast Base Images
Start with a Vast.ai base image or Vast.ai Pytorch base image in your Dockerfile:Dockerfile
- Build and push your image to a container registry
- Create a new template and enter your custom image path in the Image Path:Tag field (see Template Settings)