Initial Setup
Let’s get started with the configuration - There is not much you need to change here but it’s a good idea to create a customized version of the template so Ollama automatically downloads your preferred model.Find the Template
You can find the Langflow template in our recommended templates page. Before loading it up, click the pencil icon to open up the template editor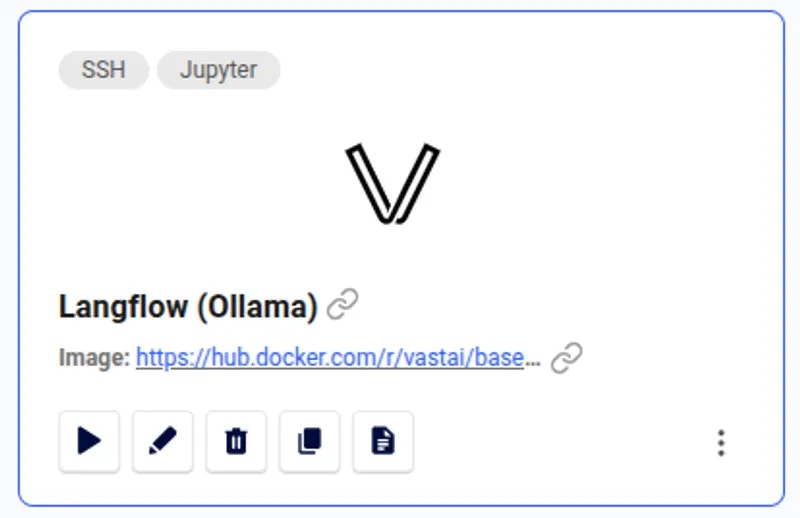
Langflow Template
Custom configuration
In the template editor you’ll find two really useful configuration variables.OLLAMA_MODELis the most important variable. Here you can choose which model should be downloaded when the instance starts.LANGFLOW_ARGSallows you to pass alternative startup arguments to the langflow application. The defaults should be fine for this demo, but you are free to change these as you need.

Starting the Instance
It’s now time to use your template to start a GPU instance.Choose a GPU
The most important consideration when picking an instance to run language models is the VRAM. For best performance, your model weights must fit into the GPU VRAM with room left over for the context window. You do not have to use a single GPU when running LLMs - Sometimes a multi-GPU setup can be as effective of better than a single high VRAM instance.Rent an Instance
When you have found a suitable instance it’s time to click the ‘Rent’ button. This will start the loading phase.If you are not sure which instance to choose - Try one. There is no minimum rental period and if it is not suitable you are able to destroy that instance and start another, paying only for the time the instance was in the ‘running’ state
Accessing the Instance
After a short time, your instance will be ready to access. Simply click the ‘Open’ button to get started.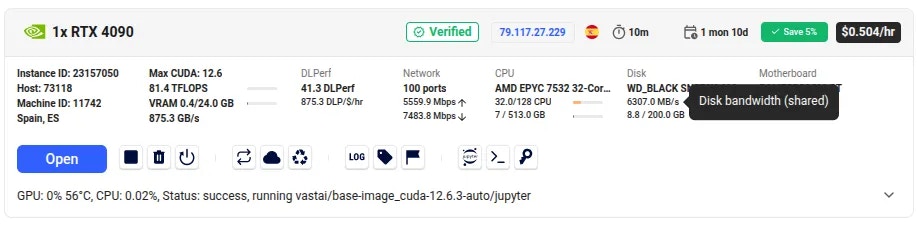
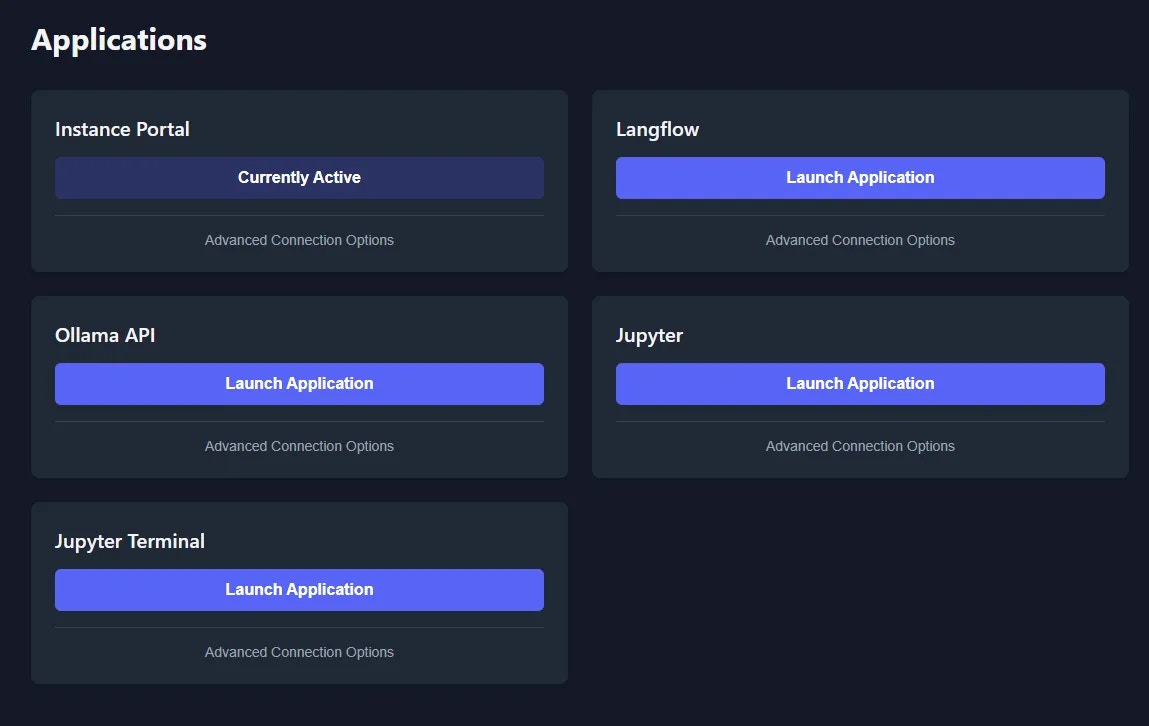
Instance Portal
It will take some time for Langflow and Ollama to be installed and for the Ollama model to download. You can monitor the loading status in the Instance Portal ‘Logs’ tab
Getting Started with Langflow
After opening Langflow, click the ‘Create first flow’ button.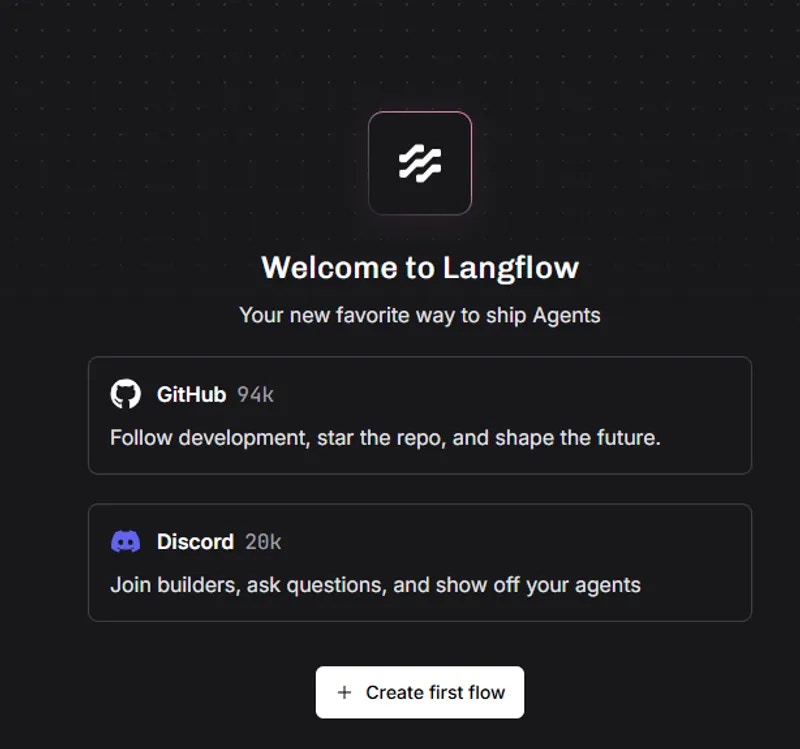
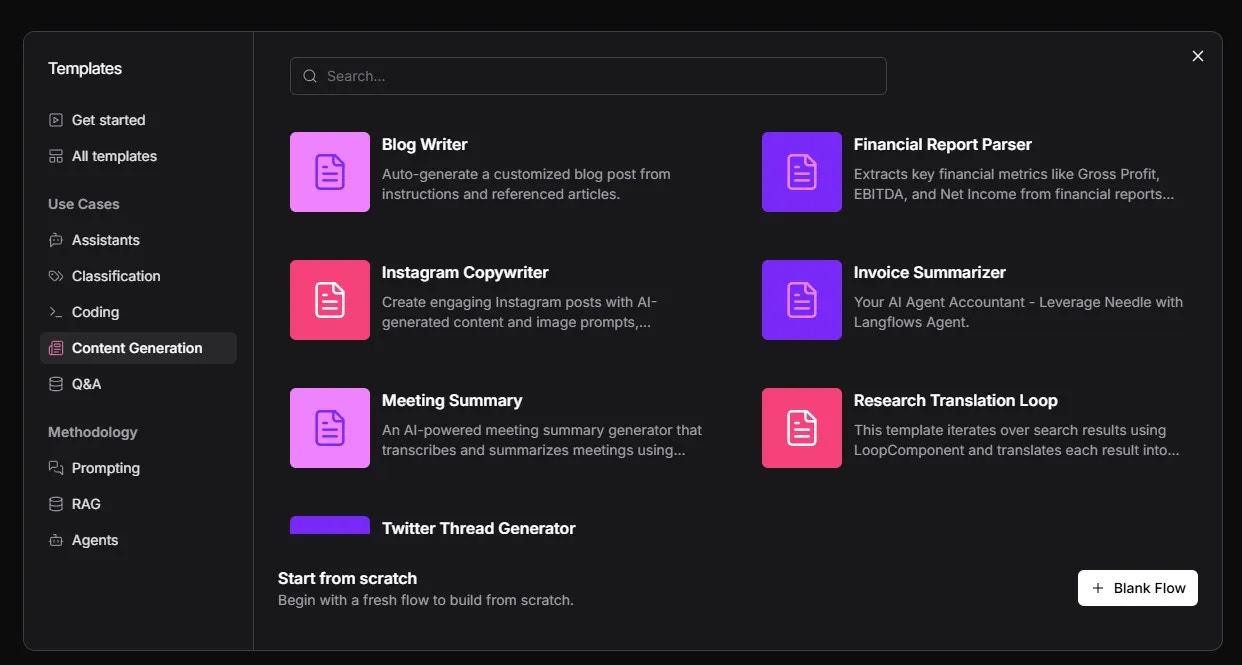

Blog Writer Defaults
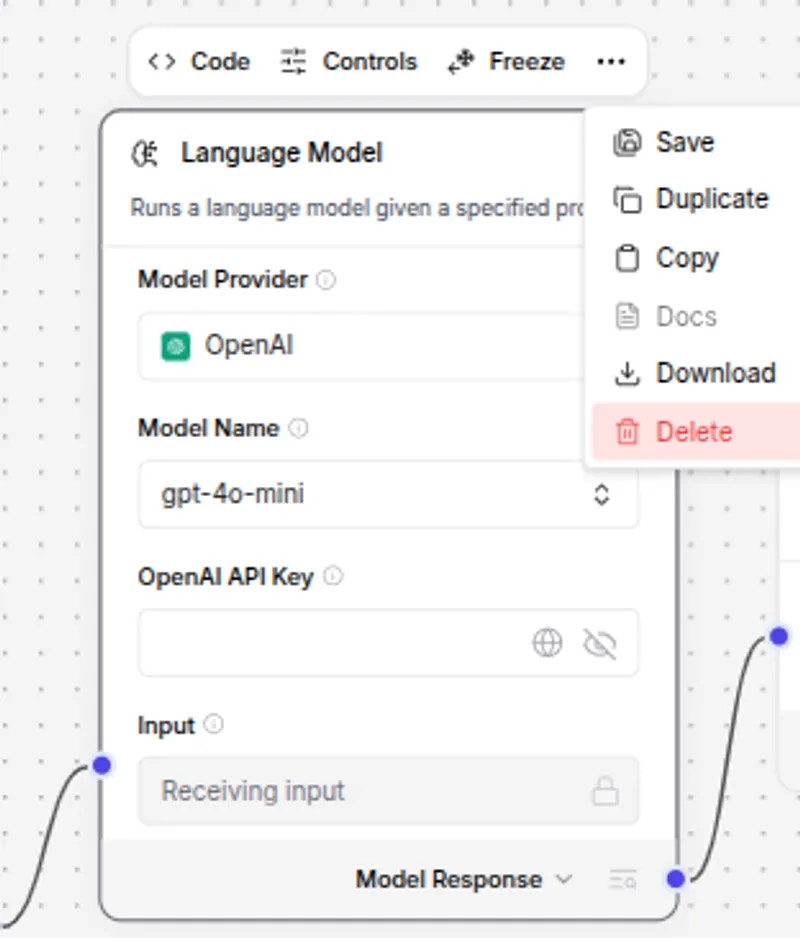
Delete Language Model
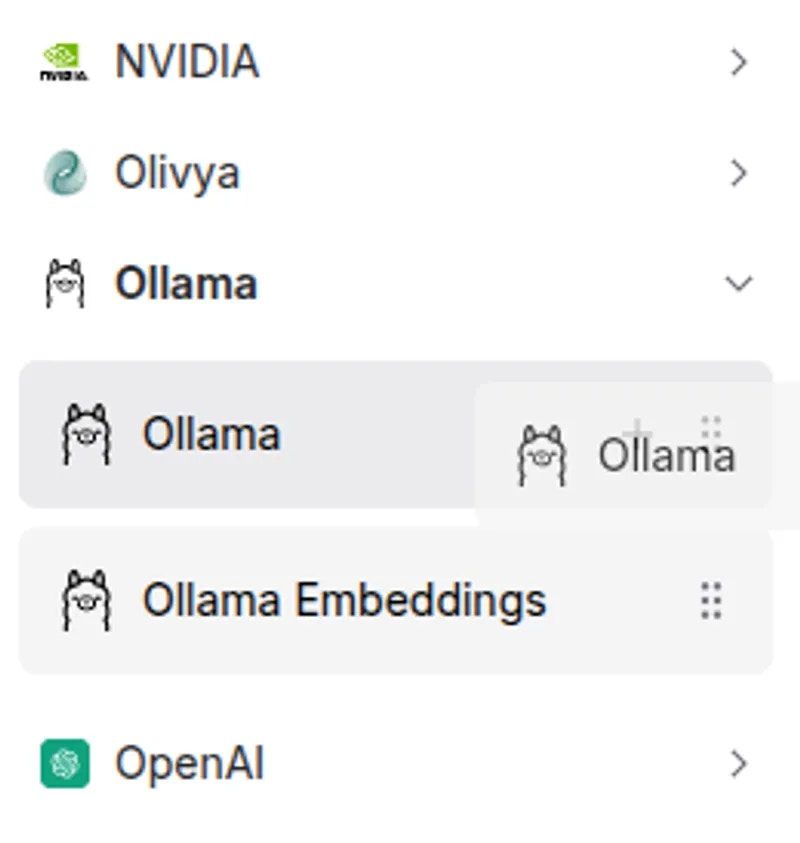
Add Ollama Node
http://localhost:11434 in the Base URL field. You’ll need to then select your Ollama model and re-connect the nodes as shown below.
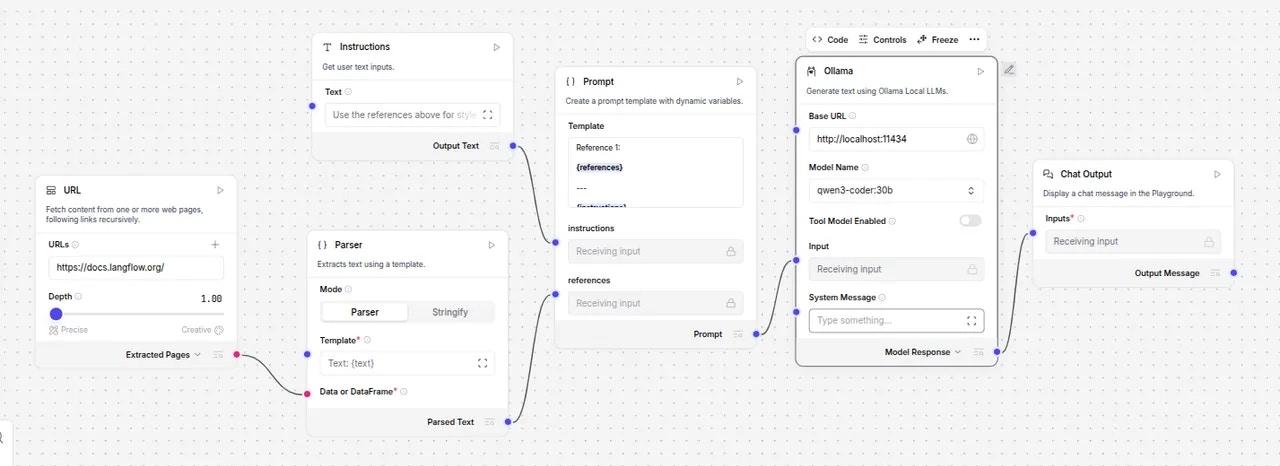
Ollama Node Connected
If the model field does not immediately show your available models, simply toggle the ‘Tool Mode Enabled’ switch.
Configuring the Workflow
You could run this node immediately, but first let’s make some minor modifications. Change the URL in the URL node tohttps://vast.aiand set the Depth to 2
Change the Text in the Instructions node to Use the references above for style to write a new blog/tutorial about how Vast.ai can empower people who want to leverage affordable GPU resources
Run the Workflow
Simply click the Playground button followed by the Run flow button and wait for the agent to learn about the subject matter and write a blog post. It’ll only take a few seconds.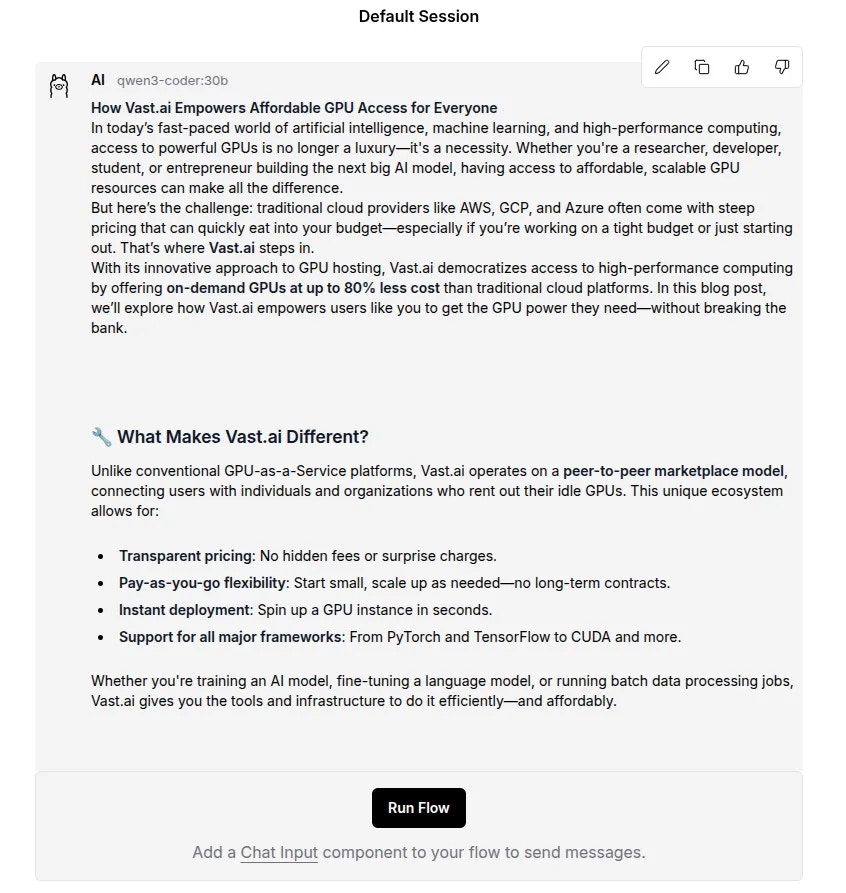
Completed Blog Post