

Prerequisites
- A Vast.ai API key from Keys
- A Slack workspace where you can create an incoming webhook
- Python 3.10 or newer
- A public HTTPS URL that forwards to your local machine for testing, such as Tunnelmole, ngrok, or Cloudflare Tunnel
Review Notification Settings
Open Account Settings and review Notification Settings. The notification groups shown here are the same event groups you can subscribe to through the API.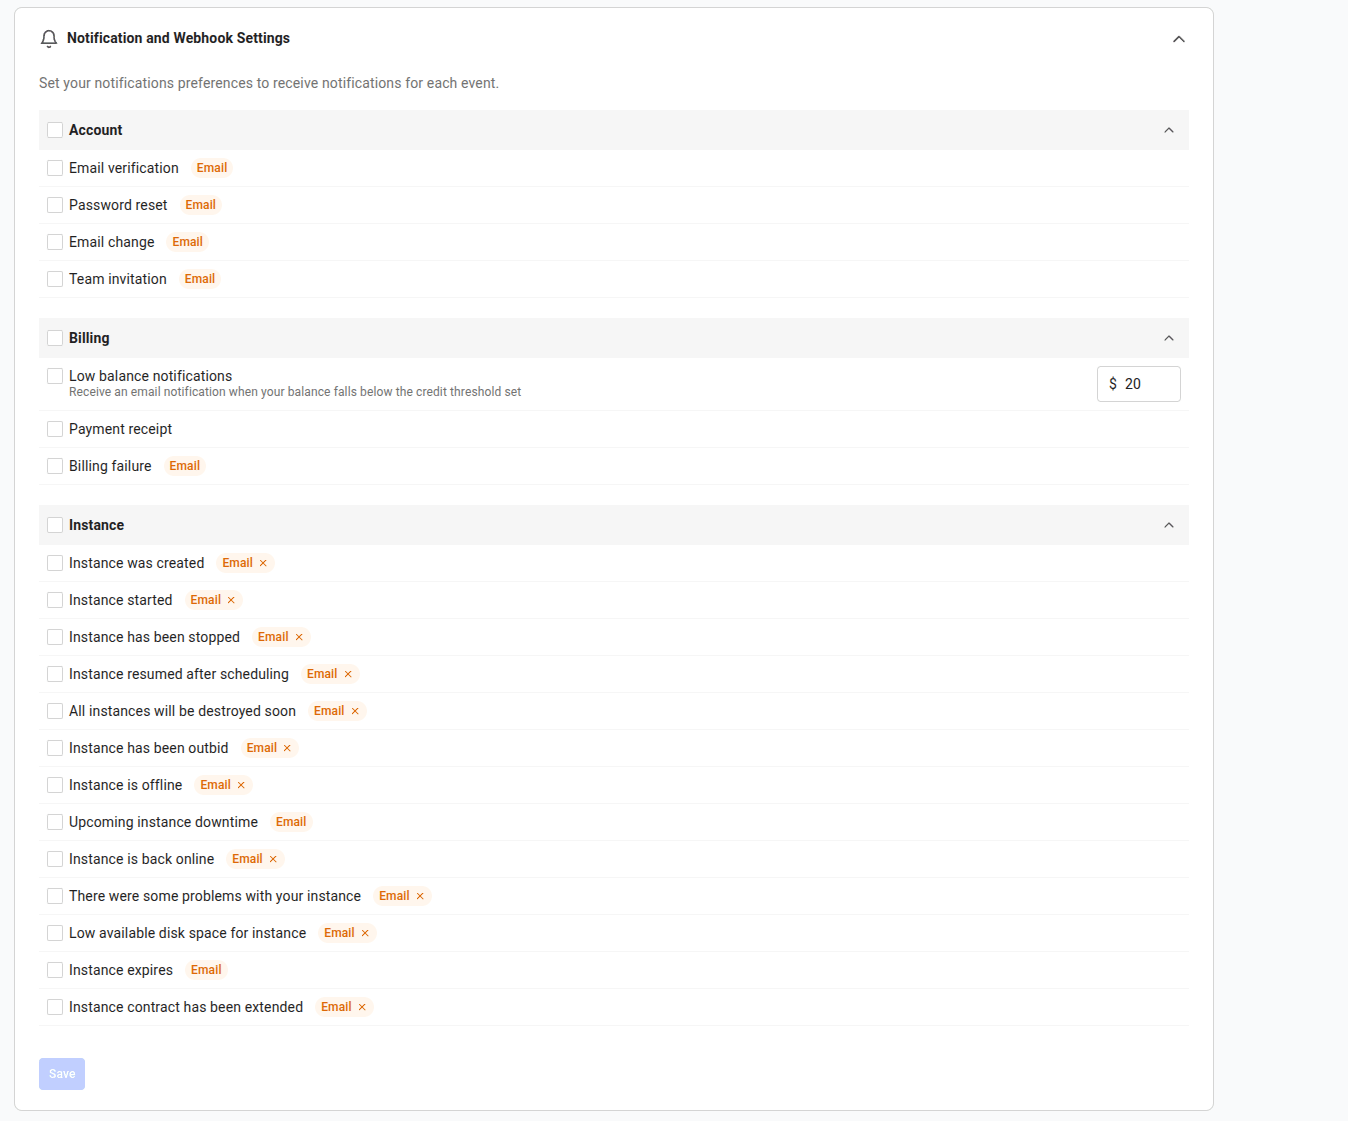
Notification Settings
Create a Slack Incoming Webhook
Create a Slack incoming webhook for the channel that should receive Vast.ai notifications. Slack’s own setup guide is here: Sending messages using incoming webhooks. When Slack gives you the webhook URL, keep it private. Anyone who has that URL can post into the selected channel.Create the Adapter
Create a working directory and install the only Python dependency:vast_slack_adapter.py:
Create the Vast.ai Webhook
From here you use three terminals, all in thevast-slack-notifications directory: the adapter terminal you just used, a control terminal for Vast.ai API calls, and a tunnel terminal for tmole.
Create the webhook first. The adapter needs this webhook’s signing secret before it can start, and tmole only starts once the adapter is already listening — so you create the webhook with a temporary URL now and point it at the tunnel once the tunnel is up.
In the control terminal, set your Vast.ai API key and create the webhook:
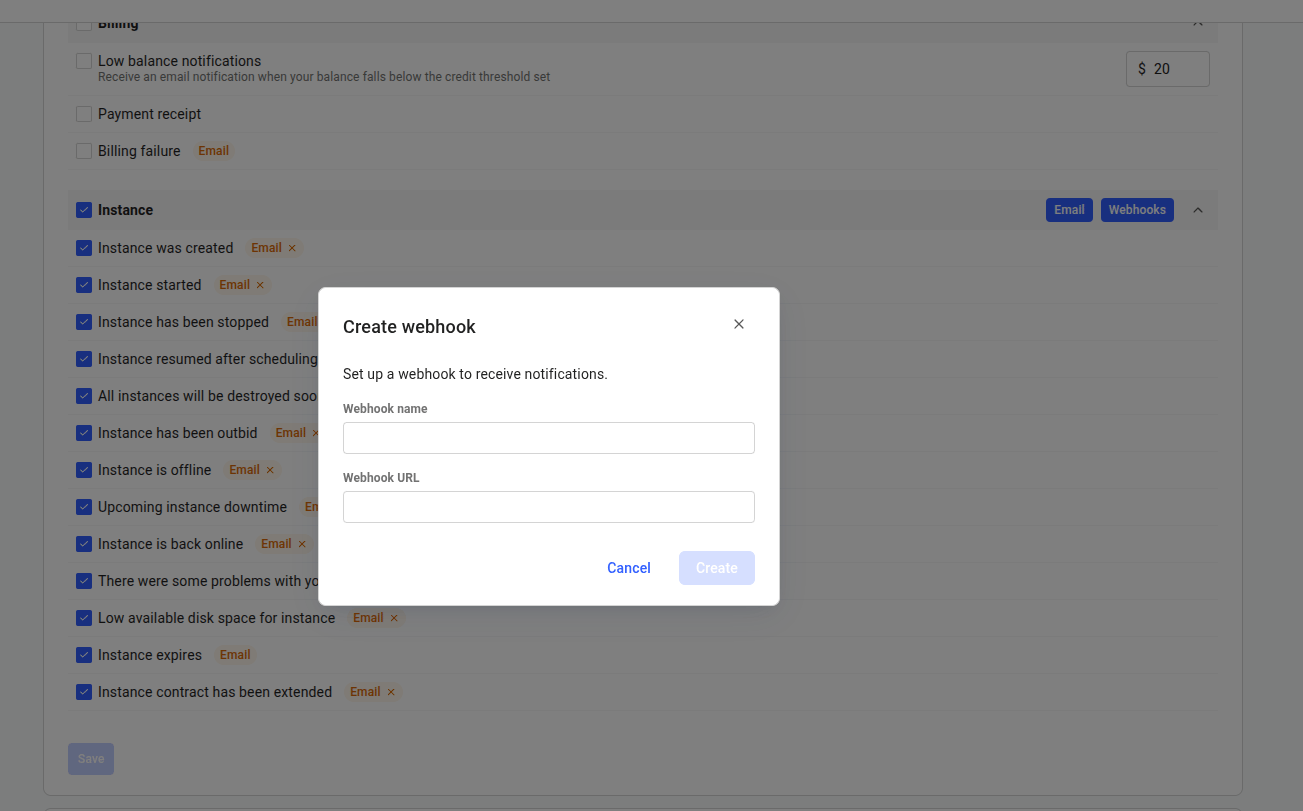
Create webhook
Start the Adapter
In the adapter terminal (where the virtual environment is active), load the signing secret fromvast-webhook.json, set your Slack webhook URL, and start the adapter:
listening on http://127.0.0.1:8787 and listens only on 127.0.0.1. Leave it running; the HTTPS tunnel you start next forwards public Vast.ai deliveries to that local port.
Expose the Adapter Over HTTPS
Vast.ai requires an HTTPS webhook URL. This example usestmole; if you use another tunnel, run the equivalent command and copy the HTTPS URL it prints.
Because tmole only starts once something is listening on the port, start it now that the adapter is running. In the tunnel terminal:
https://xxxxxx.tunnelmole.net.
Point the Webhook at Your Tunnel
In the control terminal, set the tunnel URL and update the webhook so Vast.ai delivers to it:Send a Test Delivery
In the control terminal, send Vast.ai’s built-in test event:Trigger a Real Notification
After the test event works, trigger one of the subscribed events:- Create an instance to receive
client:instance_created. - Start an instance to receive
client:instance_started. - Stop an instance to receive
client:instance_stopped. - Keep low-balance notifications enabled to receive
client:low_creditwhen your configured threshold is reached.
Clean Up
In the control terminal, delete the webhook when you are done testing:Workflow Builder Variant
If you use a Slack Workflow Builder webhook trigger instead of a Slack incoming webhook, set the workflow’s expected variables first. Then change the adapter’sslack_message return value to match those variables, for example:
Production Notes
- Deploy the adapter on a stable HTTPS endpoint before using it for production alerts.
- Verify
X-Vast-Signature-256before forwarding or acting on any event. - Deduplicate deliveries by
event_id; webhook delivery is at-least-once. - Return
2xxonly after your adapter accepts the event.